
Fun With Formica
Formica is one of those household materials that very definitely have a place on board. No, I’m not talking about the pre-fab counter pieces of Formica attached to pressed wood MDF, but just the top layer of that stuff. It’s a sheet material made of paper infused with some kind of resin, heat resistant, smooth, and relatively durable. It cuts with a jigsaw or a router, comes in all kinds of interesting colors and patterns, and applies with contact cement.
Note: you can order 4’x8’ sheets that come in a roll from many big box stores. They don’t carry them on the shelves, at least not that we’ve found. We’ve had great success ordering from Home Depot.
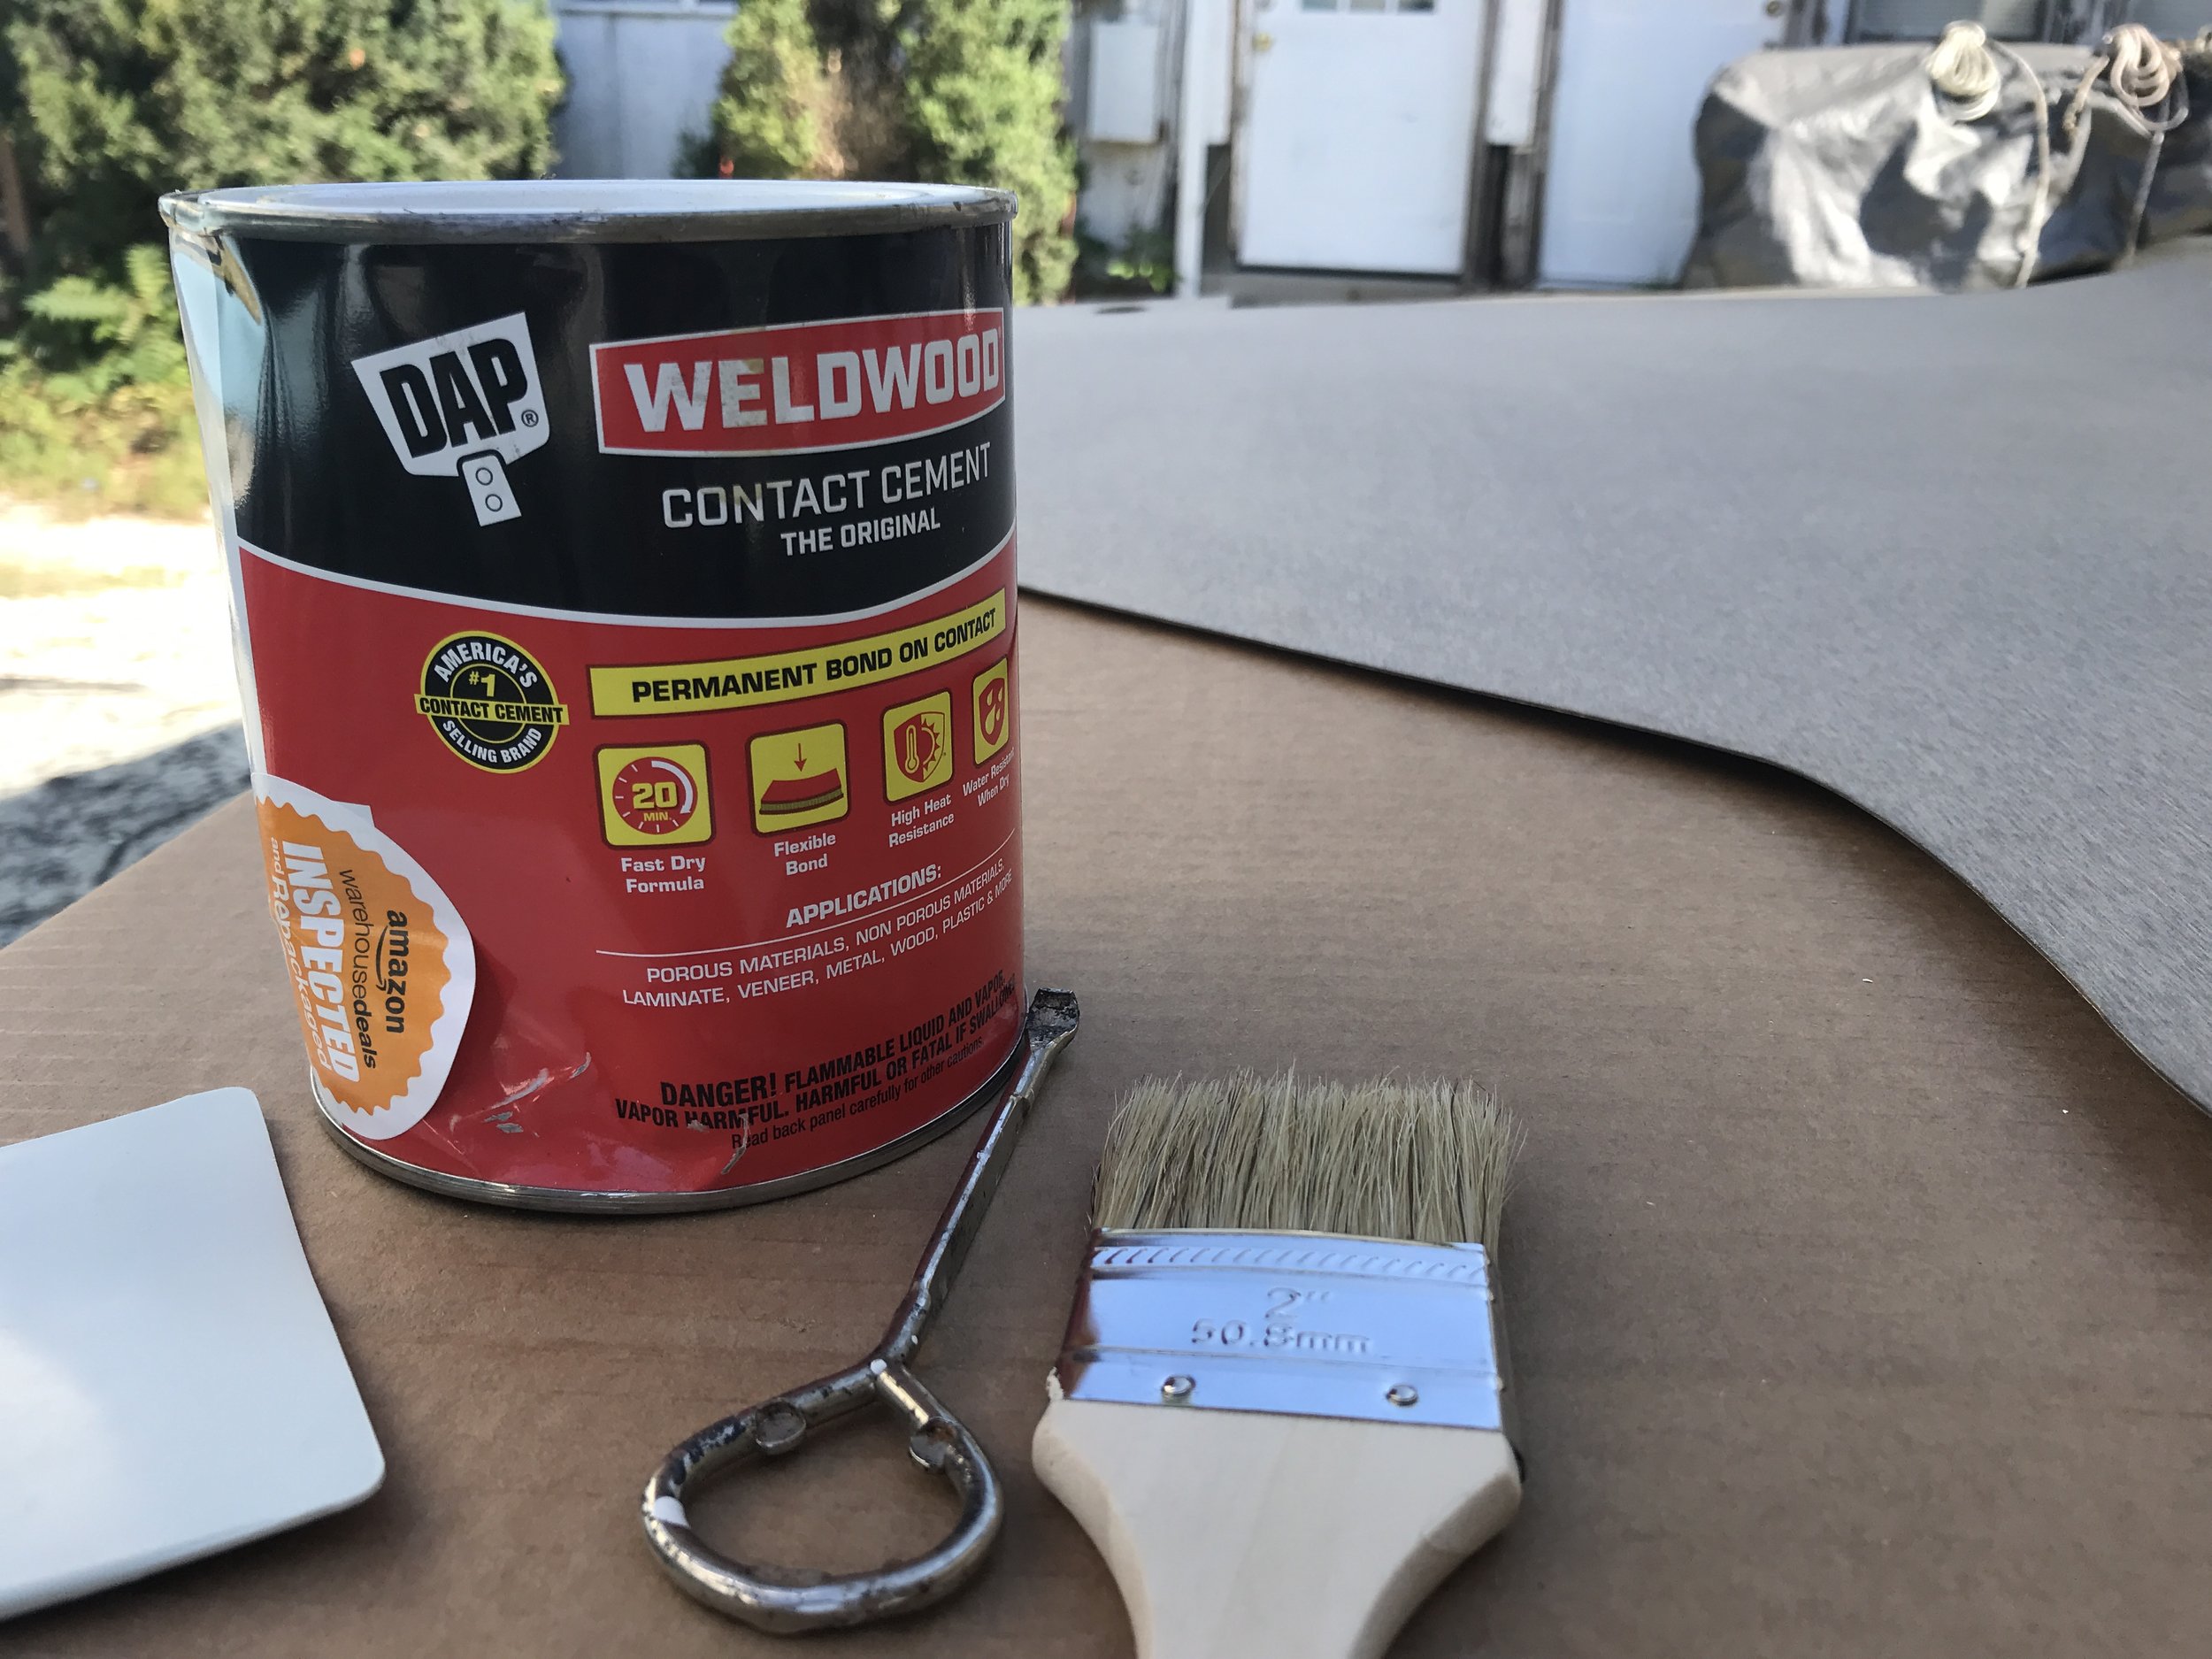
Getting ready to apply the contact cement
Tools you need:
Jigsaw and router
contact cement (construction grade)
sandpaper
paintbrush (a cheap chip brush is fine!)
laminate roller
dowels
respirator and gloves!

dowels waiting their turn
Most of the time, you rough cut Formica to the size you need, fit it over whatever you’re installing, apply it with the contact cement, and then use the router right along the edge to get the fit perfect. This is the technique we used for the chart table and the shelves.
You can’t do this with spaces that are already fixed into place. Like the bulkheads. Nope, not taking those out to apply the Formica!
Note: We’re using Formica on the bulkheads in the forepeak because it’s water and humidity resistant, smooth, durable, easy to clean, and looks great. This will be a workspace area as well as the down below shower. We’d wanted some kind of sheet fiberglass, like a shower stall finish, but all we could find had a pebbled finish. Impossible to keep clean. No thanks.

The aft bulkhead of the forepeak, formica installed
Steps to installing formica on an already installed surface (ie inside a boat!)
Measure and template. You want the formica to be a snug fit, so be very precise when templating!
Cut the formica sheet according to the template.
Dry fit. Cut as needed. Dry fit again. Cut as needed. Dry fit again. Basically, dry fit and tweak any cuts until the formica fits perfectly. Pretend it’s got contact cement on it. Plan out your steps to getting it into place. You may have to fit one edge under existing trim first; this is critical to understand before you have that contact cement on the formica! Part of the dry fit process is also figuring out where you’ll lay the formica to apply the contact cement: it needs to dry for about 15 minutes between coats so it will need to lie flat. If this happens best outside of the boat, figure out how you’ll get that formica back in place with contact cement on it!
Clean both surfaces with acetone.
Apply contact cement to both surfaces. Note: contact cement stinks. Wear a respirator. We use a cheap chip brush and pick off any bristles. Let dry 15 minutes. Apply a second coat of contact cement to both surfaces. Let dry 15 minutes.
Position dowels to help keep the surfaces apart. Position the formica into place over the dowels. Carefully remove the dowels starting at one side, pressing the formica into place as you go. Once the 2 surfaces touch each other with the dowels out, there’s no going back!
Using the roller, press hard on the surface of the formica over and over again until you hear no air bubbles being pressed out. This takes a LOT of force!
Enjoy your new formica’d surface!
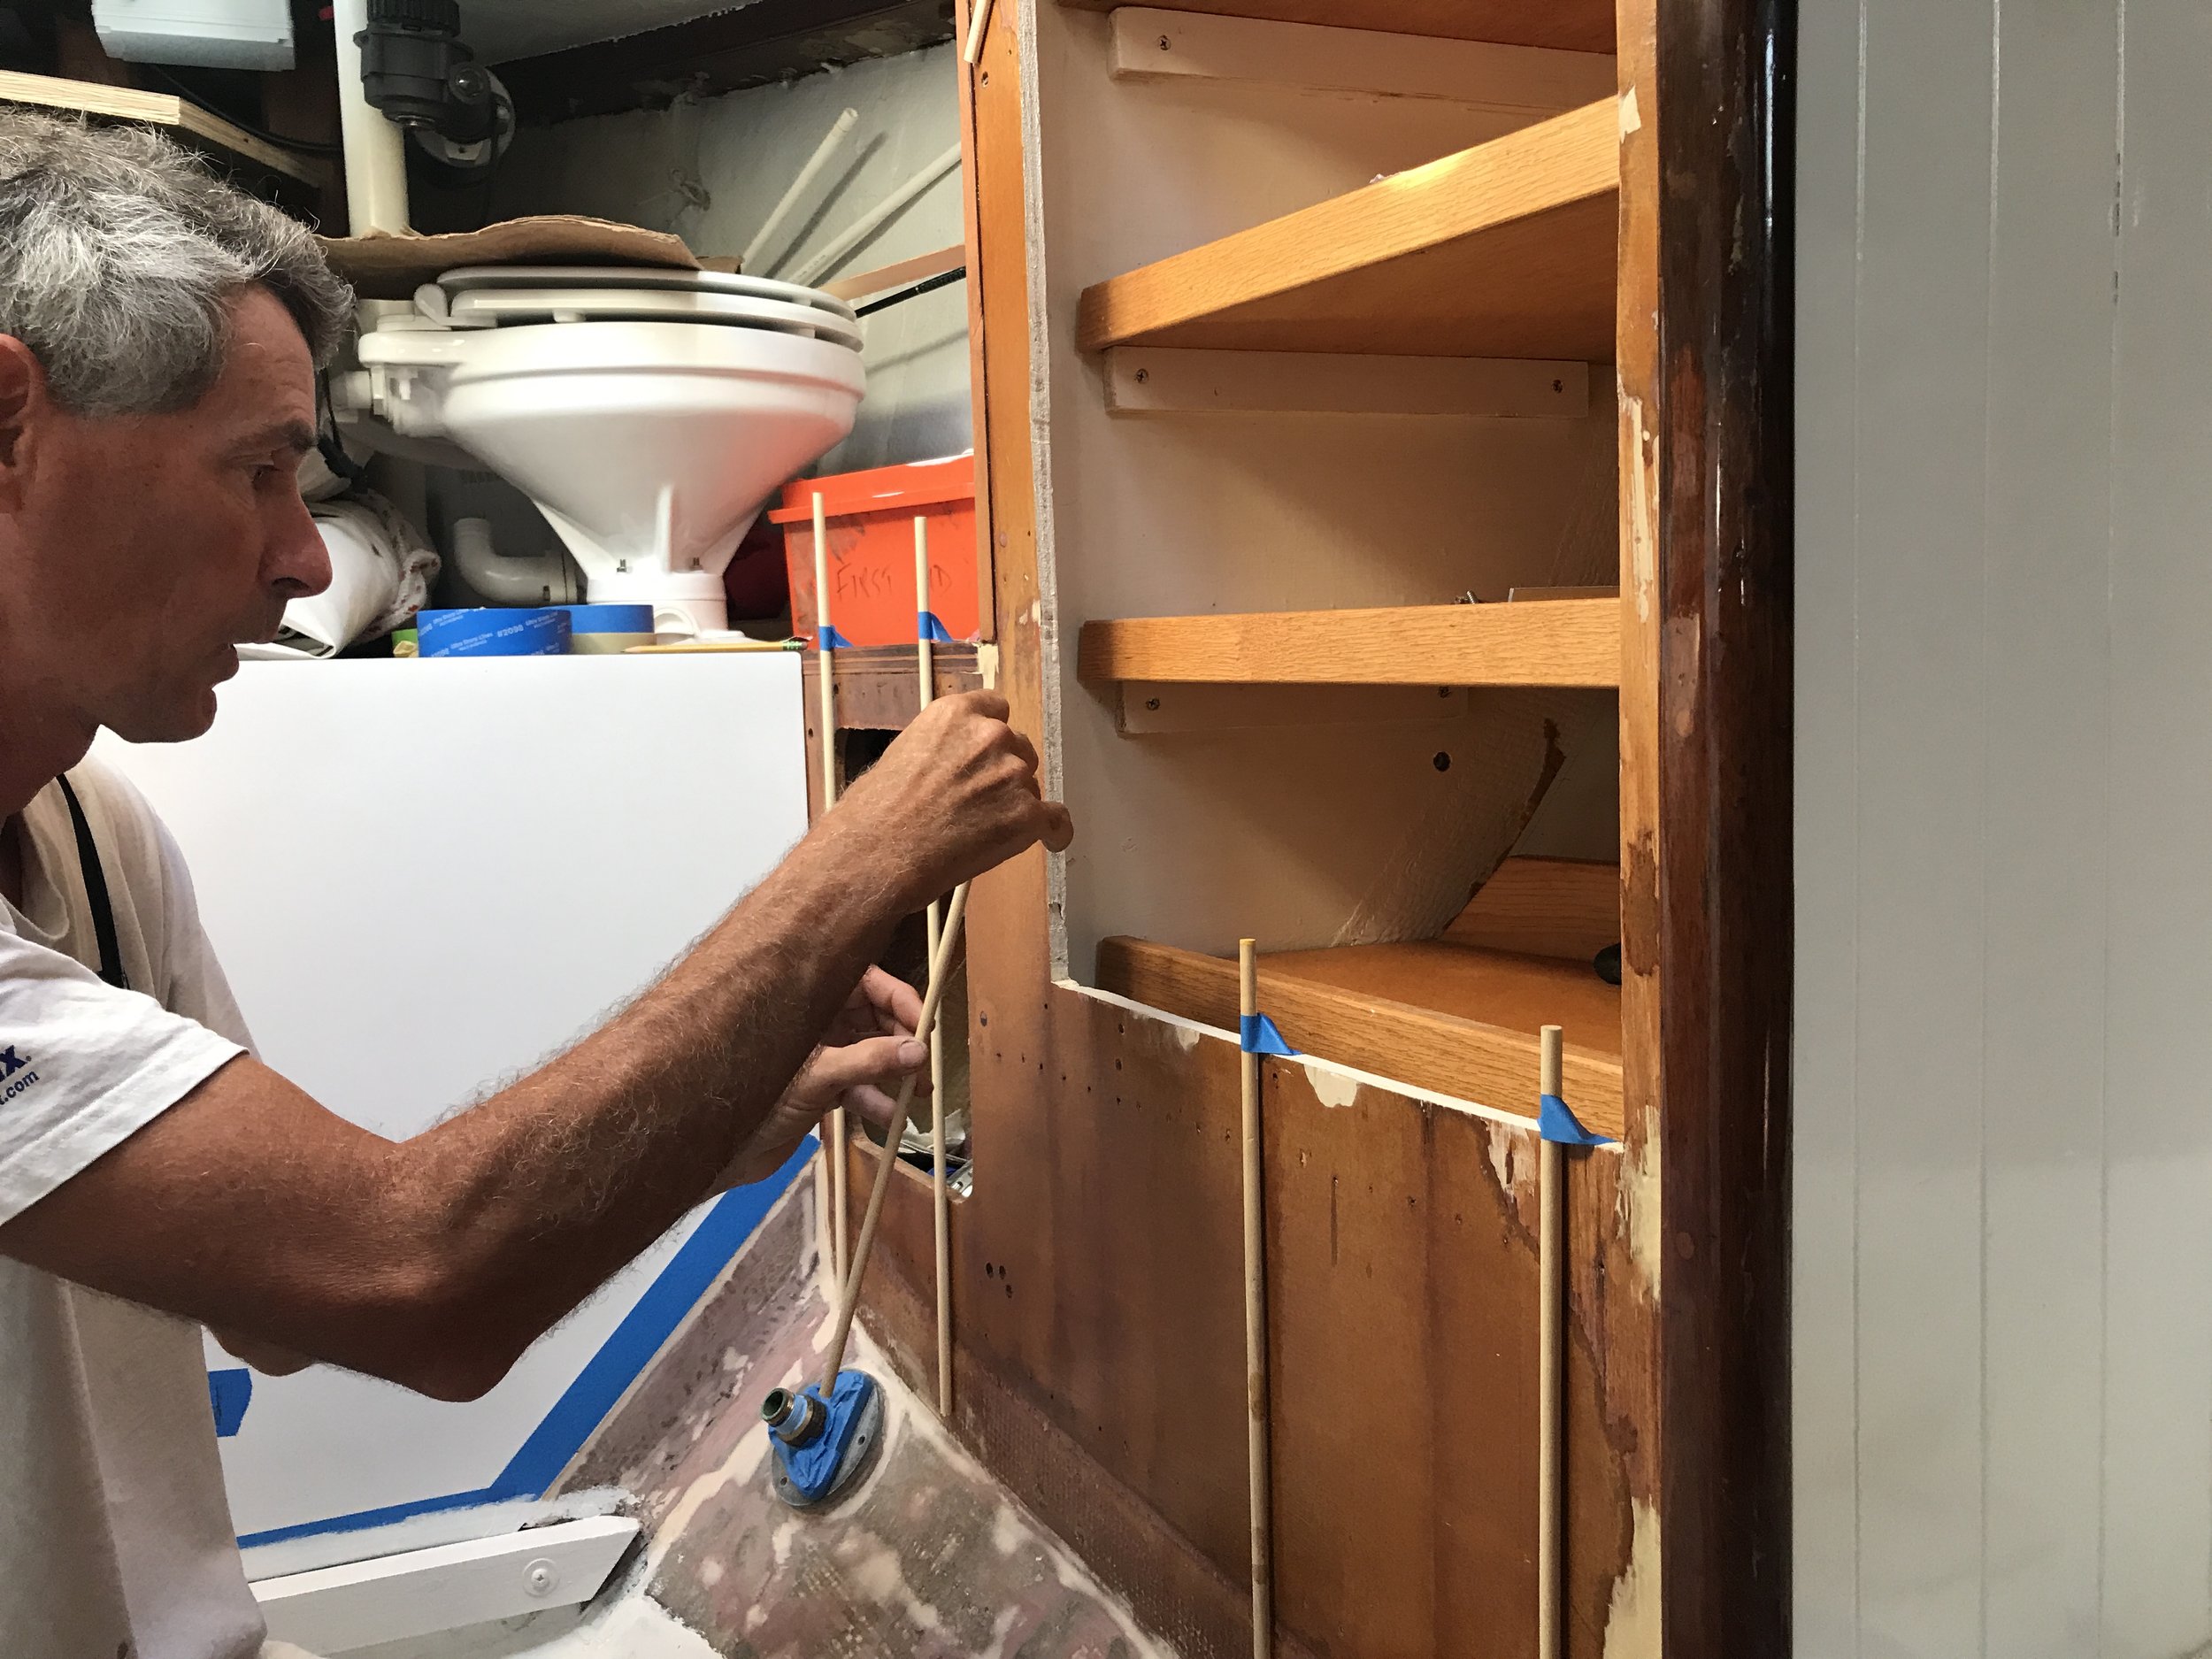
Placing dowels into place. The blue tape is holding them in position.
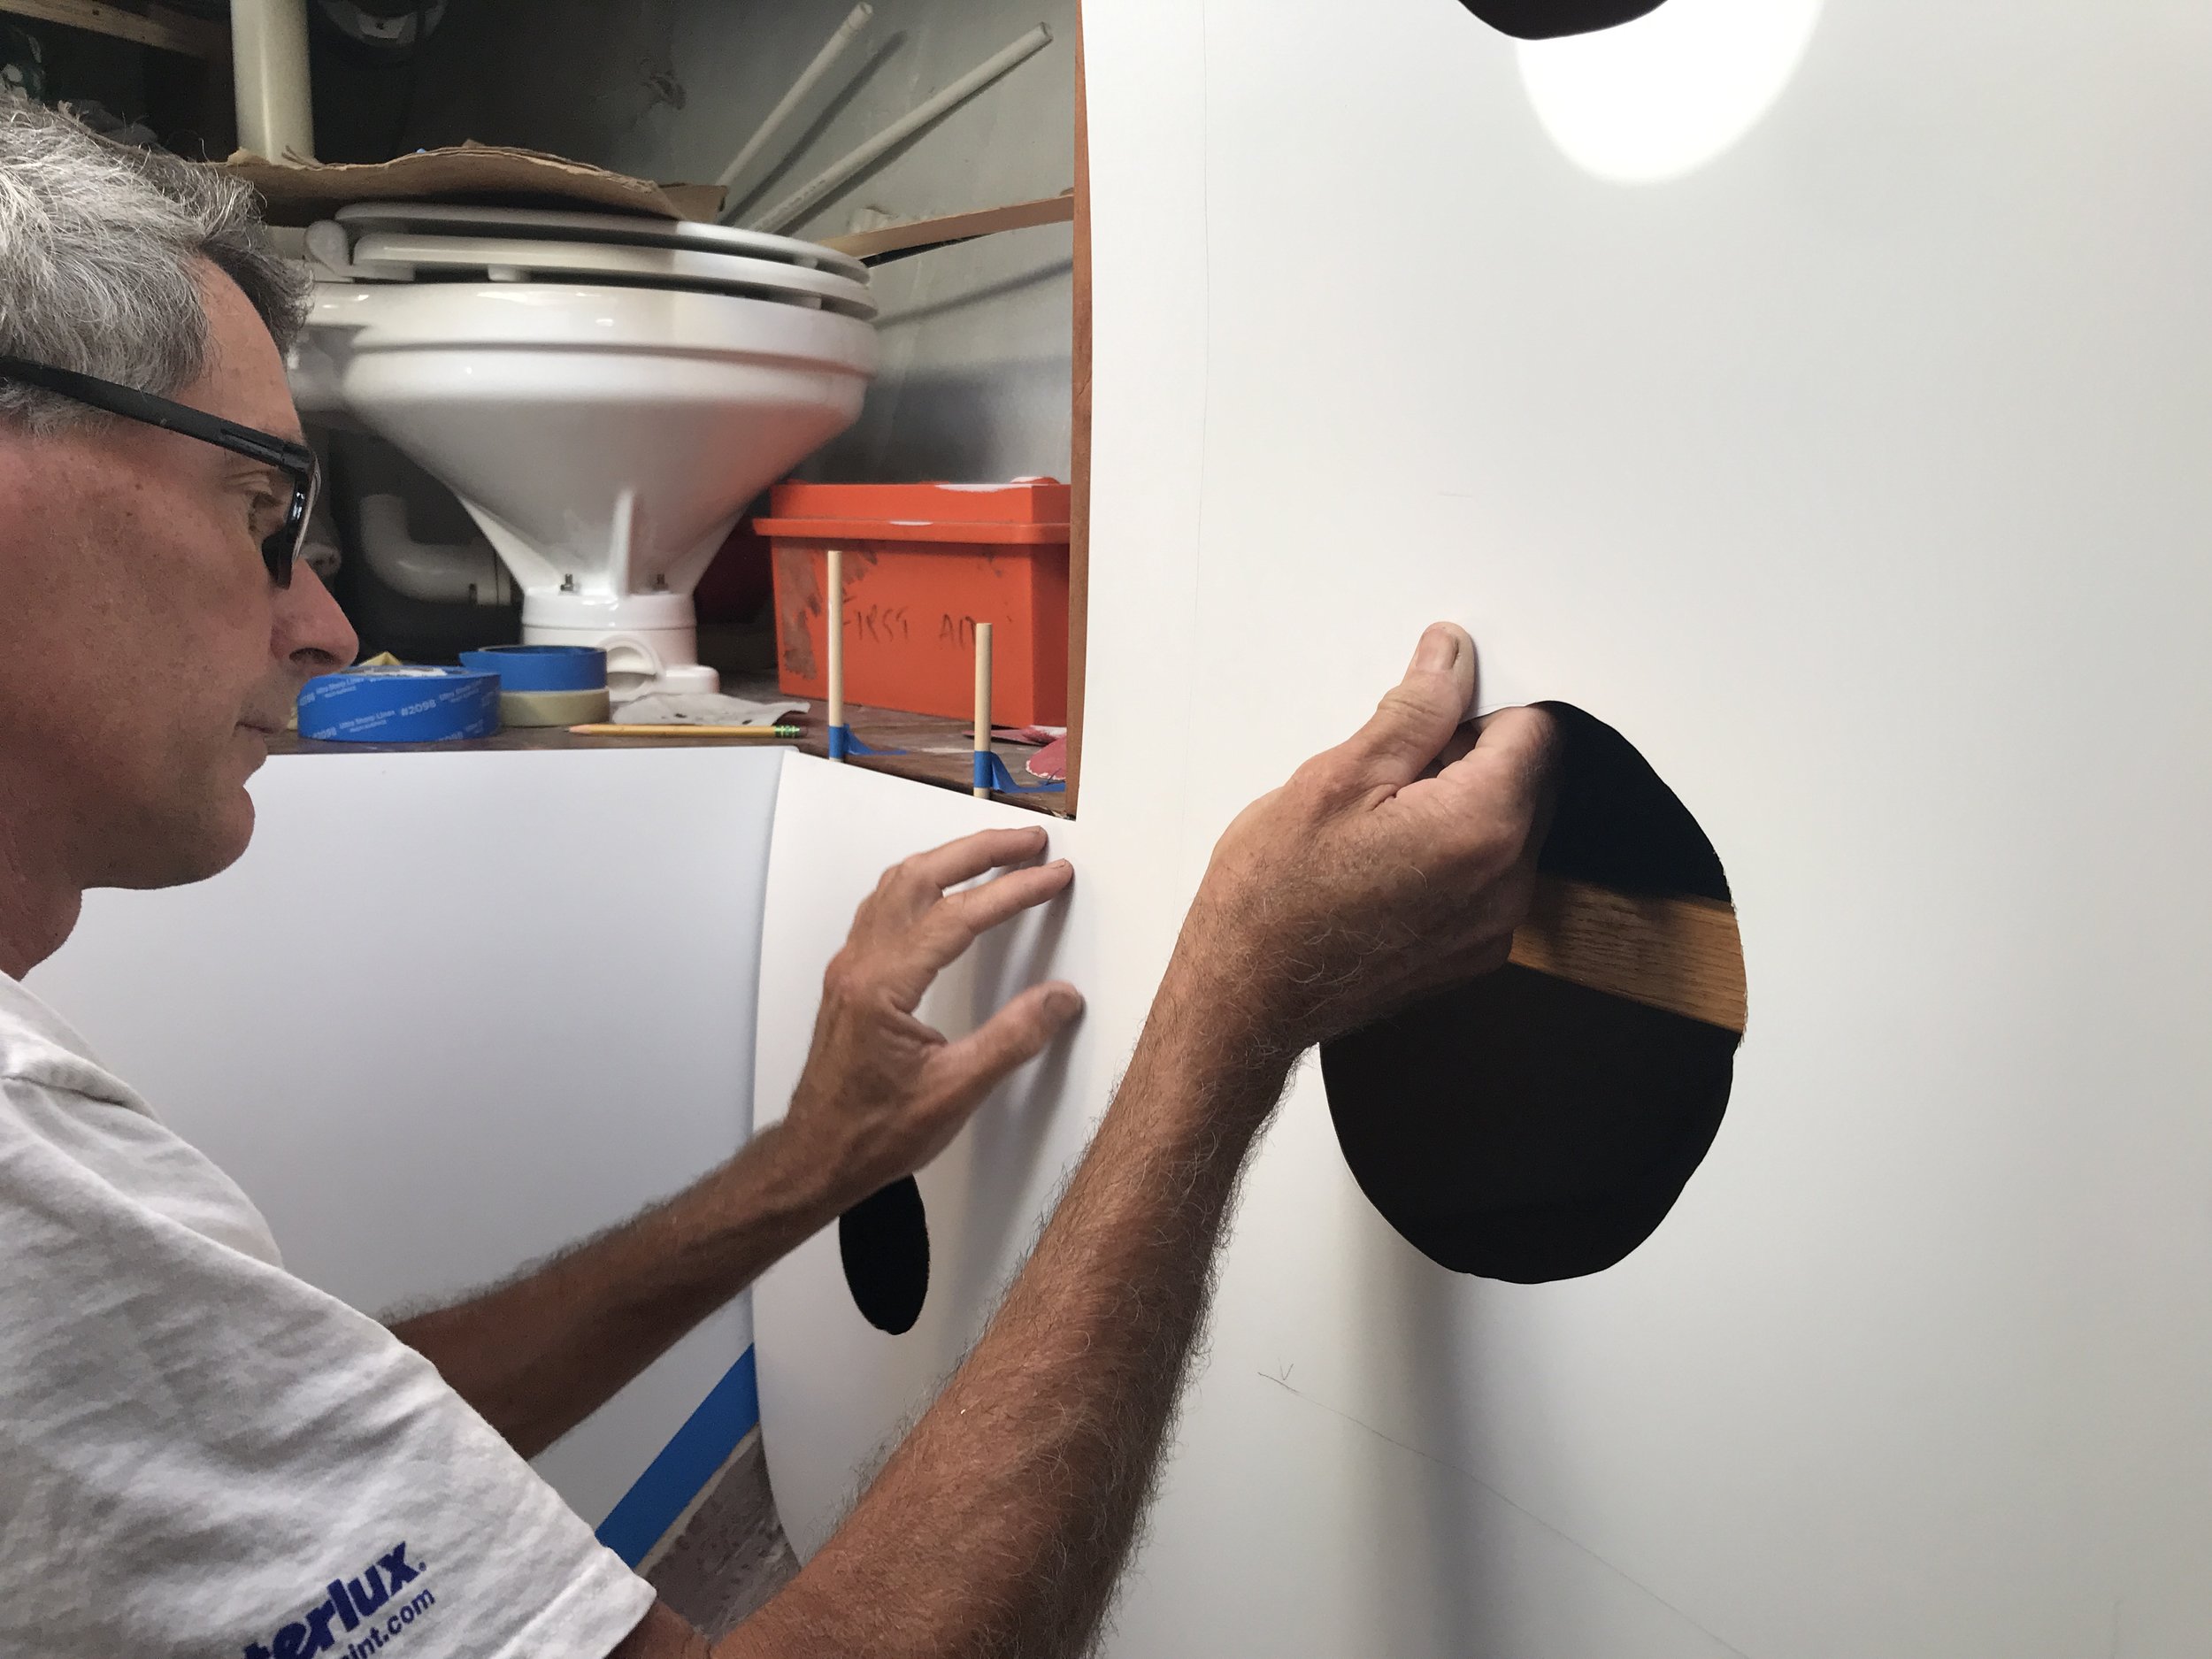
Carefully fitting formica into place over the dowels.
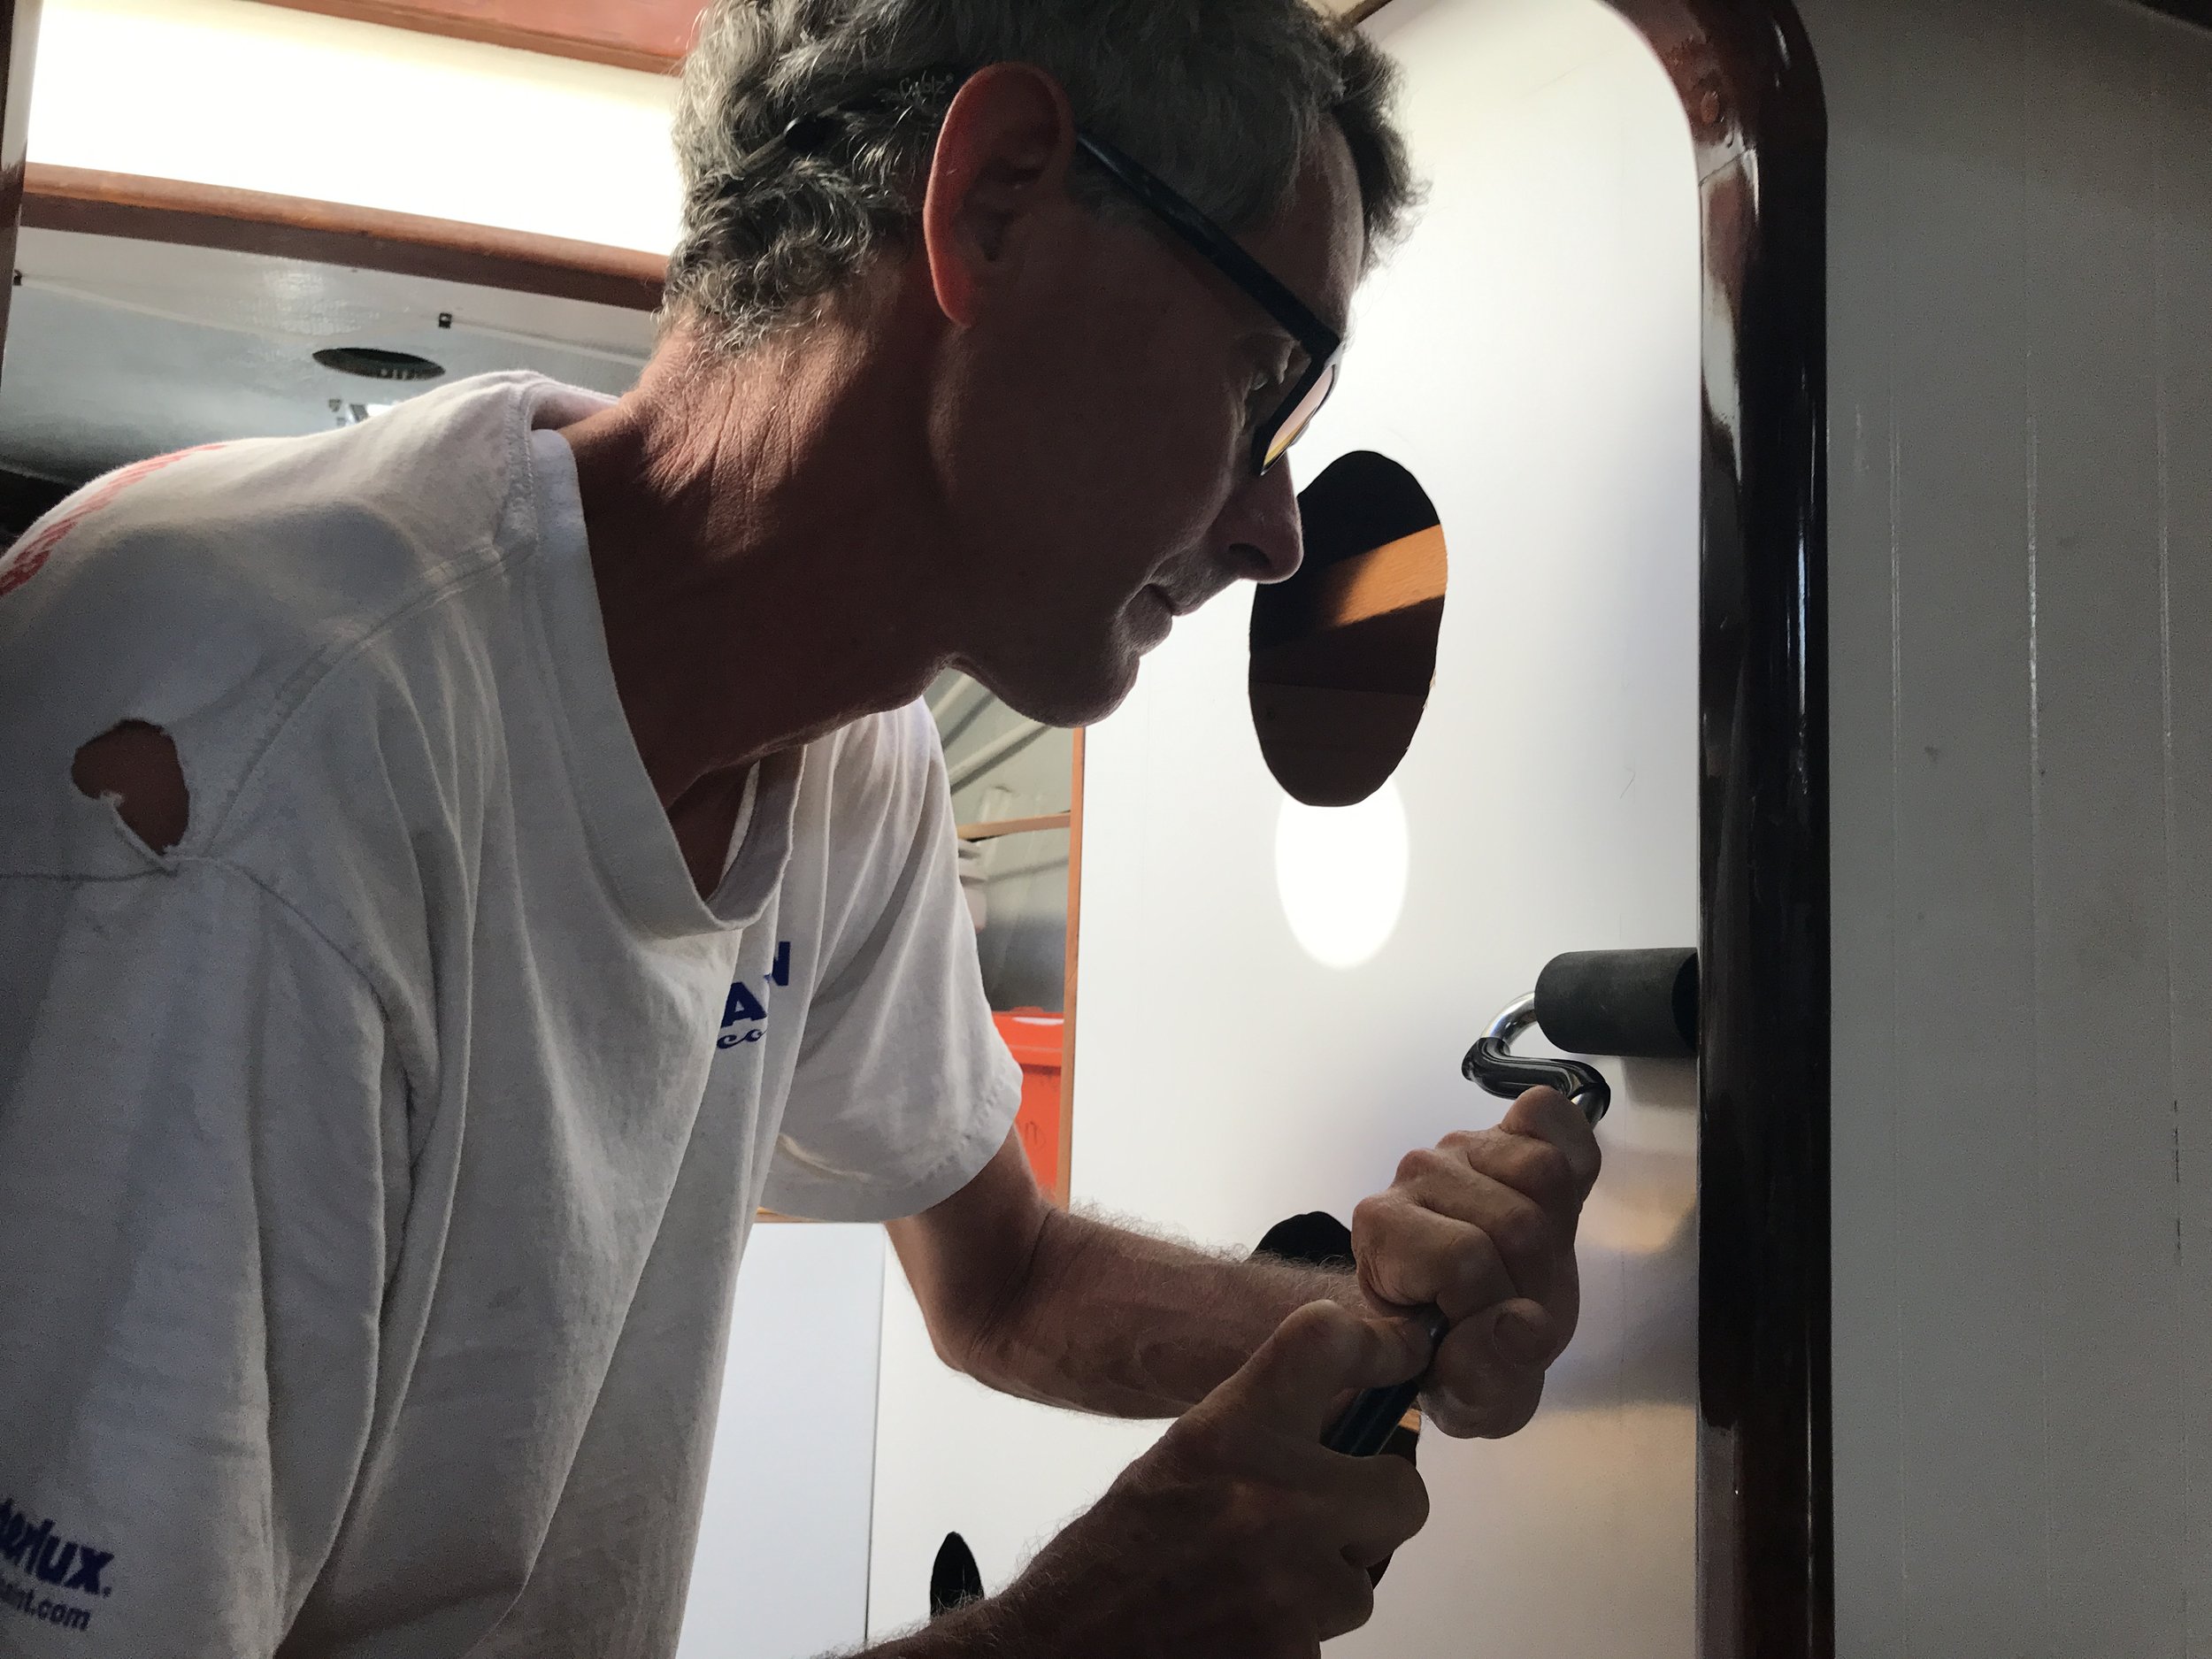
Pressing the formica on with the roller.
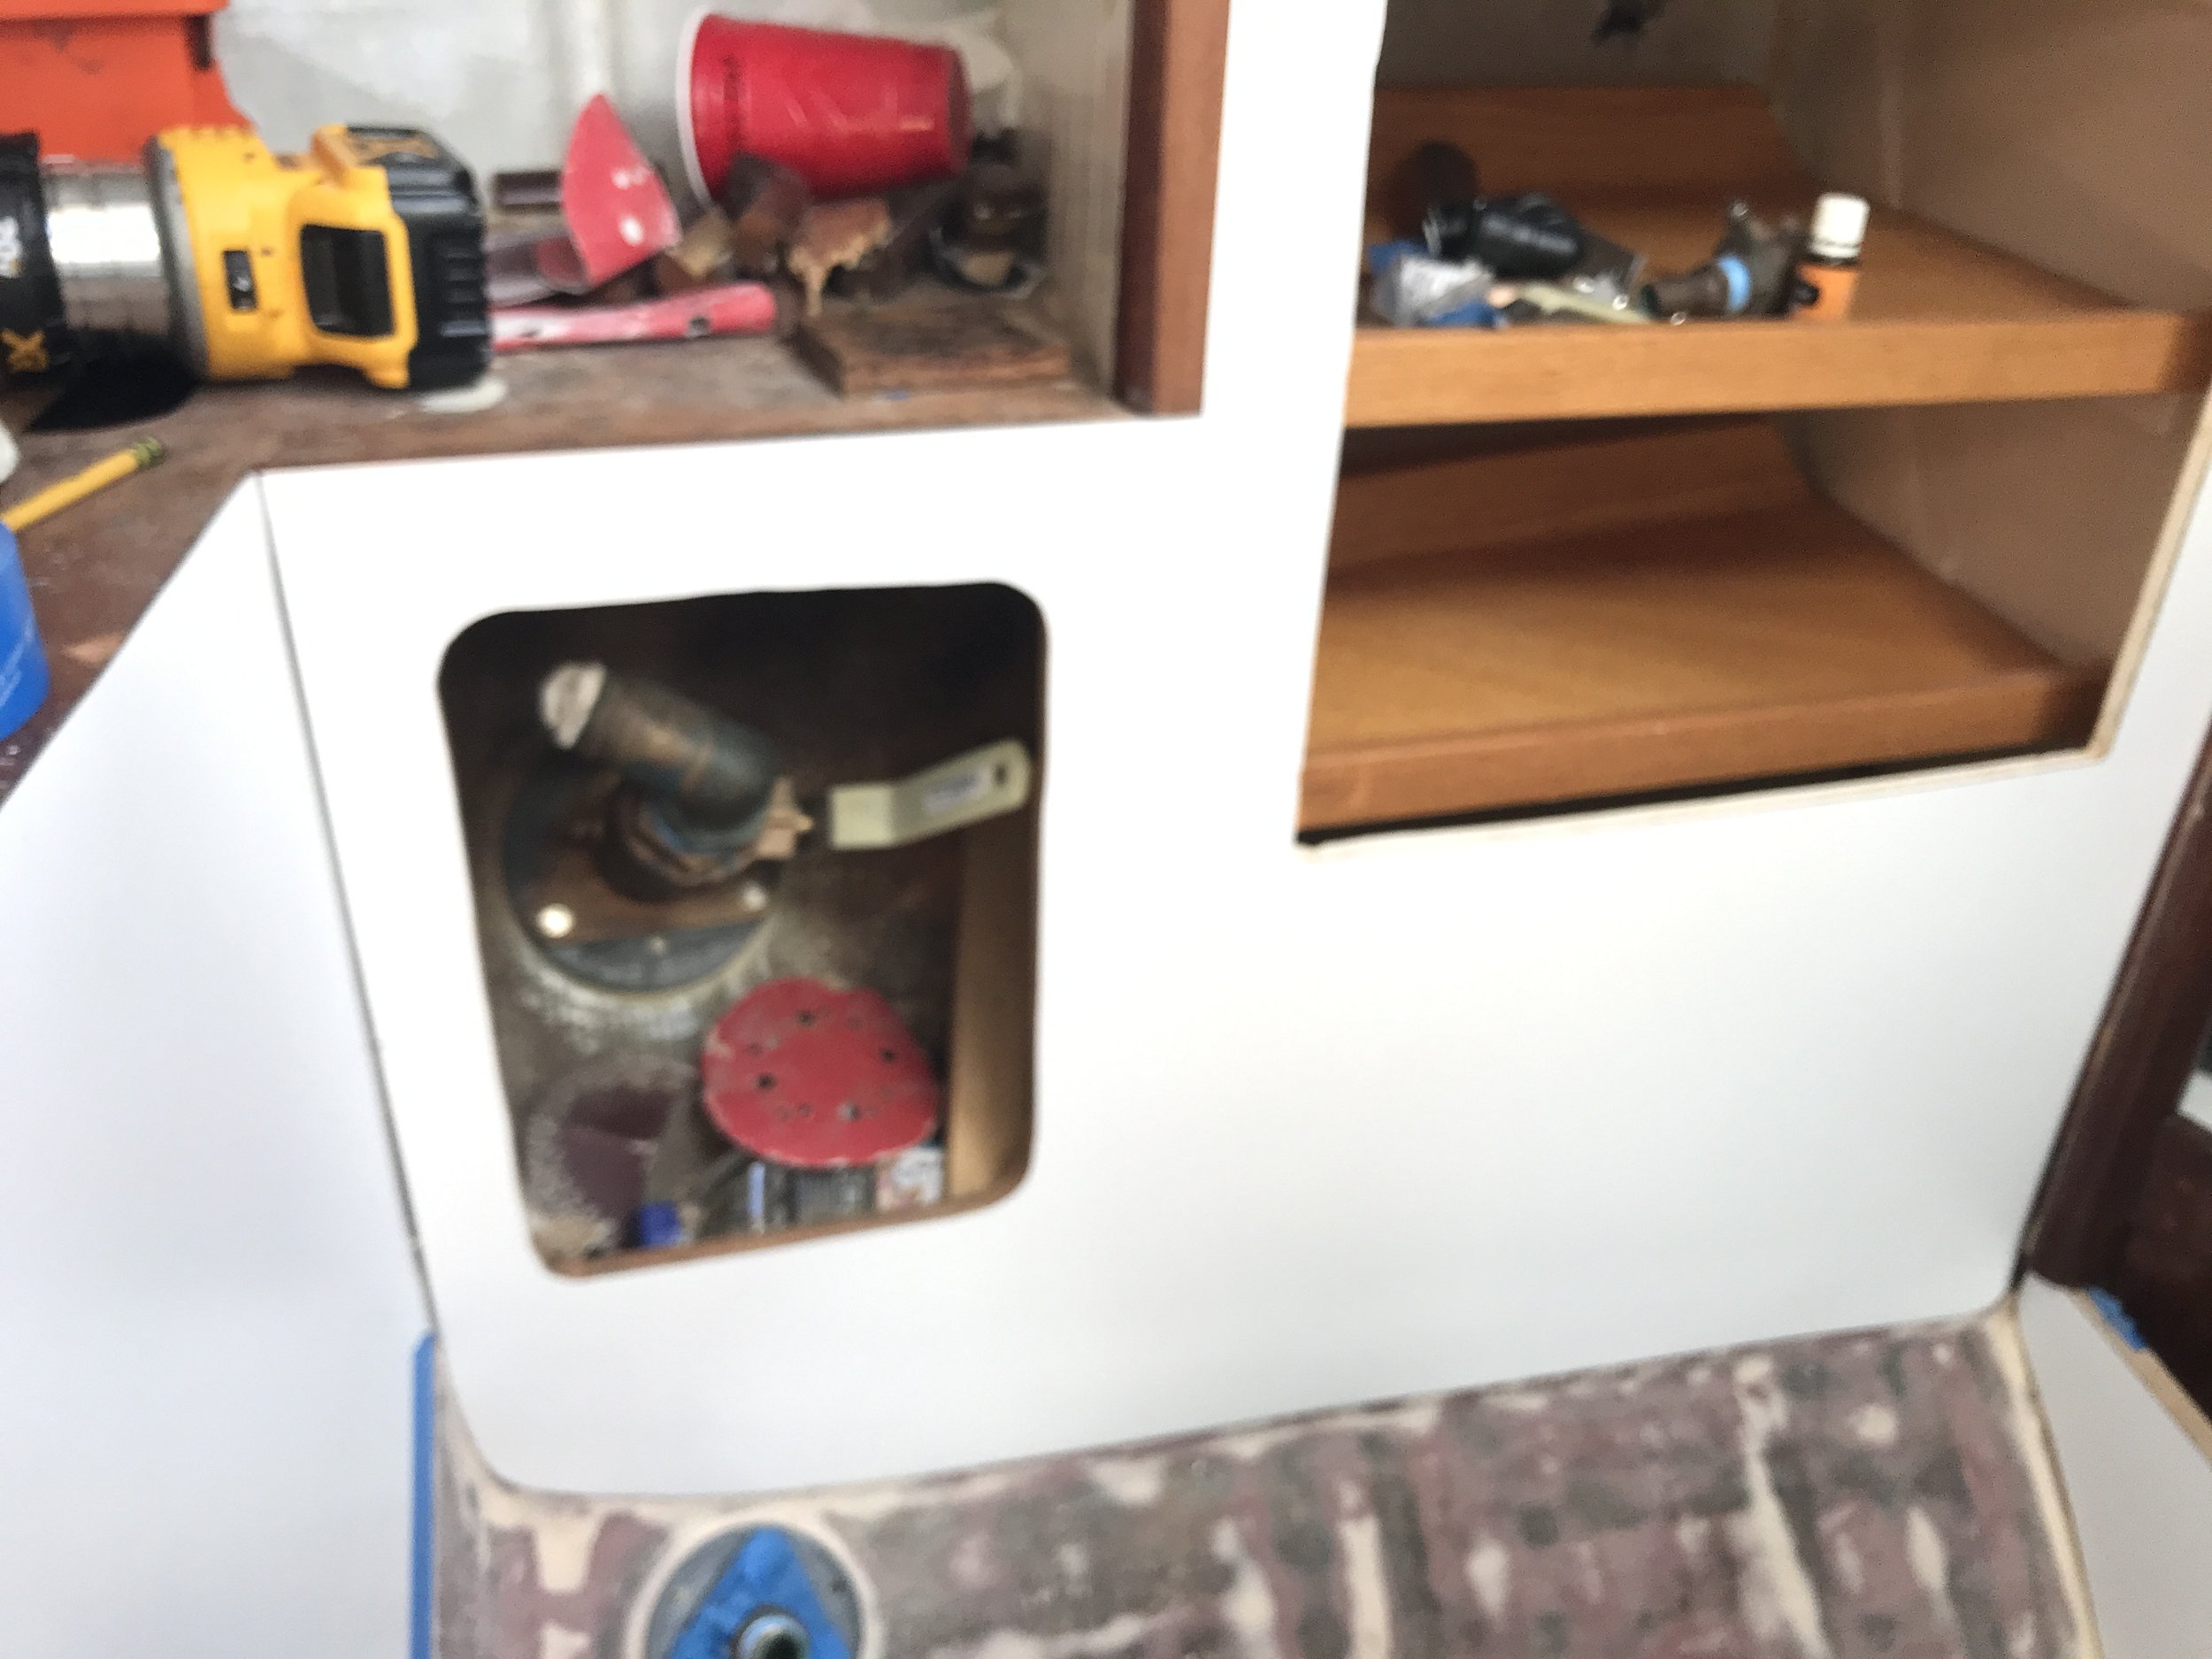
All openings cut out - ta daa!
If the formica is going onto a bulkhead with cutouts, you may have to finish edge the cutouts after installation. It’s definitely easier to do at least an initial cutout before installing the big sheet!