
Templating: How and Why
If you’re new to the blog, you might not be aware that we’re in the throes of a massive refit on Calypso, our 28’ Bristol Channel Cutter. We’ve owned her since 1992, have done 2 extended cruises aboard, and we’re in the process of getting ready for the big one - the “for as long as it’s fun” one.

Calypso, needing some major bulwark work
The big projects involve interior living space. I’m fairly fond of saying “The galley is in the dumpster” - we’re down to bare hull in the galley space, and though we’re making progress there it’s not visible. We’ve decided on things like a sink and a countertop material, and have even gone so far as to figure out the cabinet layout. So far, though, all you see when you peer into the boat on the starboard side is a vaguely phallic sink drain that’s attached to nothing but thin air.

Sink drain. This is before we finished ripping out the galley. The drain is still there.
We’re focusing hard on the bunk. For reasons I get into here, we’re changing our main bunk from an offset V in the forepeak to a pull out pilot berth in the main salon. This has involved removing bookshelves, adding beautiful ceiling strips, and endlessly testing the configuration. We’re going to need to add about 3 inches of width (depth? What is it called when you’re making a settee stick further into the centerline of the boat?) to the port side settee, just so we can maximize the space we’ll have for the bunk cushion.
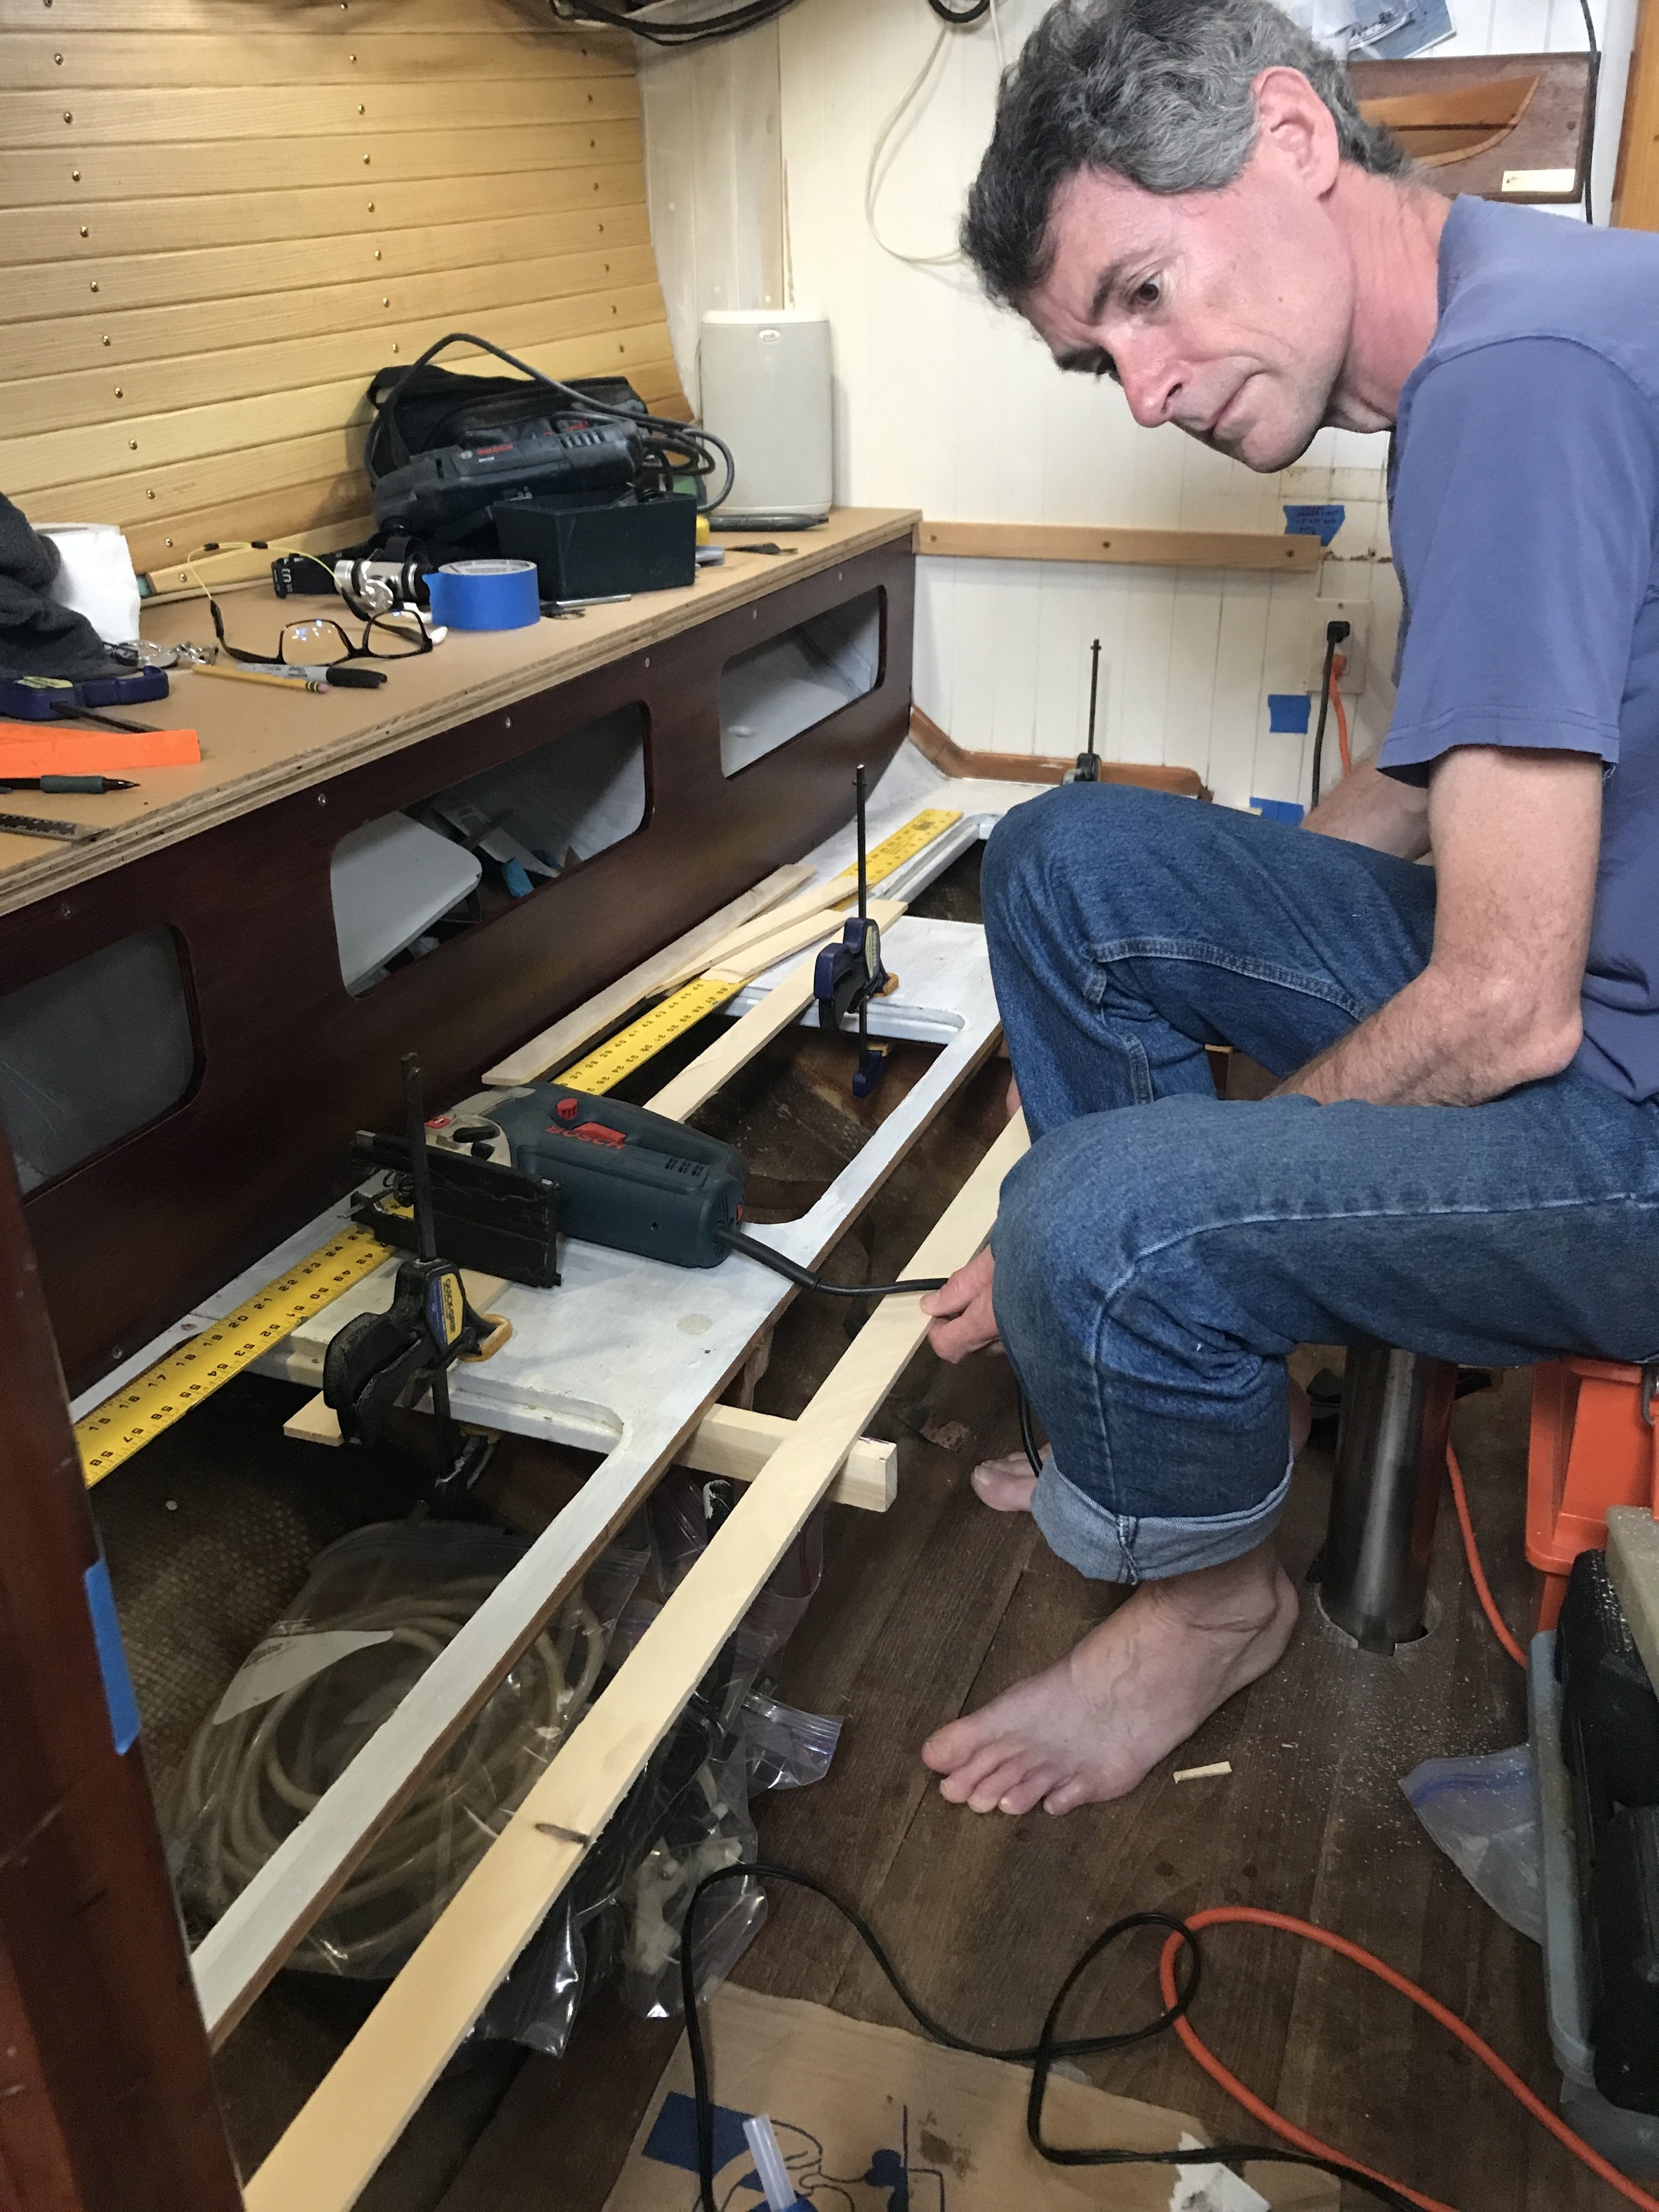
This weekend, we templated that piece. I thought you might like to see how we do it. It involves thin pieces of wood (Jeremy ripped a 2x4 into strips), measuring, and hot glue.

1. The old settee end visible; the new one will extend to the “t” marked on the blue tape.
If you’re building something where nothing exists right now, figuring out some kind of brace is a good idea. This does not have to be the right size; you’re just putting something down to rest the batten pieces on.

2. Measure!
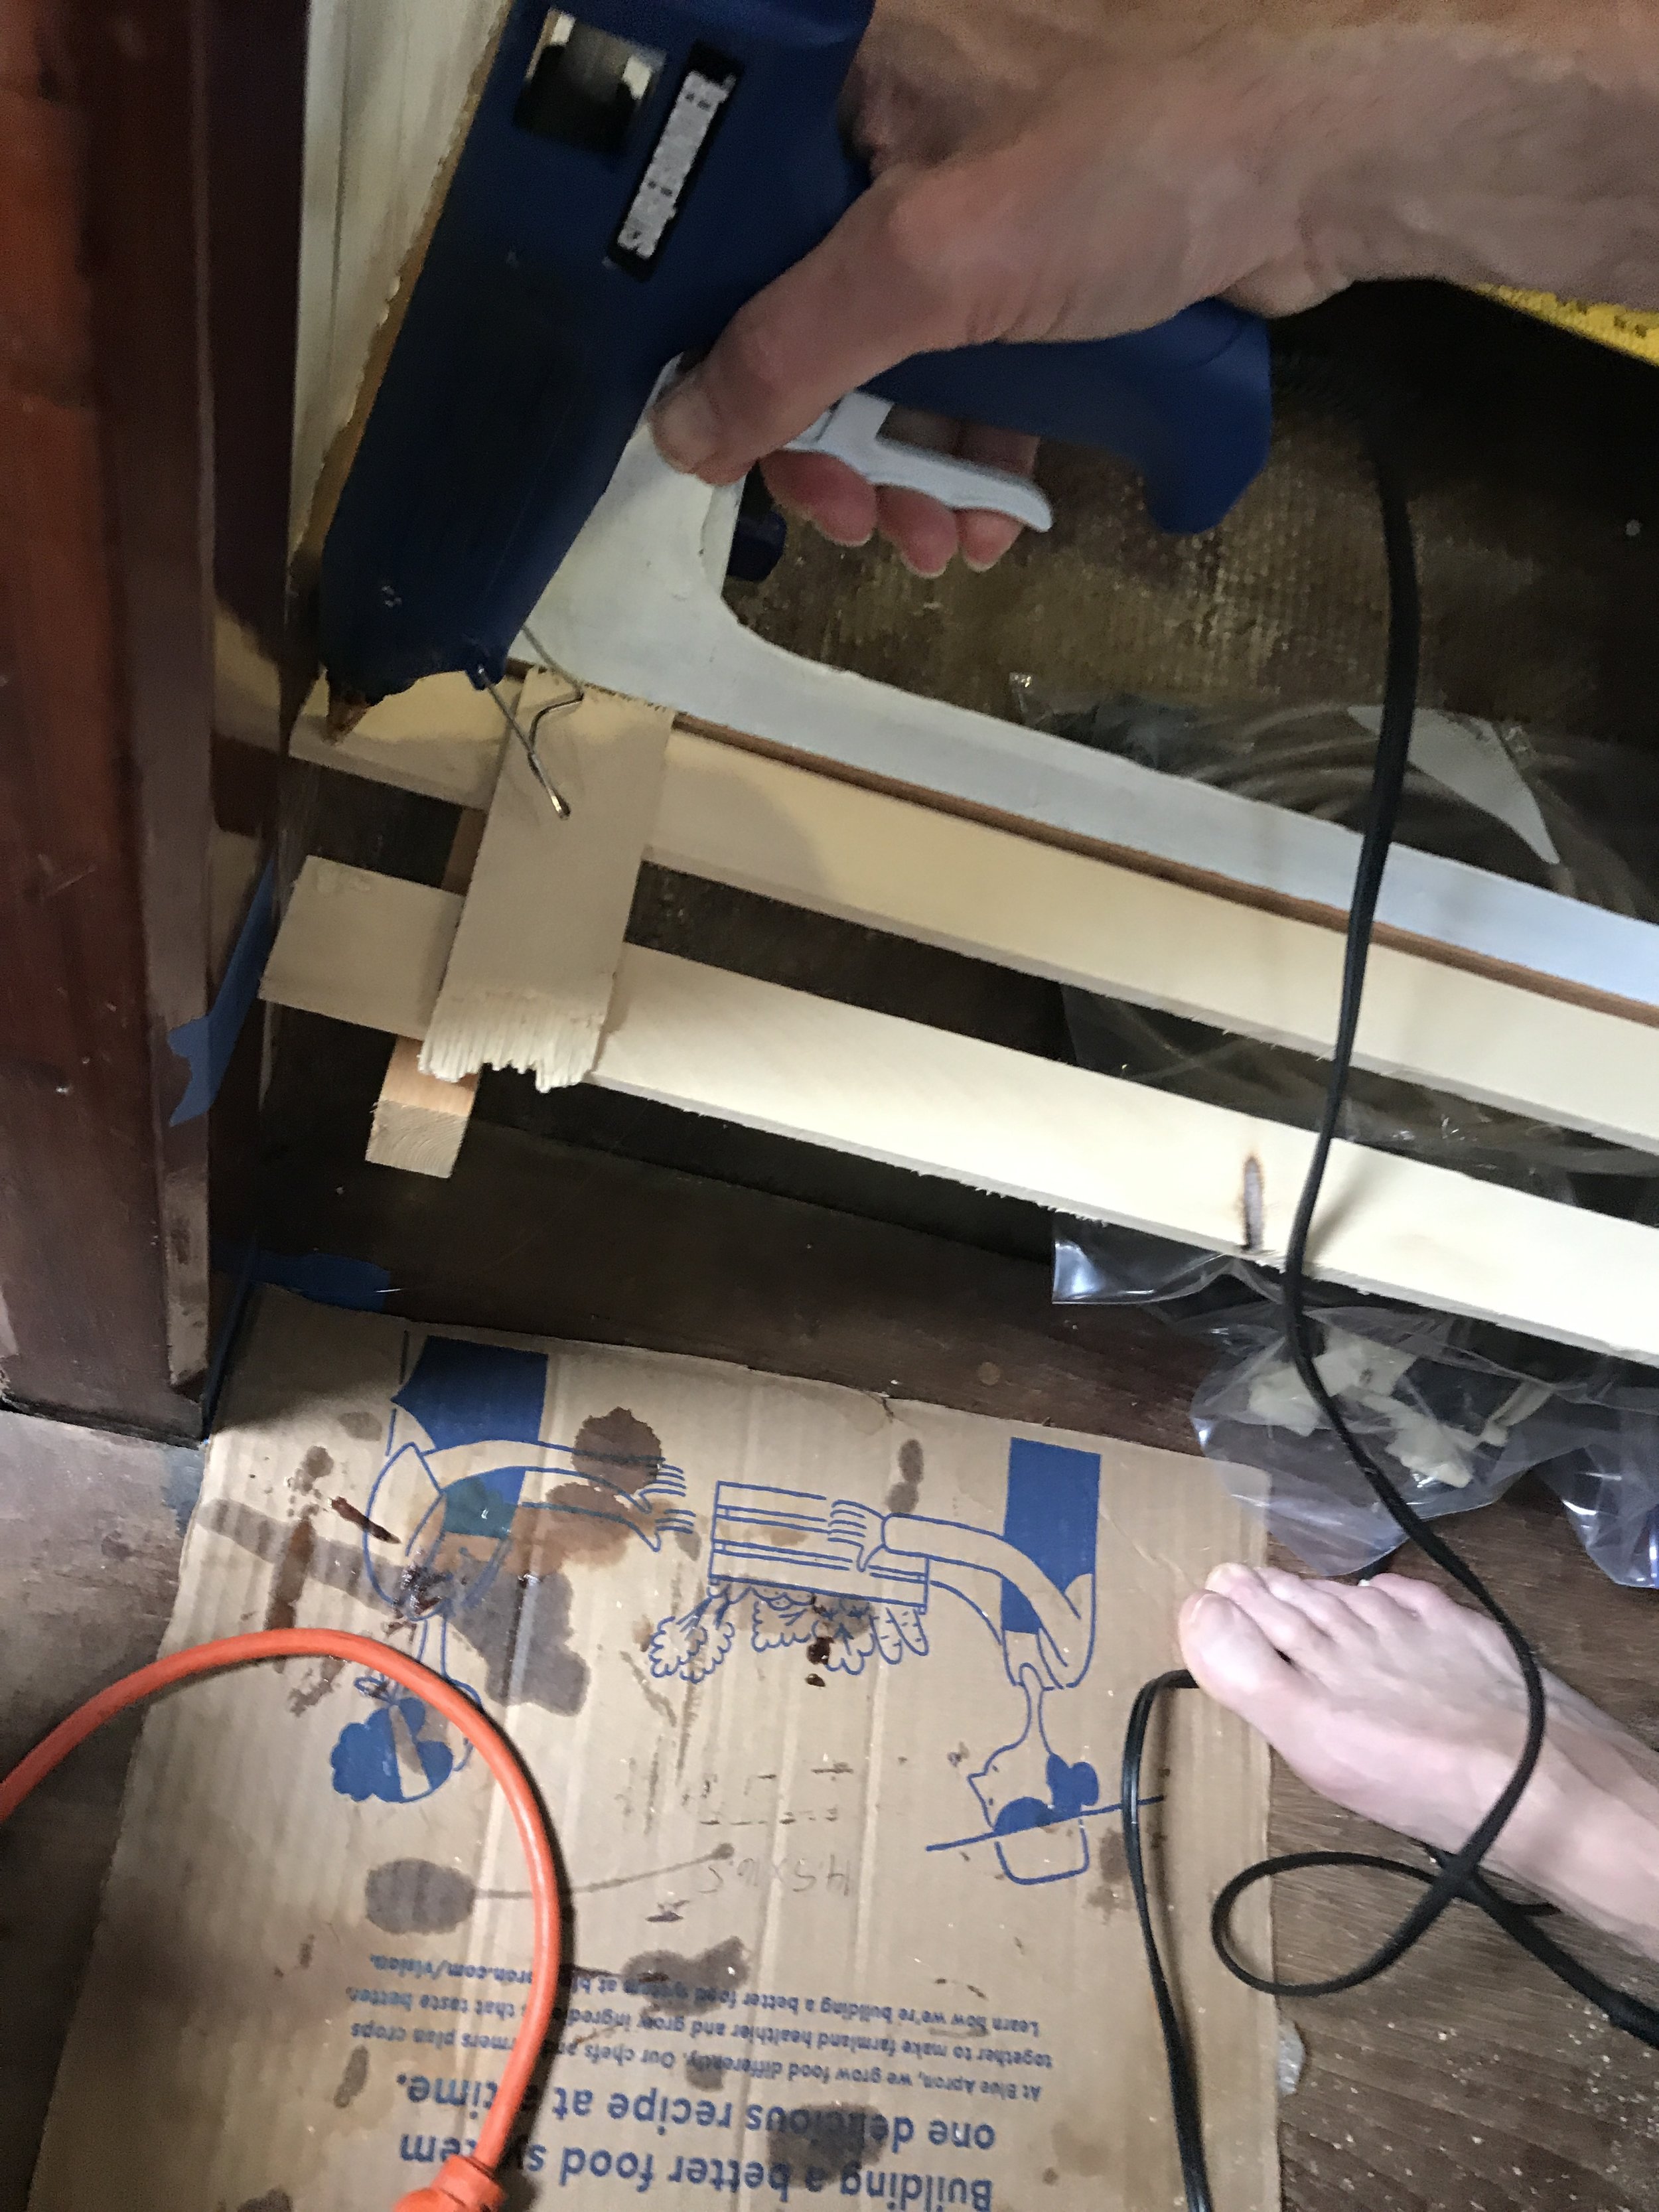
Measure the batten piece to fit where you want it to go. If you look closely, you can see the hot glue gun under Jeremy’s leg there.

3. Cut. A jigsaw is such a handy tool!
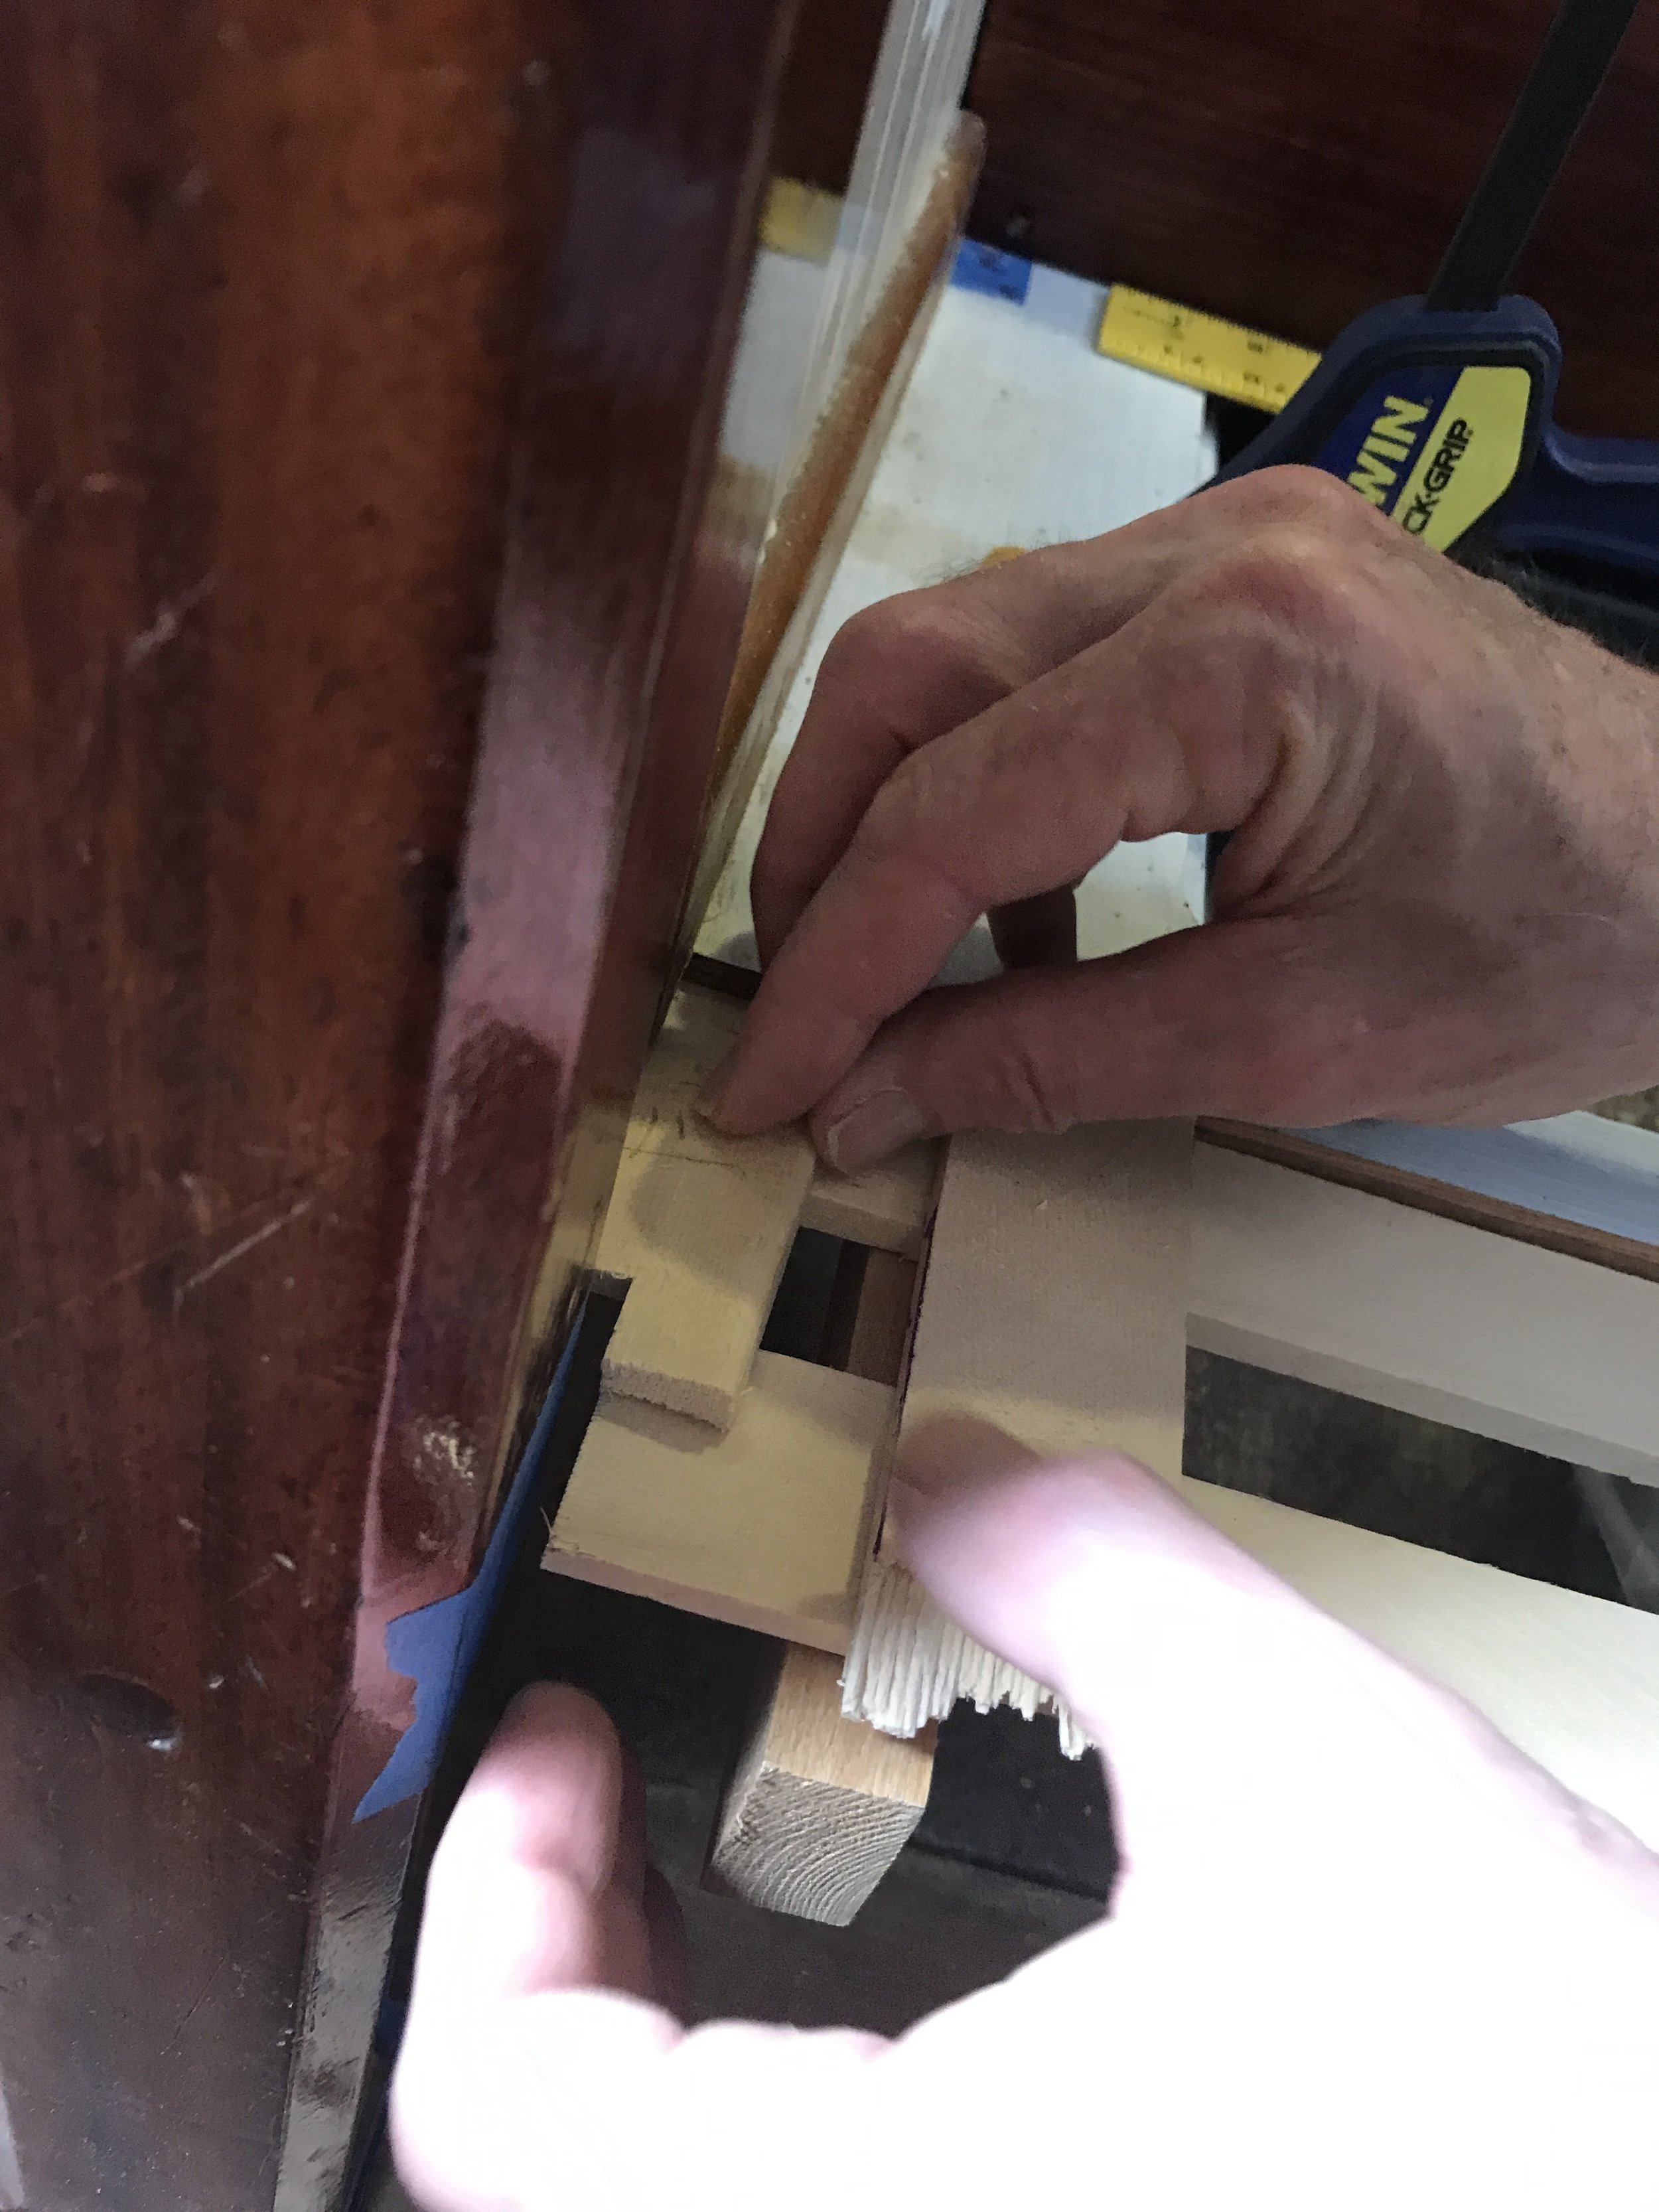
Then you fit the pieces together, being as careful as you can be - and affix each one to the next with hot glue. Fast and strong enough for the purpose here!
Finally, you make sure to mark the template so you know which side is up and which way you’ll want to cut the plywood. This is important especially if you’re worried about which face the plywood will have visible.
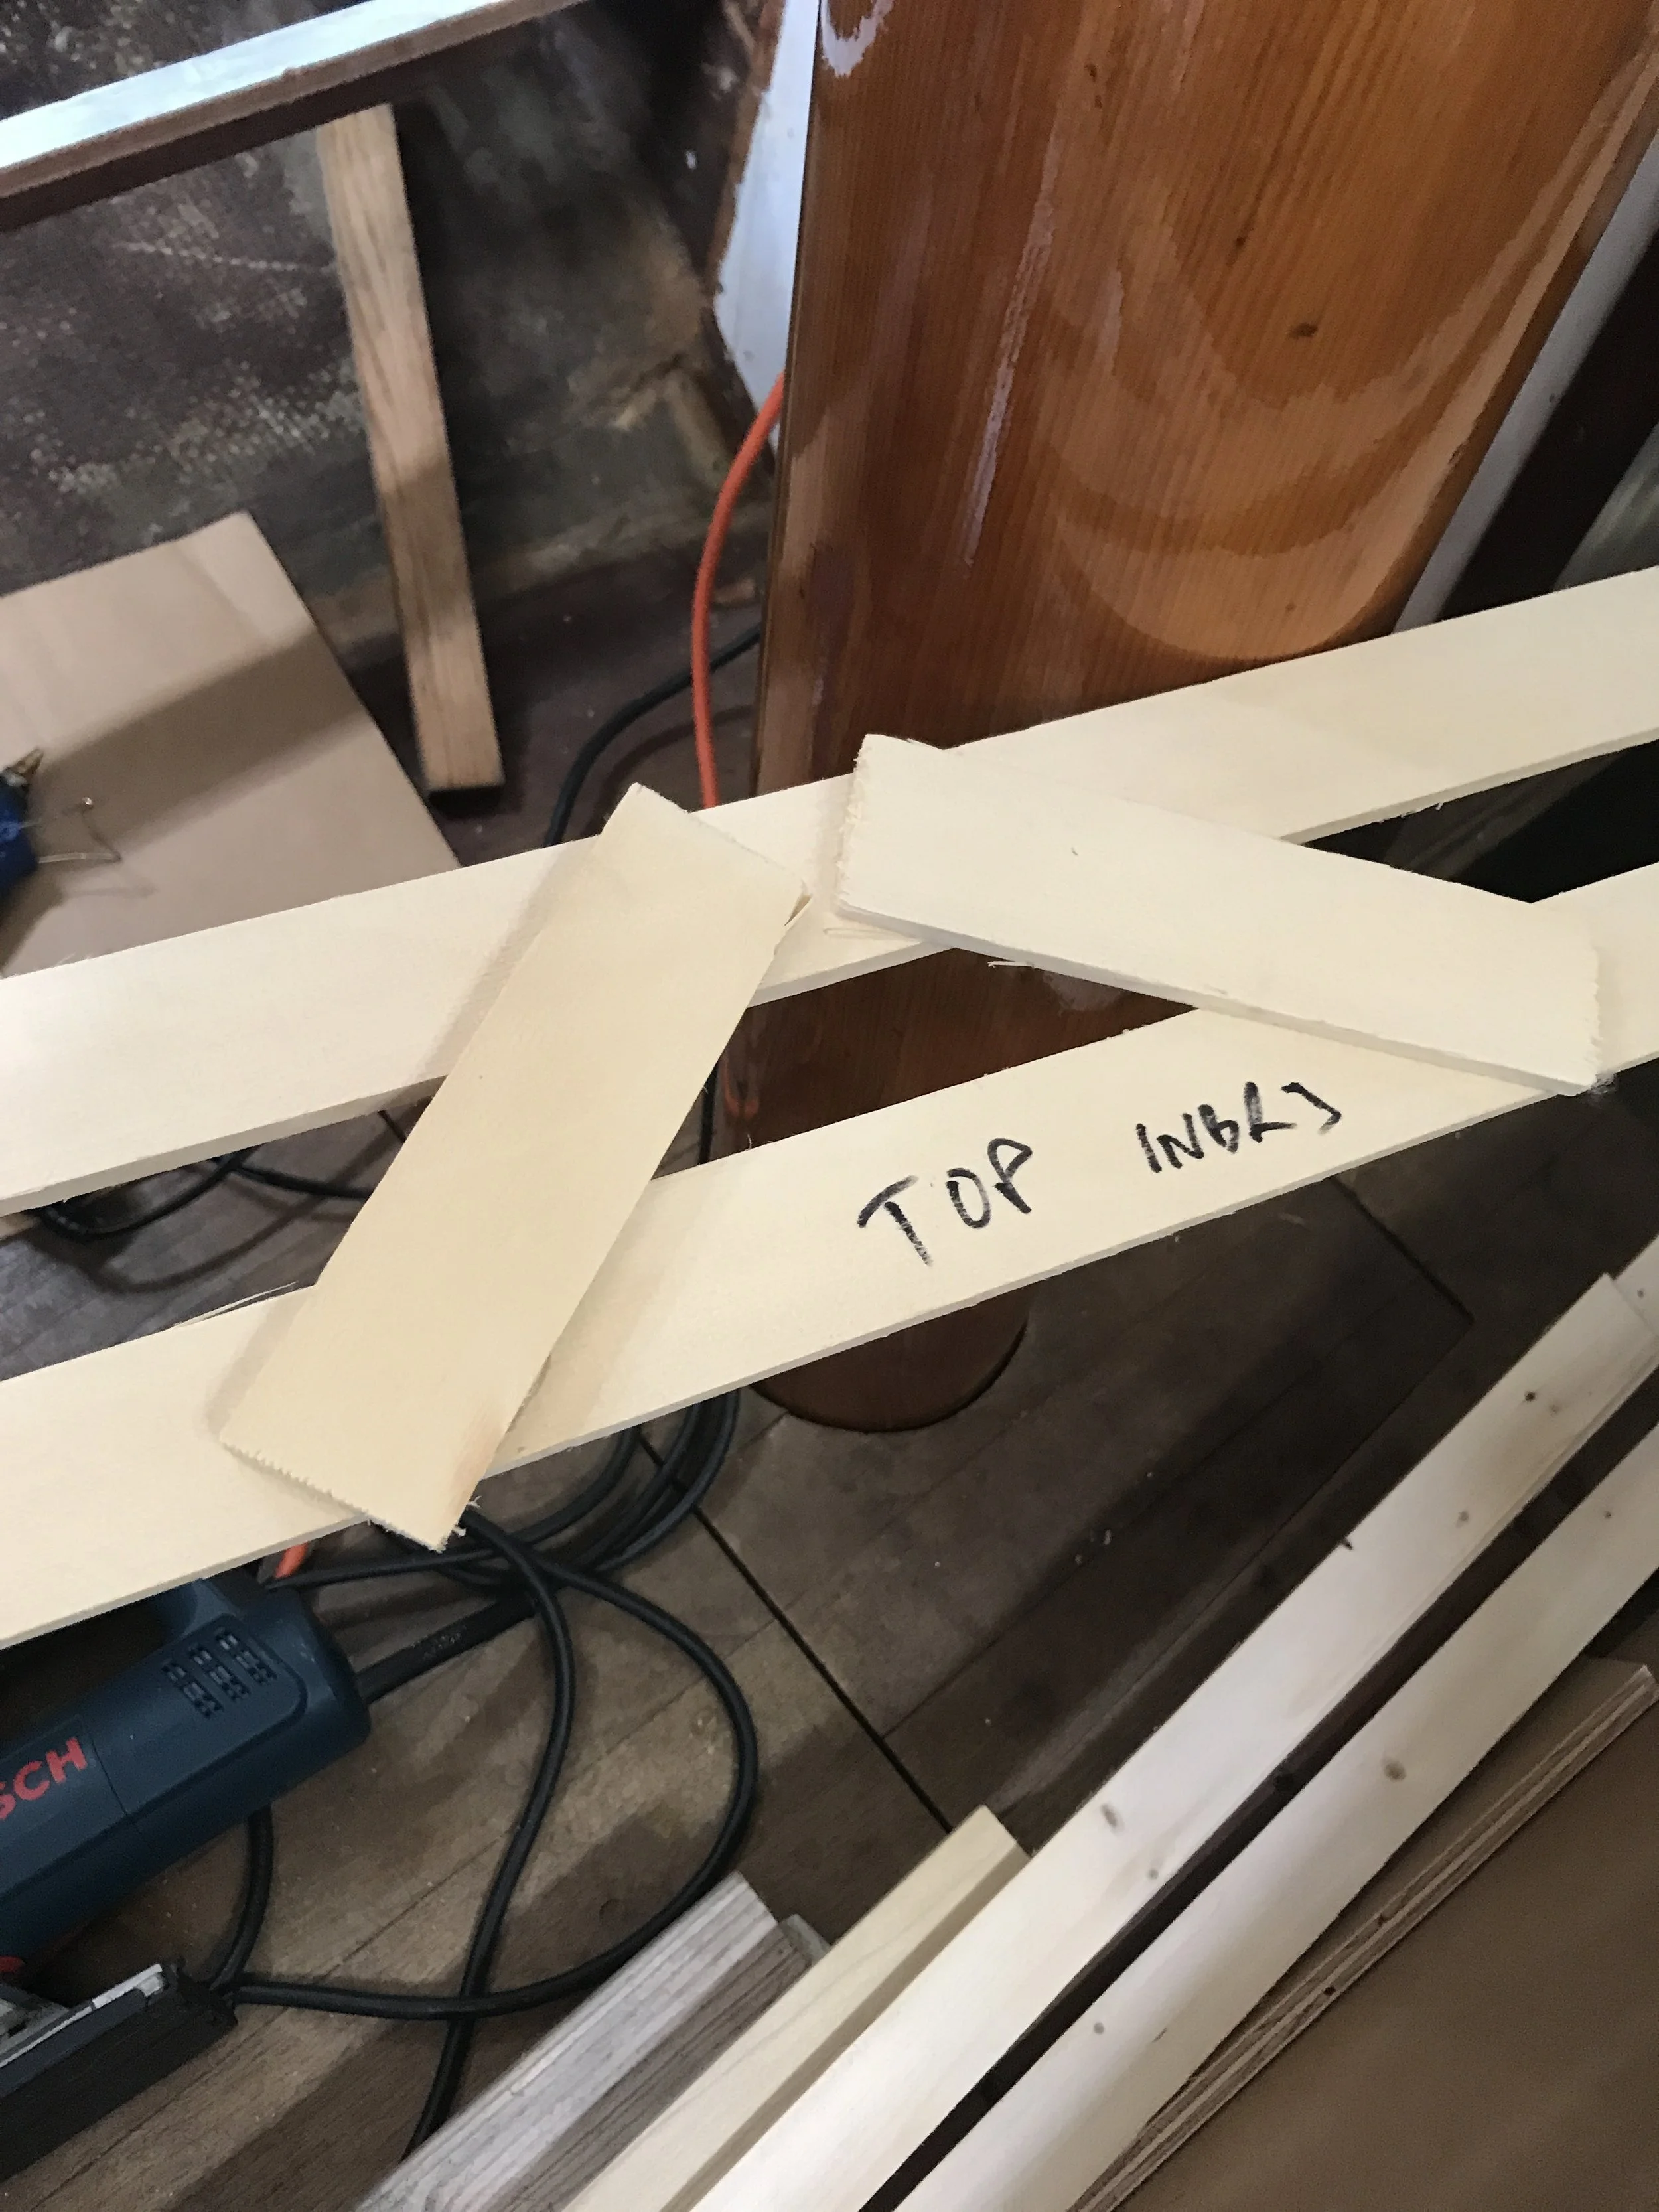
(This says top inboard)
And then, when we get to the cutting of the plywood part, all we need to do is lay the template on the plywood and cut away. No need to carry plywood up and down the companionway while we try to get the first cuts done. No need for paper or cardboard. The template can also be slid into place over and over again and the shape tweaked to perfection far more easily than a solid, heavy piece of plywood. The batten strips hold their shape, are cheap to use and light to move around, and as a bonus when we’re done we can cut them up and use them in future projects. Templating for the win!

Booze bottles make for a decent assistant sometimes.