
Take It All Off!!
The number of pieces we’ve taken off of Mischief, either for access, to replace, to fix up, or to clean, is a little bit astonishing. More astonishing, in my opinion, is the fact that we continue to remove more! And yes, everything will need to be re-installed before we can leave.
What have we taken off of the OUTSIDE of the boat (and why)
Mast. Pulled this when we hauled out at Oak Harbor in May of 2022 after bringing both boats north from Deltaville. The bottom 2 inches, where it was sitting in standing water in the bilge, were corroded way past the point of repair. Jeremy has surgically removed the crumbling aluminum, built and installed a new mast step, and re-run the wiring for the mast electronics so it does not terminate in the bilge. He’s run all new wiring in the mast too, plus installed new spreader lights, new steaming light, new vhf antenna, and a new masthead light. We have outsourced the building of new standing rigging to the yard.
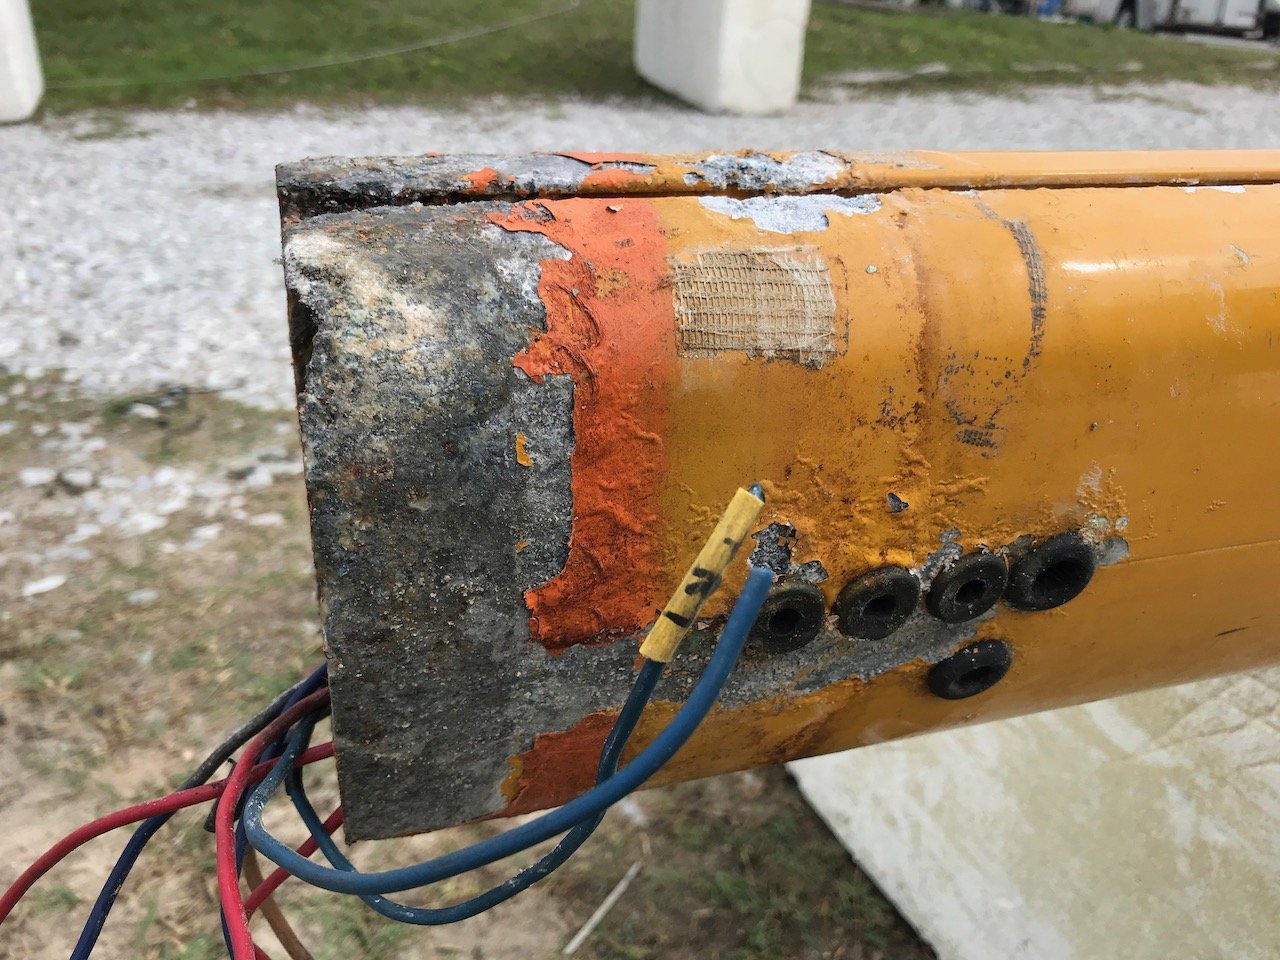
Mast base looked terrible
Hatches. We took off all the hatches and put temporary ones in place last summer. They all needed to be rebuilt to some degree or another: all of them leaked badly. Jeremy has disassembled the companionway and forward hatches, carefully removing all the teak strips from the delaminated plywood. He’s rebuilt them using fiberglassed-over Coosa board as the waterproof layer, then installed the teak back on top. They’re in the middle of their “varnish” spa treatment. The center hatch, with its cracked and crazed Lexan “glass”, has been cleaned, joints resealed/tightened, and is awaiting both new Lexan as well as the varnish treatment.

Details of hatch reconstruction
SIDE NOTE: we’re experimenting with a new-to-us product for the brightwork as the amount of time it takes for our preferred Epifanes varnish to dry between coats doesn’t play well with almost daily summer thunderstorms in the Chesapeake. We’re working in outdoor conditions, yes under a tarp but definitely not weather-proof. Awlwood is an expensive system which gets rave reviews from friends who’ve used it. So far we are fans. It kicks off fast (we’re easily getting 2 coats on a day; could do 3 if we had cooler temps and better shade options), dries VERY hard (a scotch pad, our preferred method of scuffing between coats of finish, basically doesn’t make a mark - and no, you technically don’t need to sand or scuff between coats but good luck seeing what you’ve done if you don’t), and looks fantastic. Check back with us in a year.
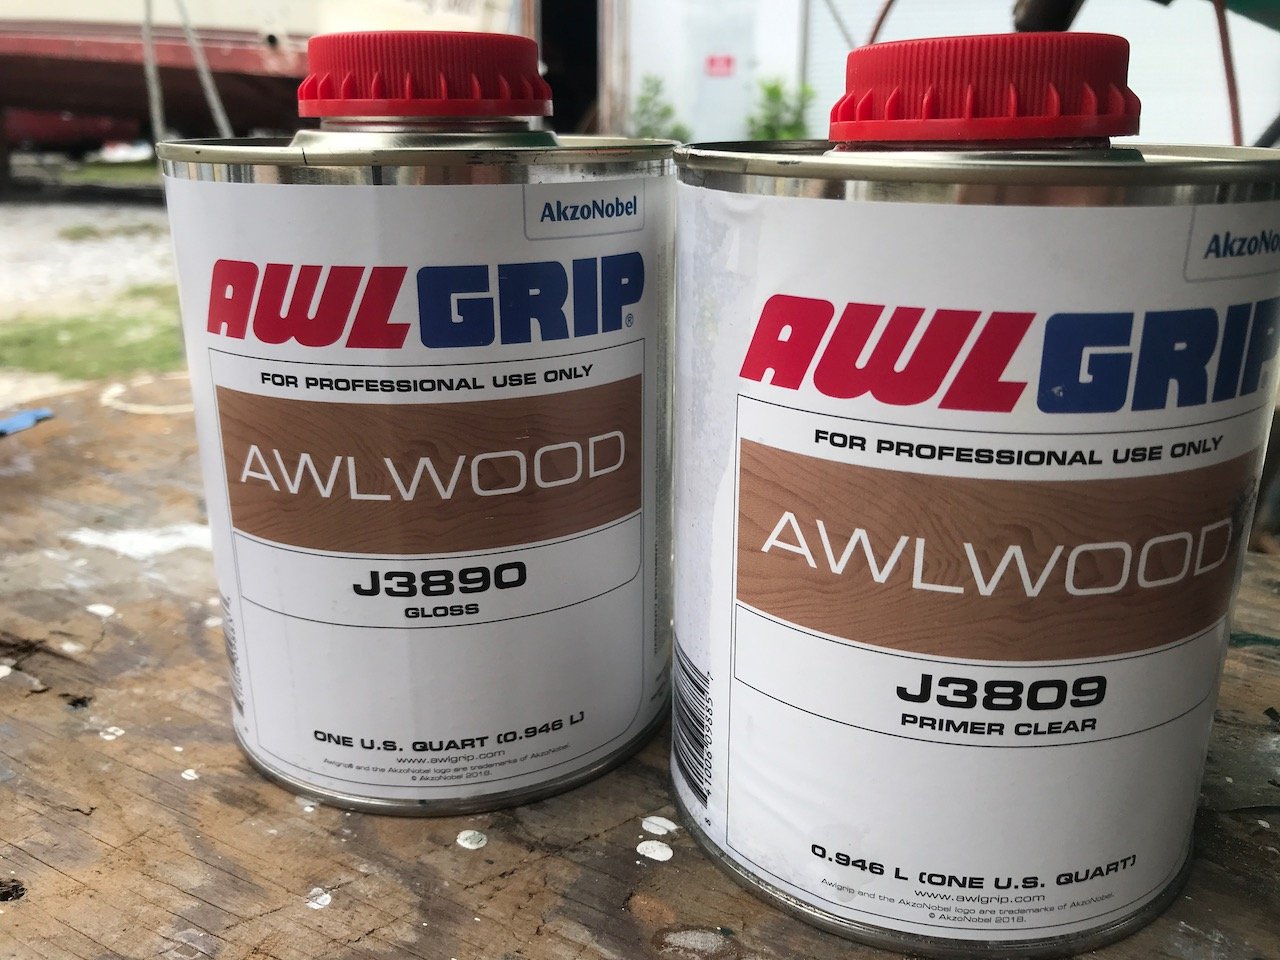
New brightwork product
Anchor and chain. All out to see if we can salvage the chain by regalvanizing it. (Not sure yet.) The anchor is an old CQR that we’ll keep on the boat. We also needed to take this all out to eradicate the mold in the anchor locker.
Bitts. We pulled these out to better see what the state of the wood was all through the deck. The exposed parts, which help anchor the bowsprit in place as well as serve as tie points for lines, were in very rough shape due to being ant nest homes for years. Happily the below-decks parts look fine. We’ve soaked them with penetrating epoxy and will fill and paint the above-decks part. Taking these out also gave us access to the anchor locker for cleaning, plus it allowed us to get at the stem fitting chainplate (see below).

These look awful
Bowsprit. Took this off to see if it was salvageable, to refinish it, and to generally work on this large expanse of wood from ground level instead of on ladders. We’re extremely pleased with how it’s turned out! When the bowsprit came down, so did the bow pulpit, with its red/green bow light. Jeremy took advantage of that being at ground level to replace the incandescent bulb with an energy-efficient LED.

Heat gun helps remove all old finish
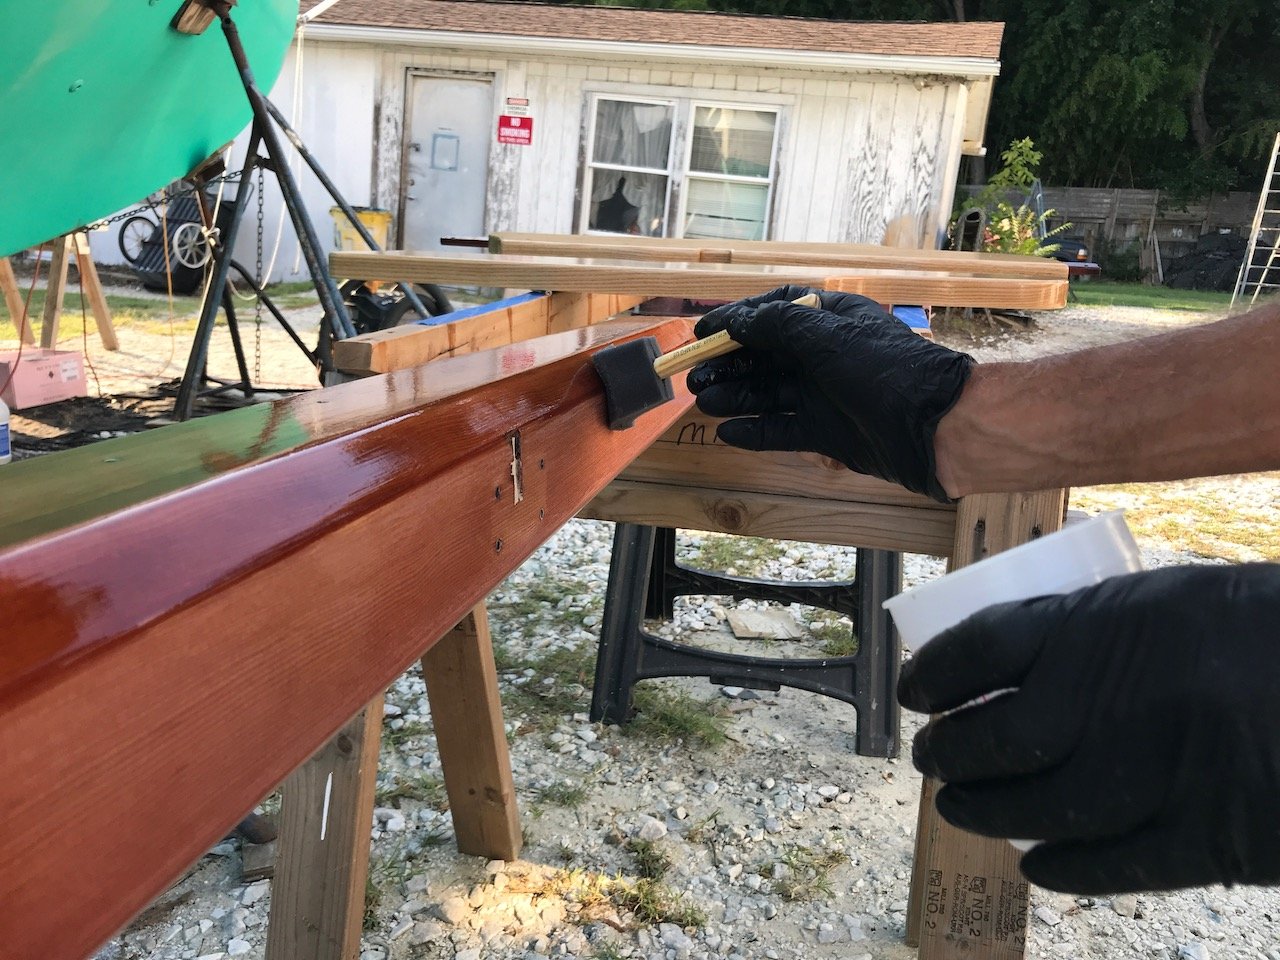
Bowsprit with a few coats of finish
Chainplates. All 14 of them, off the boat. At the very least they need to be re-bedded; we’re most likely going to replace them all. There’s a link to the “Mischief chainplates” fund nowhere on the internet. (Should we buy a Powerball ticket?) The hardest one to get out was the stem fitting, which is where the bobstay attaches to the hull, right at the waterline. It’s a hefty y-shaped stainless steel piece, with the stem of the “Y” poking out through the hull. It’s fiberglassed into place. Removal of that one took an oscillating tool (while wearing proper safety equipment) to cut through the fiberglass, then a lot of pounding from the outside in. We’ll have some grinding to do to prep the area for new fiberglass. Why are we replacing these pieces of stainless steel hardware? Stainless can suffer from insidious (and largely invisible) degradation called crevice corrosion from the inside out. That these are all (except for maybe 1) original, 40-year old equipment, solidly structural in nature (holding up the mast) gives us pause. When we removed one of the pieces of the boomkin, one of the perfect-looking-on-the-outside carriage bolts shattered into 3 pieces. Crevice corrosion. No thanks.
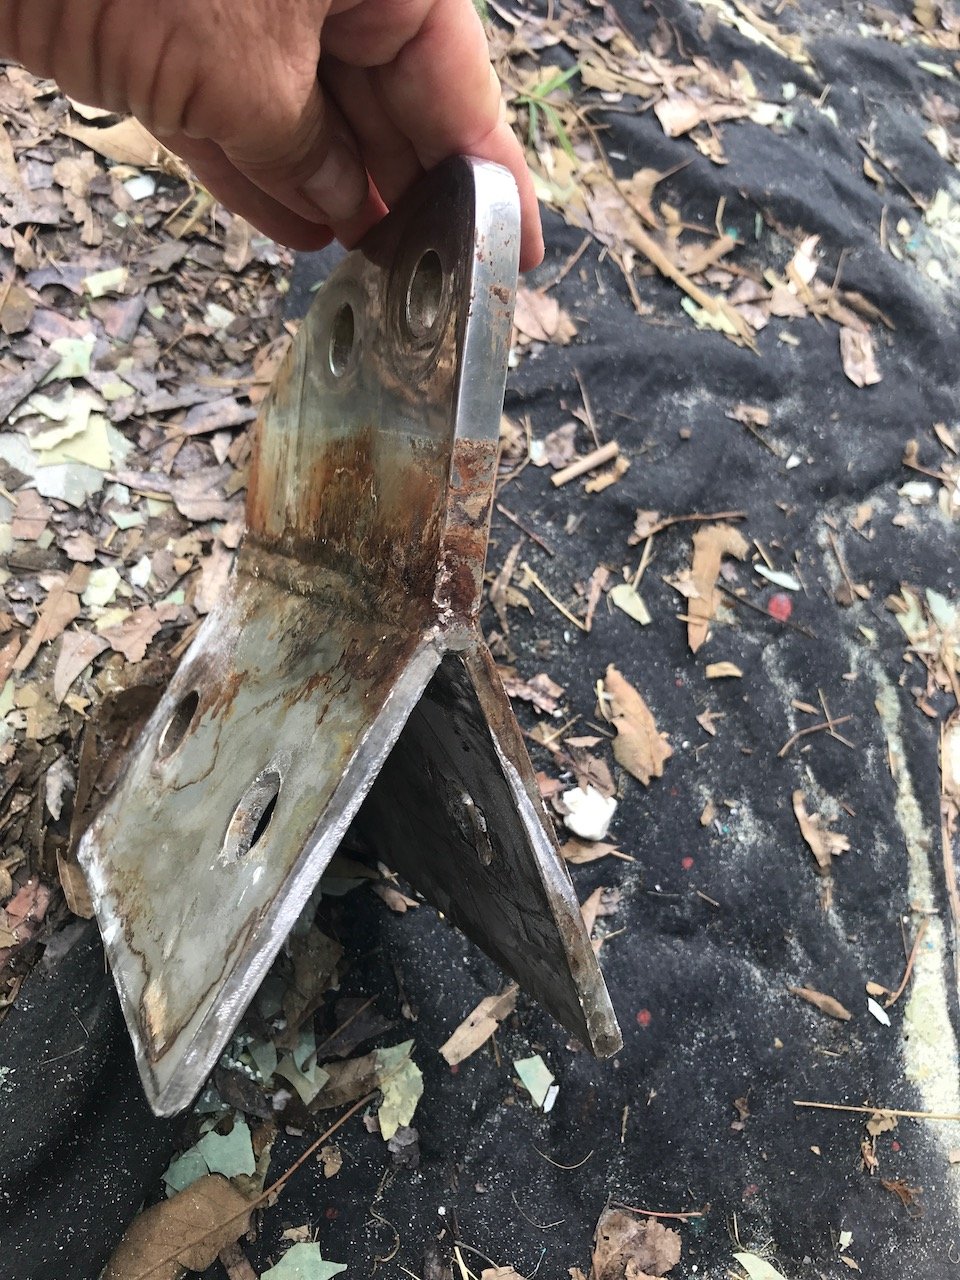
Stem fitting, removed!
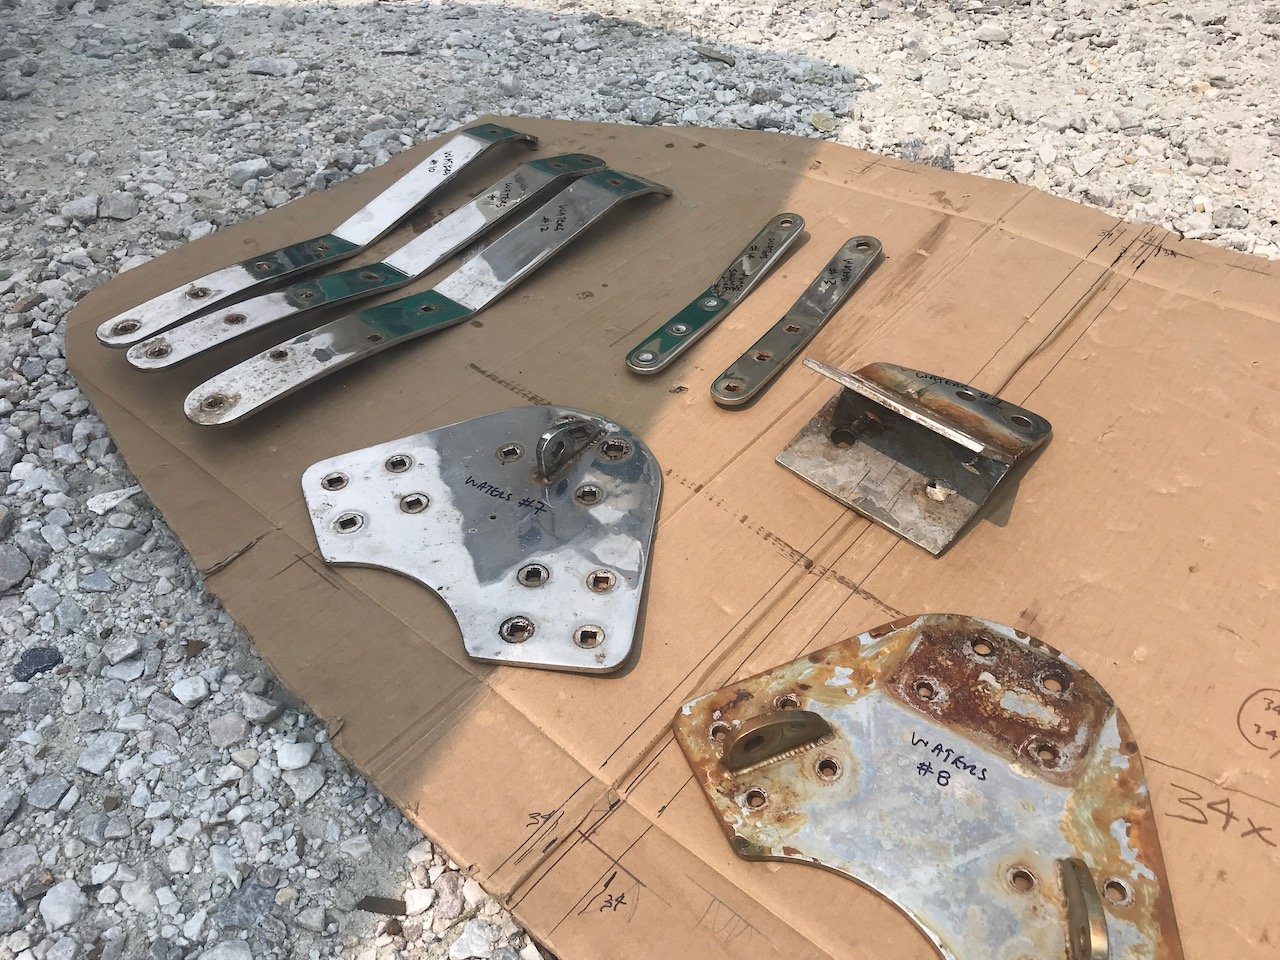
Some of the chainplates, labeled and ready to take to the fabricator

Crevice corrosion destroyed this bolt
Rudder. At this point we’ve taken it off and put it back on I think 3 times, a process that involves some line, some pry boards, and a little patience. Initially it came off to more effectively refinish the cheeks (which turned into a “replace” job), then it came off to be able to remove the propeller shaft. Currently it’s on sawhorses with the green stripe in mid-repaint. Jeremy has also rebedded the pintles after cleaning them up. The new cheeks, all finished with the requisite 8 coats of Awlwood, we’ll reintstall after the rudder is back on for the final time. I’d guess it’ll go back up and back down at least once more - we need those sawhorses for other jobs!

Old cheeks too rotten to keep

So Jeremy built new ones

Green stripe, mid paint layers
Boomkin. Removed (along with the Monitor windvane that attaches to it) to check on the soundness of the wood where it attaches to the deck. Luckily it’s all in great shape. We also wanted to refinish it and rebed the fasteners. The Monitor needs to be cleaned up - whoever “finished” the boomkin most recently used Cetol (a product I think should be banned from existence for how it looks and behaves) and sloppily applied it, splashing and dripping it all over the stainless. Cetol dries to a particularly hard finish that is notoriously difficult to remove. Hopefully a heat gun will soften the stuff enough to push off with wood before we get to the polishing stage.
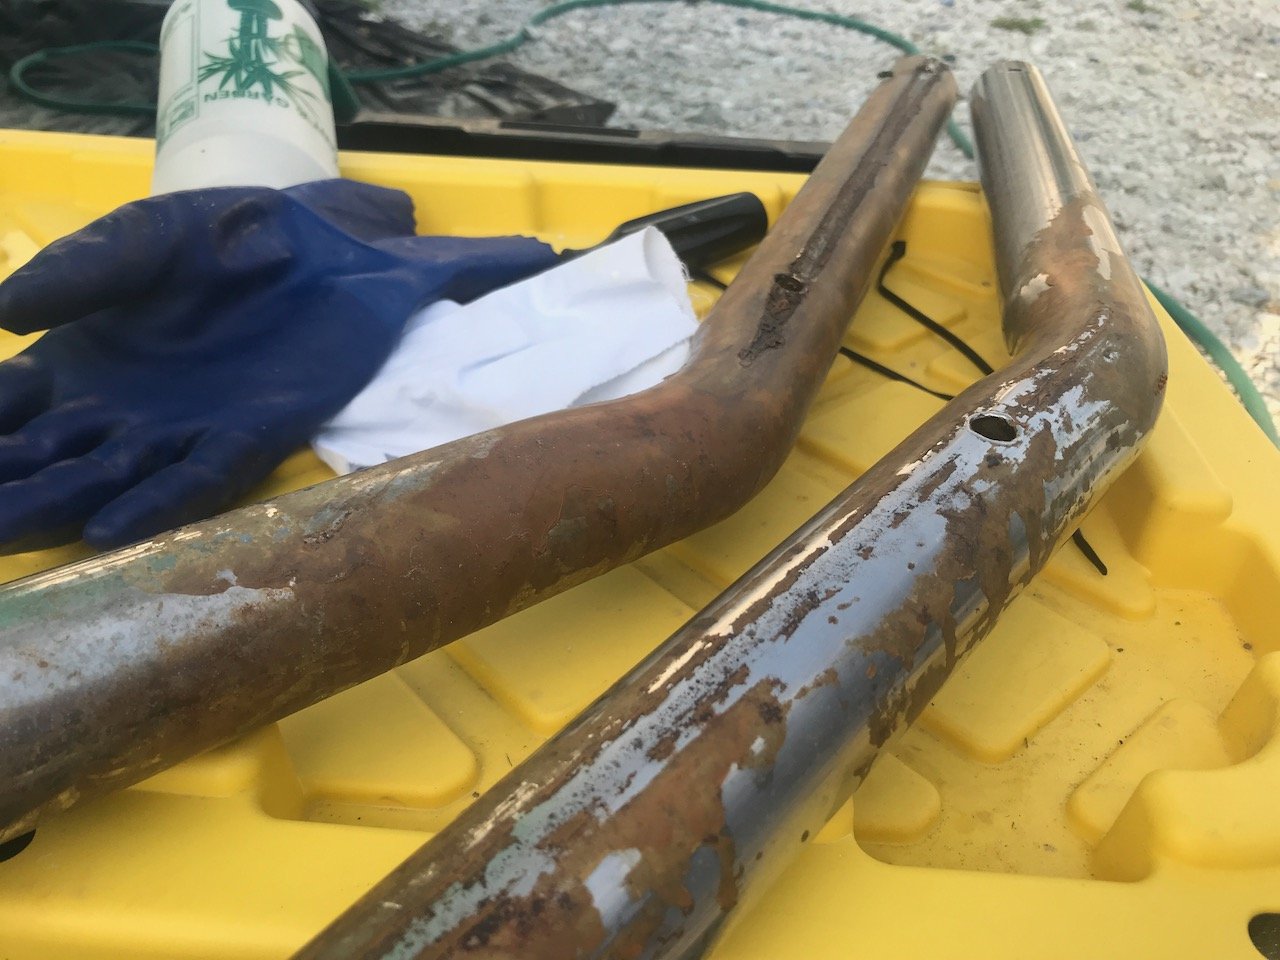
Cetol slop on the stainless
Still to be removed? The portholes. Both for rebedding but also to allow for easier replacement of the interior teak plywood on the cabinsides. A few stanchion posts, because they’re leaking like crazy. The old heater chimney thru-deck fitting, also a leak source.

This plywood needs to be replaced. Gotta take out the portholes too!
And this isn’t even touching what’s been removed on the interior of the boat!