
Bread Machine: an Update (and a recipe!)
Back in February of 2021, I wrote a blog post detailing our thinking about a bread machine. Basically, it was a way of using excess energy in a productive way as well as keeping heat out of the galley.
I was a skeptic, I have to say. I love kneading bread by hand, feeling it change and smooth out as you rhythmically push and press the dough. It’s mesmerizing, creative, therapeutic . . . I could go on. So how has this bread machine (this very large, unwieldy, unattractive plastic box) worked out?
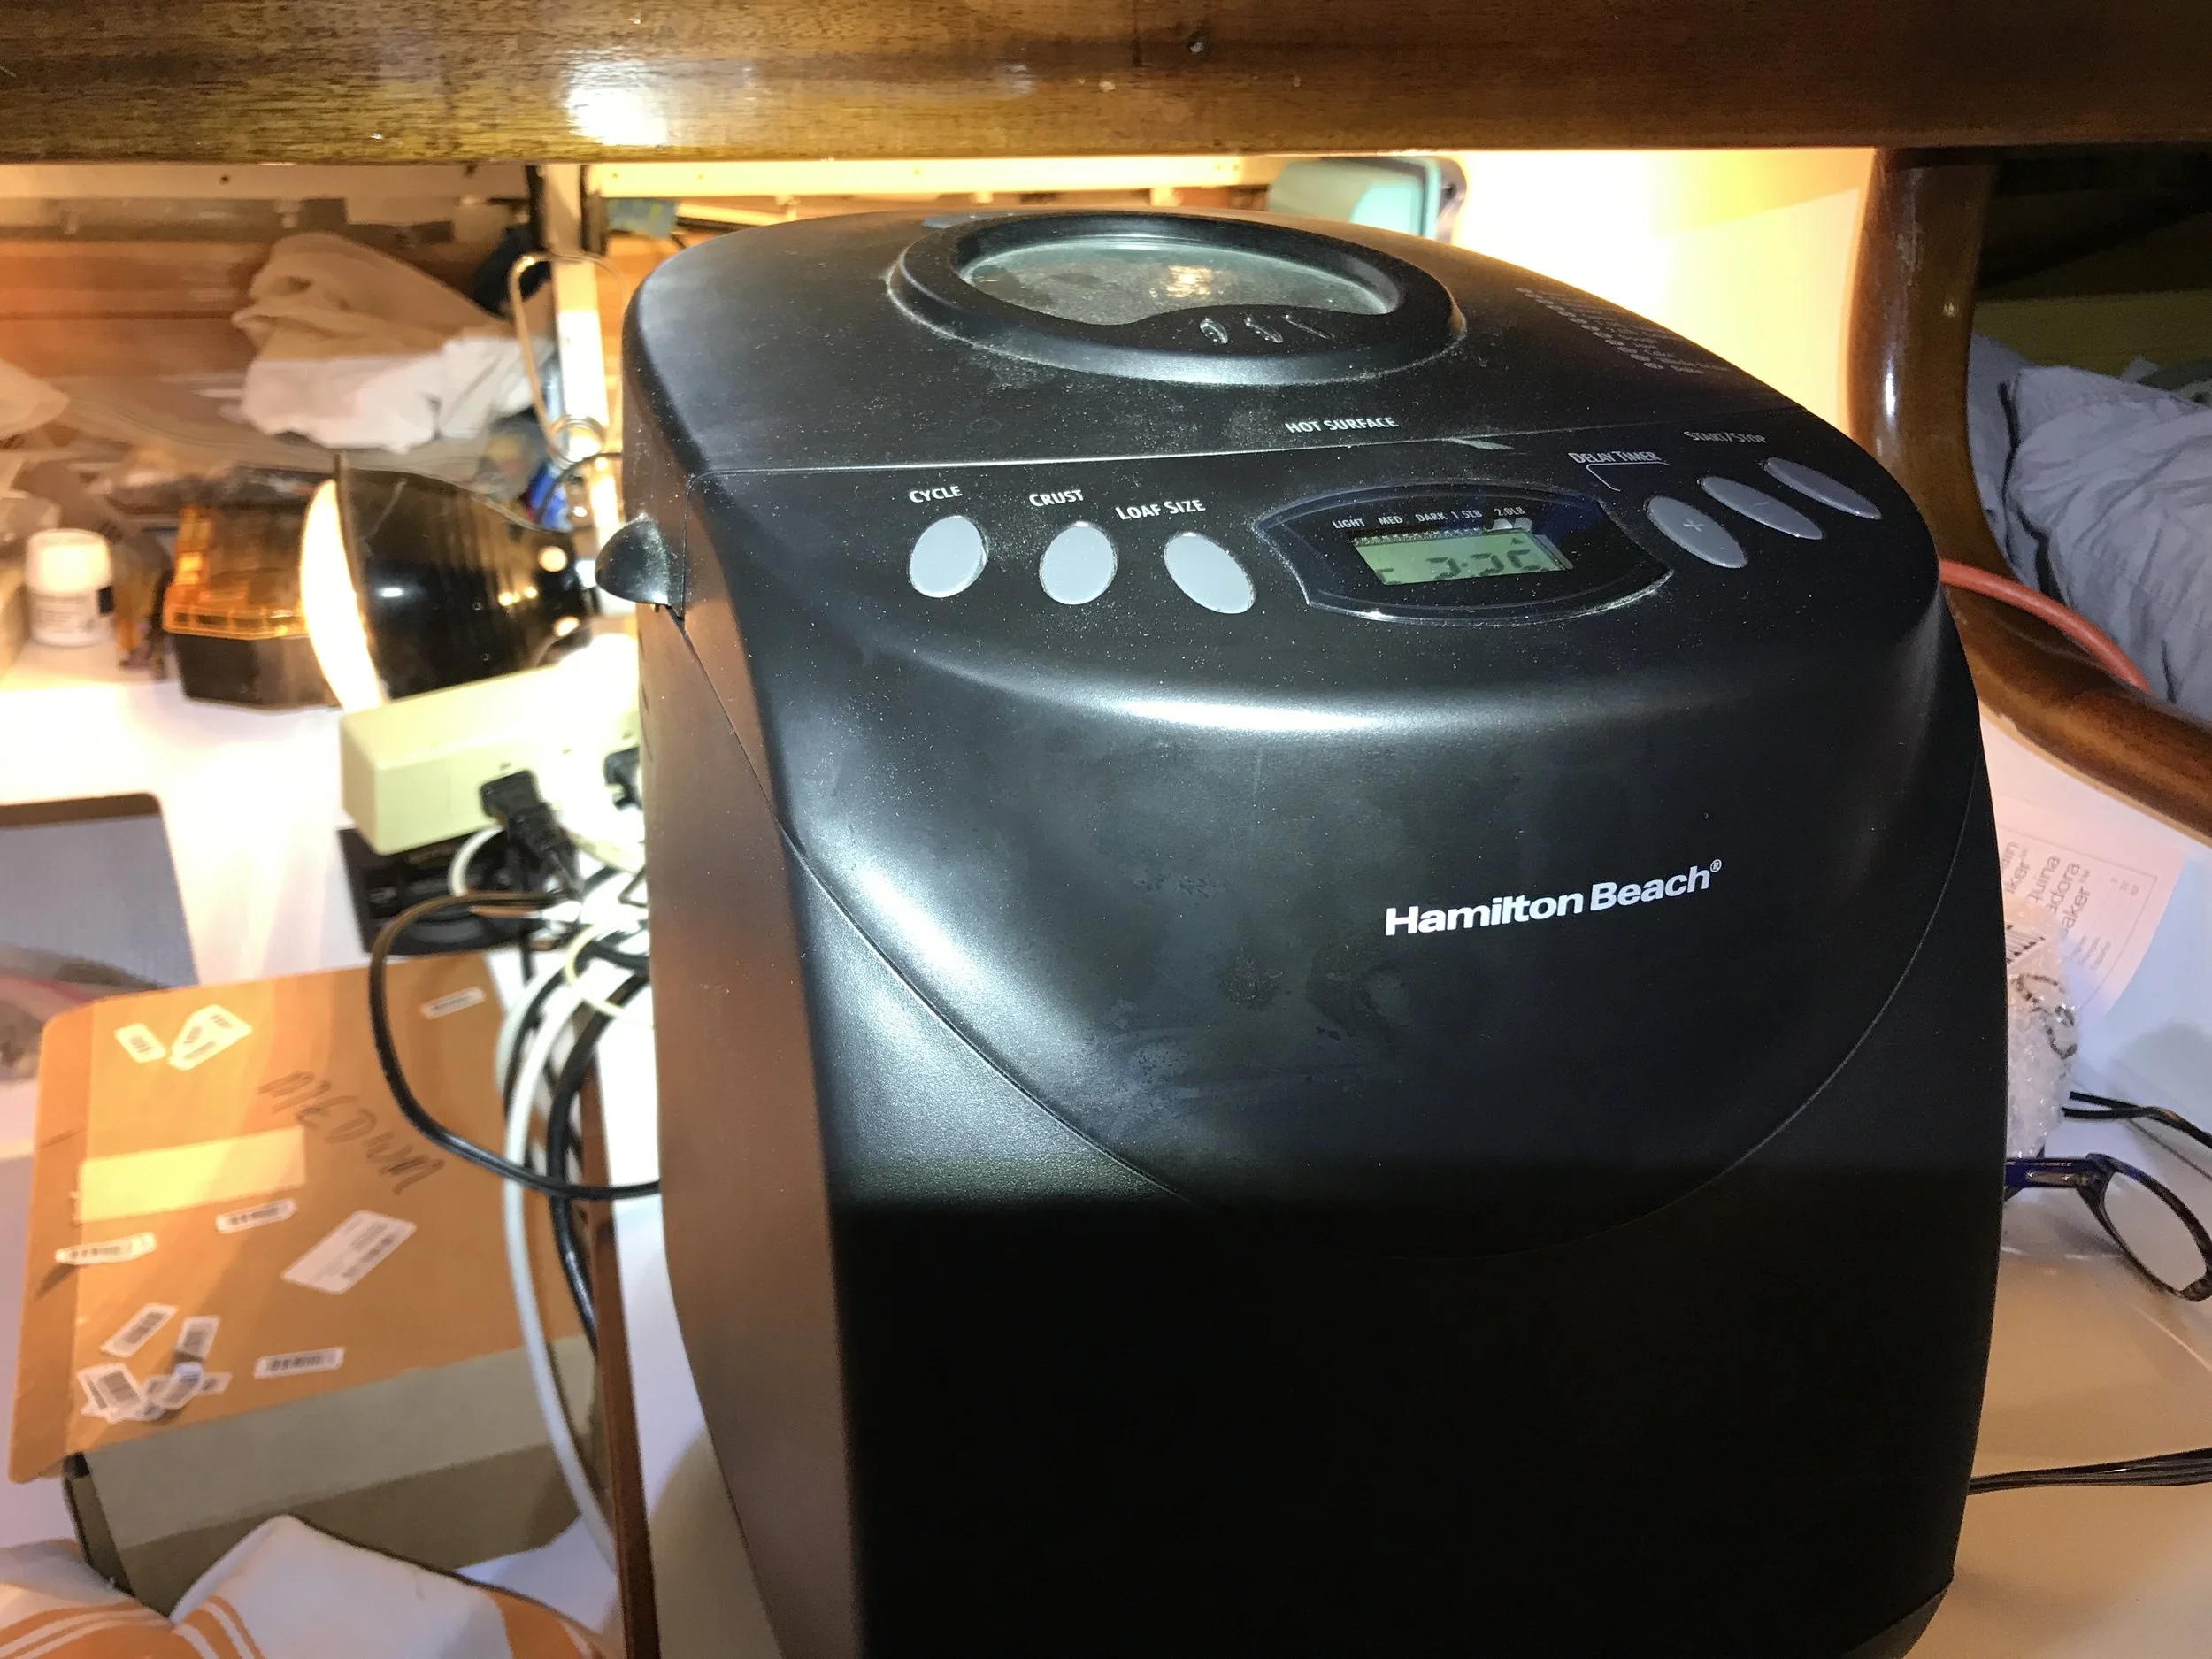
it’s massive.
I love it.
Flat out, I love it. We used it a lot last summer when we cruised, pulling it out when we had excess power and not heating up the cabin - exactly as planned! We’ve used it since, leaving it on the counter at the house we were in in Deltaville so it could be pressed into service at the drop of a hat. Being able to put ingredients into the machine, press a button, and go on my merry way has meant that I can start bread at 8 pm and it’s ready for breakfast. Or at 8 am before going to the yard so it’s ready for lunch when we get back.
It makes one loaf, which is about what we can manage to get through before it goes bad. The challenge with making it in the oven (a double batch) is that I want to maximize oven use but then we can’t eat it all before if goes moldy.
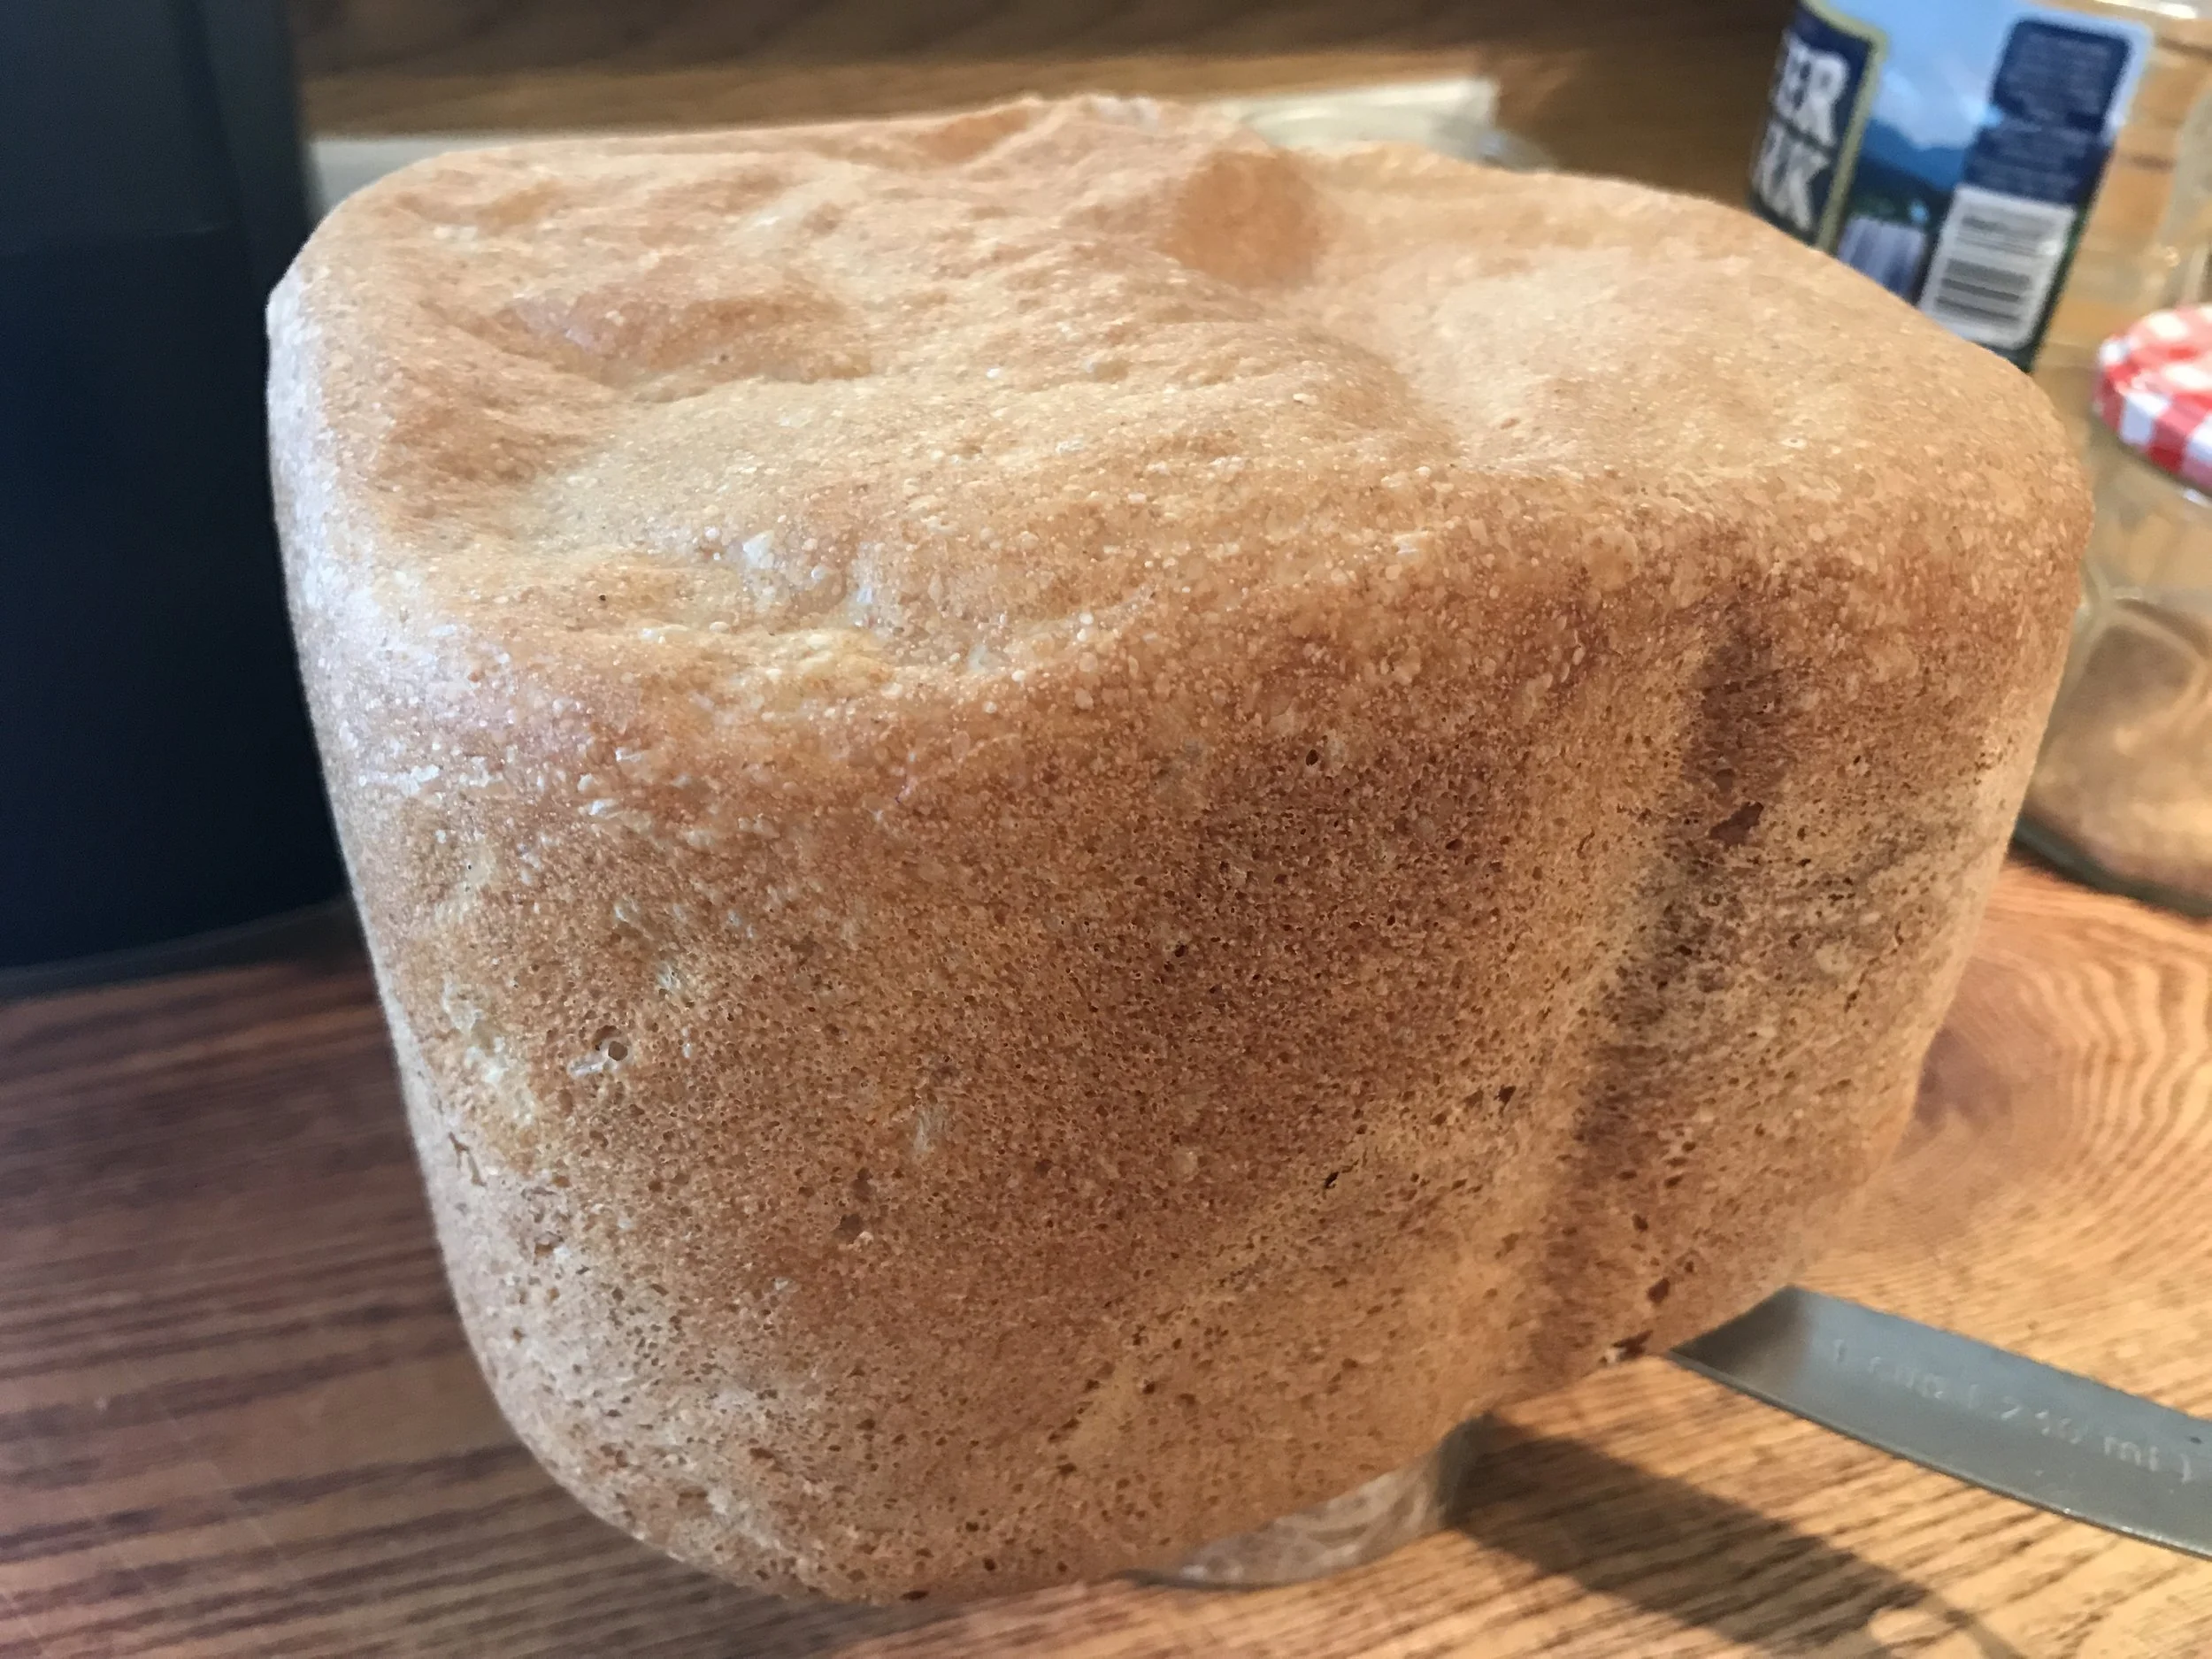
Weird looking. Delicious tasting!
I still make a lot of bread by hand., so my love of handling dough is still honored. Pizza dough, pita bread, ciabatta rolls. I’ve tried to make banana bread in the machine but it totally flopped. For a basic toast-for-breakfast bread, or a sandwiches-every-day-for-lunch bread? This is definitely worth the space it takes on board.
Do you NEED a bread machine? No. No no no no. It’s easy and satisfying to make bread the “old fashioned” way, by hand and in the oven. But if you’re looking to save propane, save time, use excess energy, save heat? Yeah, worth it.
My favorite bread recipe, tweaked for the machine:
(No machine? You can easily make this by hand. Knead for 10 minutes after adding in all ingredients, adding flour as necessary to keep the dough from sticking to the counter/bowl. Cover and let rise for 2 hours, until about doubled. Punch it down and flatten into a rectangle, then roll up rectangle starting from the short side. Put into a greased loaf pan, let rise 45 minutes, then bake in a 375 oven until brown and hollow-sounding, about 35 minutes.)
3.5 oz 7-grain cereal (¾ c)
13.5 oz boiling water (1.5 cups plus 1 TBS)
2 TBS butter
1.5 TBS honey
1 heaping tsp yeast
4.5 oz whole wheat flour (1 cup)
9 oz bread flour (2 cups)
1 tsp salt
Soften the cereal in the water in the bread machine, adding the butter (so it can melt) and honey after about 30 minutes. When it’s cool enough to touch, add the other ingredients IN ORDER then start the machine.
Notes:
7 grain cereal: Bob’s Red Mill. Can sub 5 grain or 10 grain. Or just use plain rolled oats by VOLUME, not by weight (use 3/4 c of rolled oats)
water/flour: this may need tweaking depending on the humidity. Basically, you want the dough to form a cohesive ball as it’s doing its kneading cycle. Too wet and you’ll have a dense loaf; too dry and you’ll have stray bits of flour all over the machine.
yeast: if you suspect it might be past its life, proof it first by mixing it with a little warm water (1/4 c or so) and a couple of drops of honey or sugar (to feed it). It if’s nice and bubbly in about 10 minutes, you’re good to go.
yeast/salt: my machine calls for keeping the yeast and salt apart from each other (not a bad idea as salt can kill yeast) but calls for adding the yeast last. Given that the yeast needs water to activate, following this advice made my loaves turn out, umm, a little flat. Yeast on top of liquid, please!