
Hard Top
We’ve always felt that a dodger is an essential part of a cruising boat. Having a place to duck out of the spray, having an extra degree of protection over the companionway . . . there are other reasons, but these are the main ones. We had a standard dodger built for us in Texas back when we first bought the boat - stainless steel bows, canvas and clear vinyl. This lasted through years of cruising but Jeremy has never been happy with it from a design perspective; when the canvas finally began to rip he was happy to have an excuse to relegate it to the dumpster.

Old dodger on Calypso saw some miles!
Time for a hard top.
A hard top has long been on the list of desired upgrades. A permanently installed structure like that will give us a better handhold when walking from the side deck into the cockpit. It’s a more aesthetically pleasing answer to the “how do we get shelter” question. And it should mean that dodger panels can be made and replaced in pieces. Down the line it’s possible we’ll add solar panels to this, though it’s sheltered by the boom a large percentage of the time when we’re at anchor so the usefulness of solar mounted there is questionable.
Jeremy spent hours thinking about design. He’s got a (not extensive) folder of hard tops on sister ships. We’d walk around marinas and boatyards looking for examples. He mocked up ideas on the computer, asked friends about their hard tops, researched building materials. There are a few places you can buy a hard top, but no design seemed just right. In the end, it came down to trial and error and a lot of tweaking.
It started with rough dimensions, both fore and aft as well as side to side. Using a piece of cardboard cut from an appliance delivery box, we fashioned a way to hold a curve and hung it over the boom in about the right location.
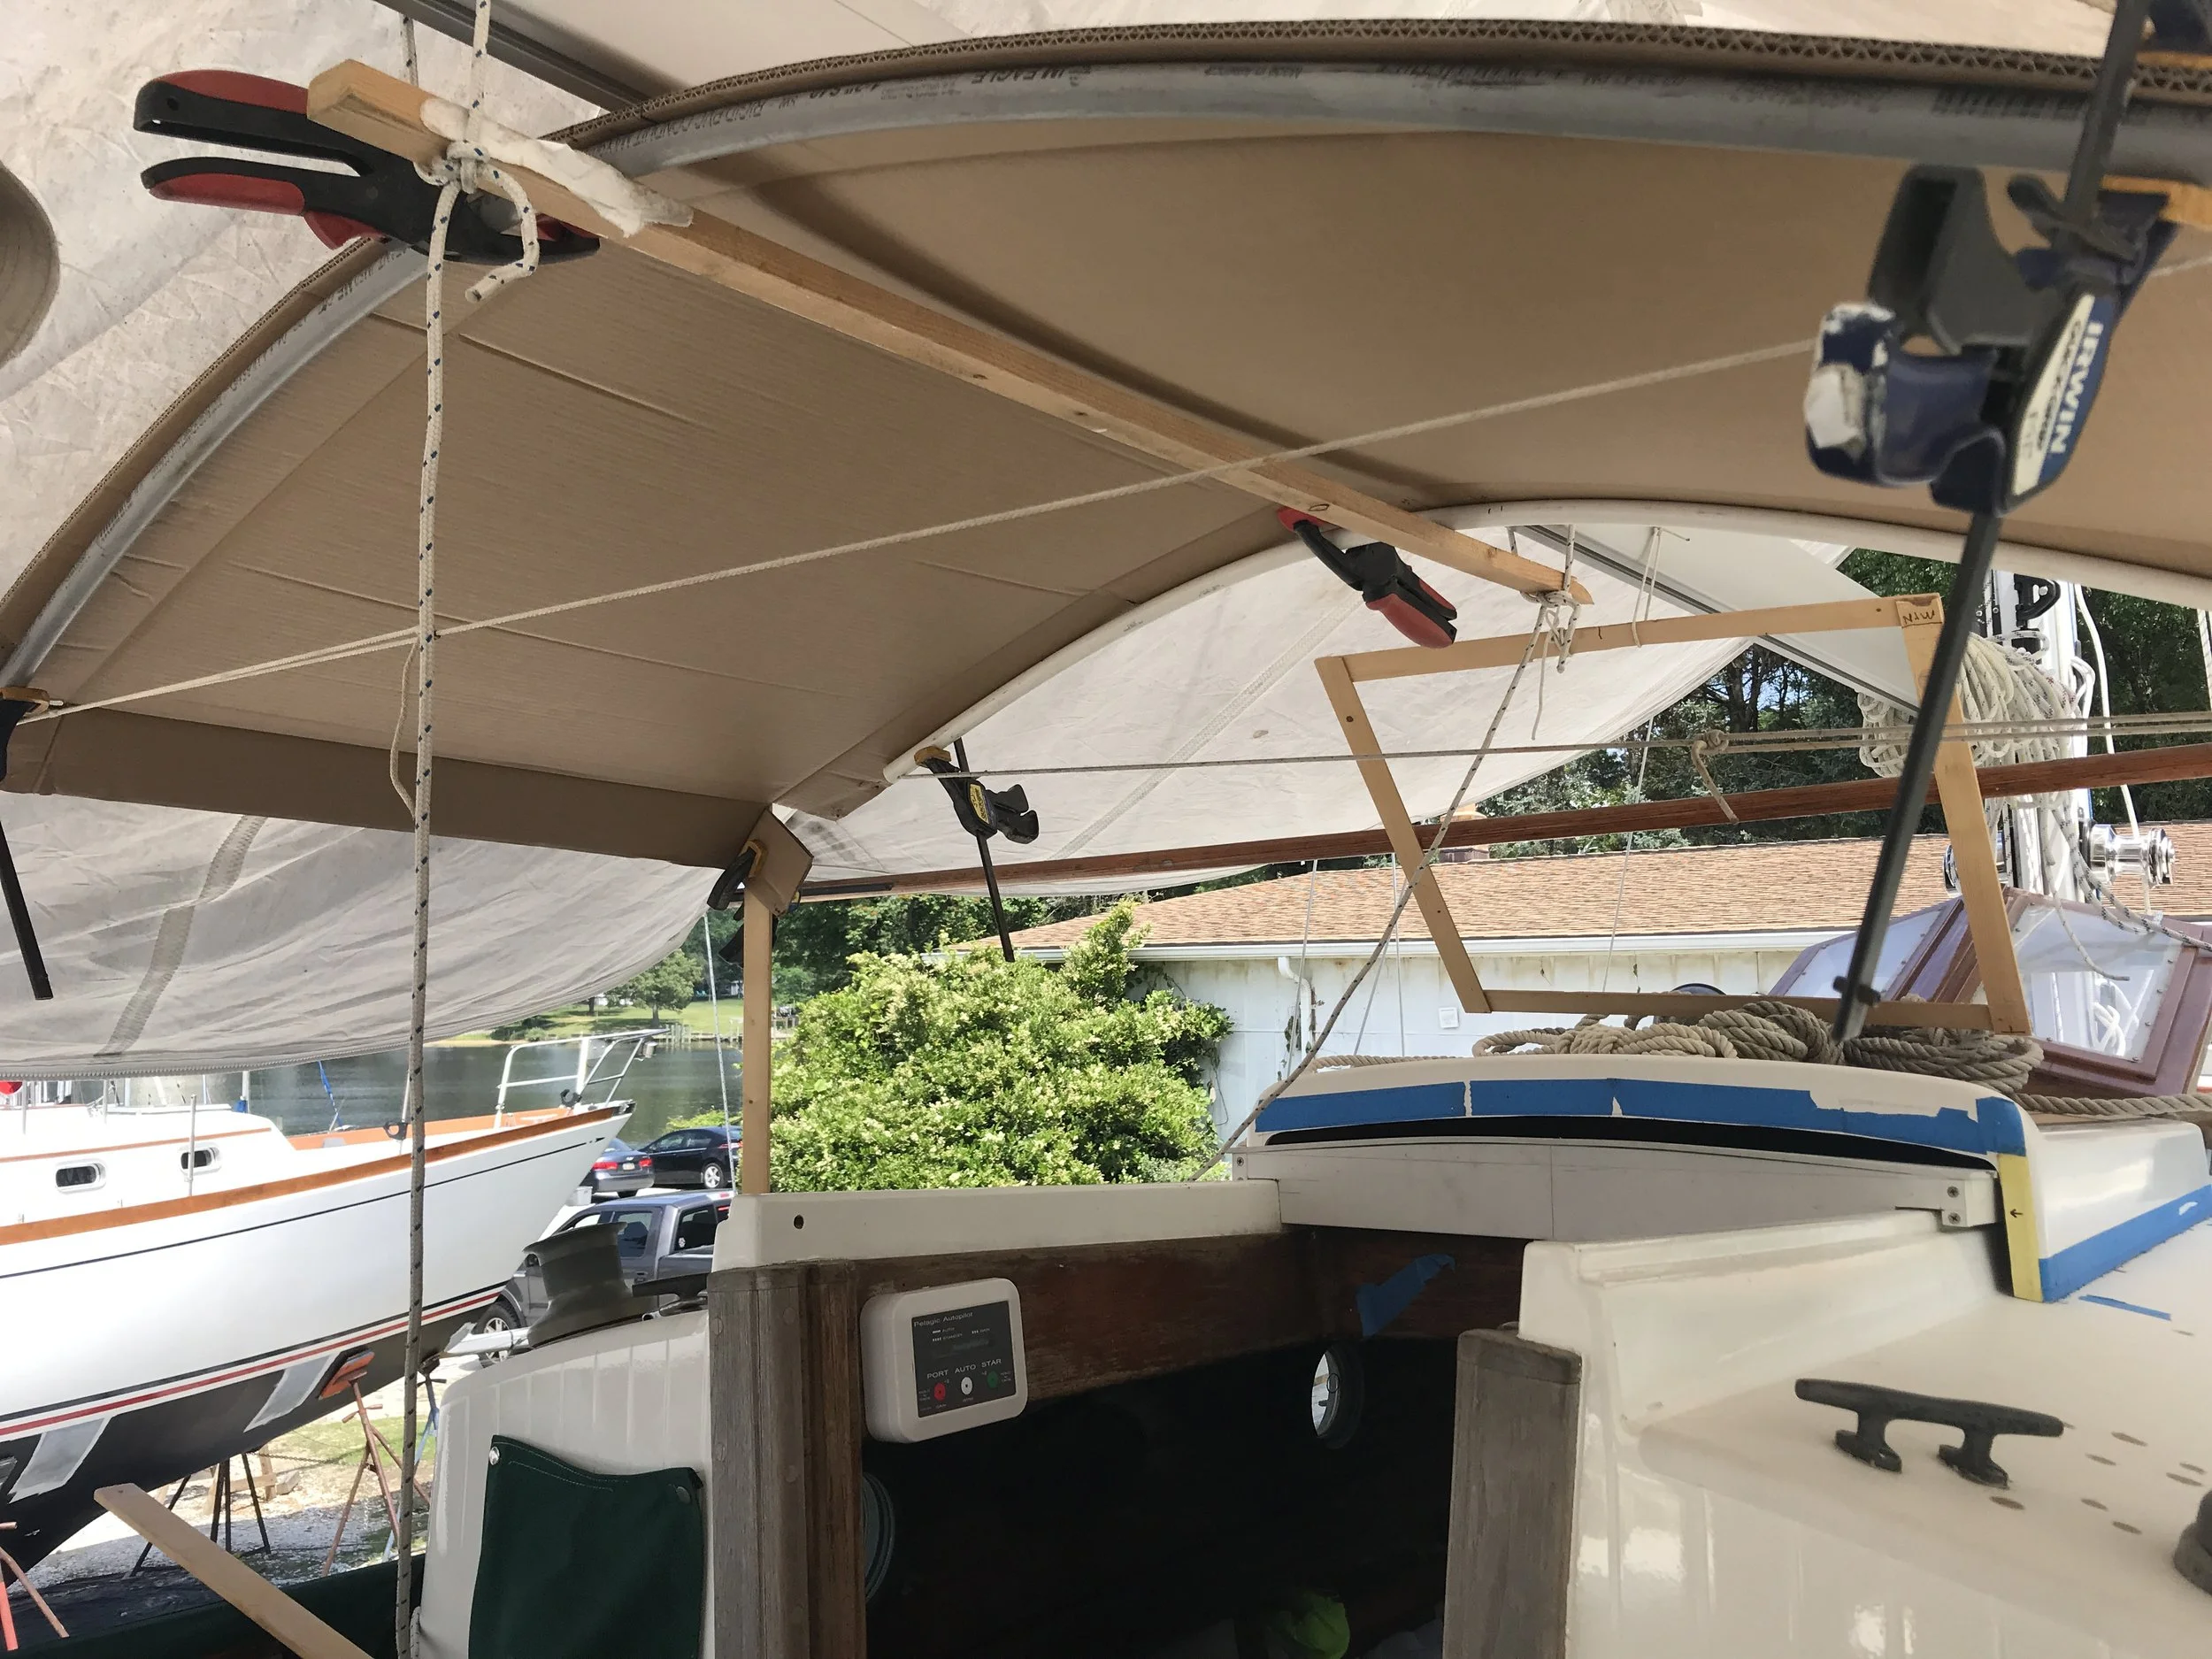
Carboard mockup after a few iterations
It took a lot of iterations to get both the shape, the height, and the location right. Using cardboard enabled us to cut out the forward edge curves easily; this same cardboard became the template we used to cut the actual hard top. The bow contraption that held the cardboard in its curved configuration set the proper arc we used to build the frame.
Thinking about supports, height, and angles
Figuring out what material to use for the top was another decision that took hours of research. Finally, though, Jeremy decided on 1/2 inch thick Coosa board, a fiberglass reinforced foam product that’s strong, lightweight, and impervious to water. He cut it and shaped it, and then cut kerfs (straight partial cuts) to enable it to bend to the required curve.
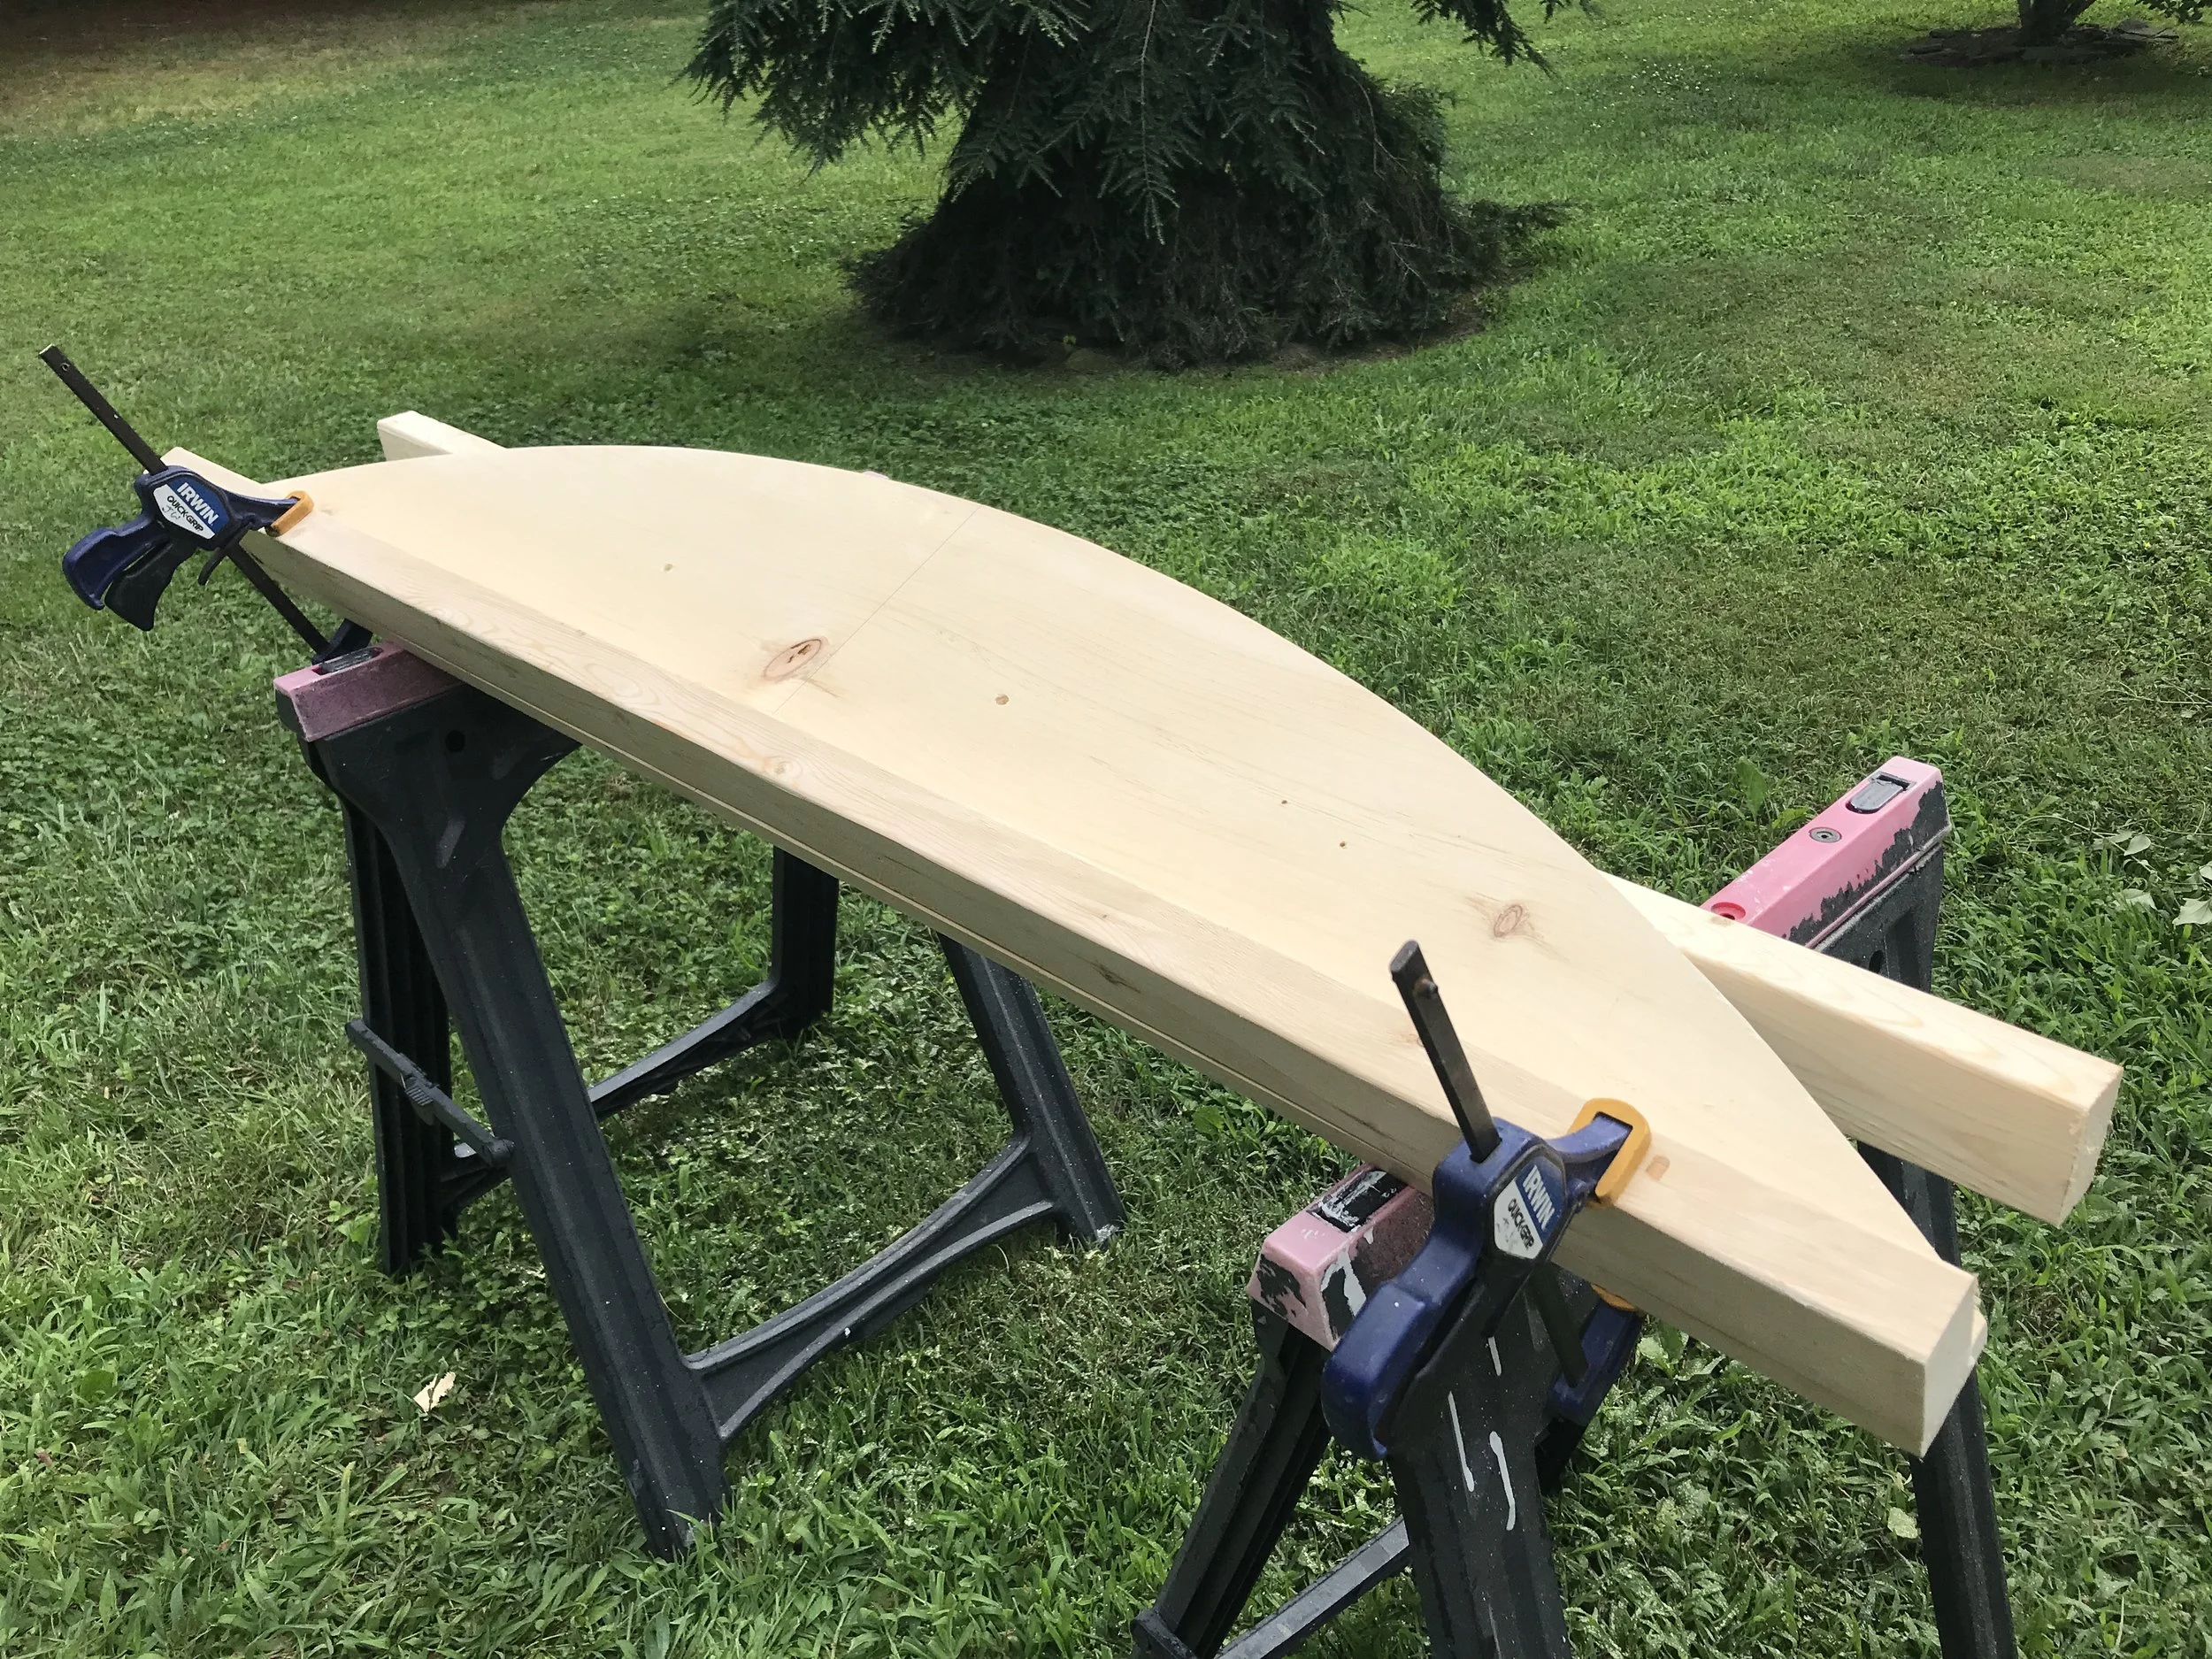

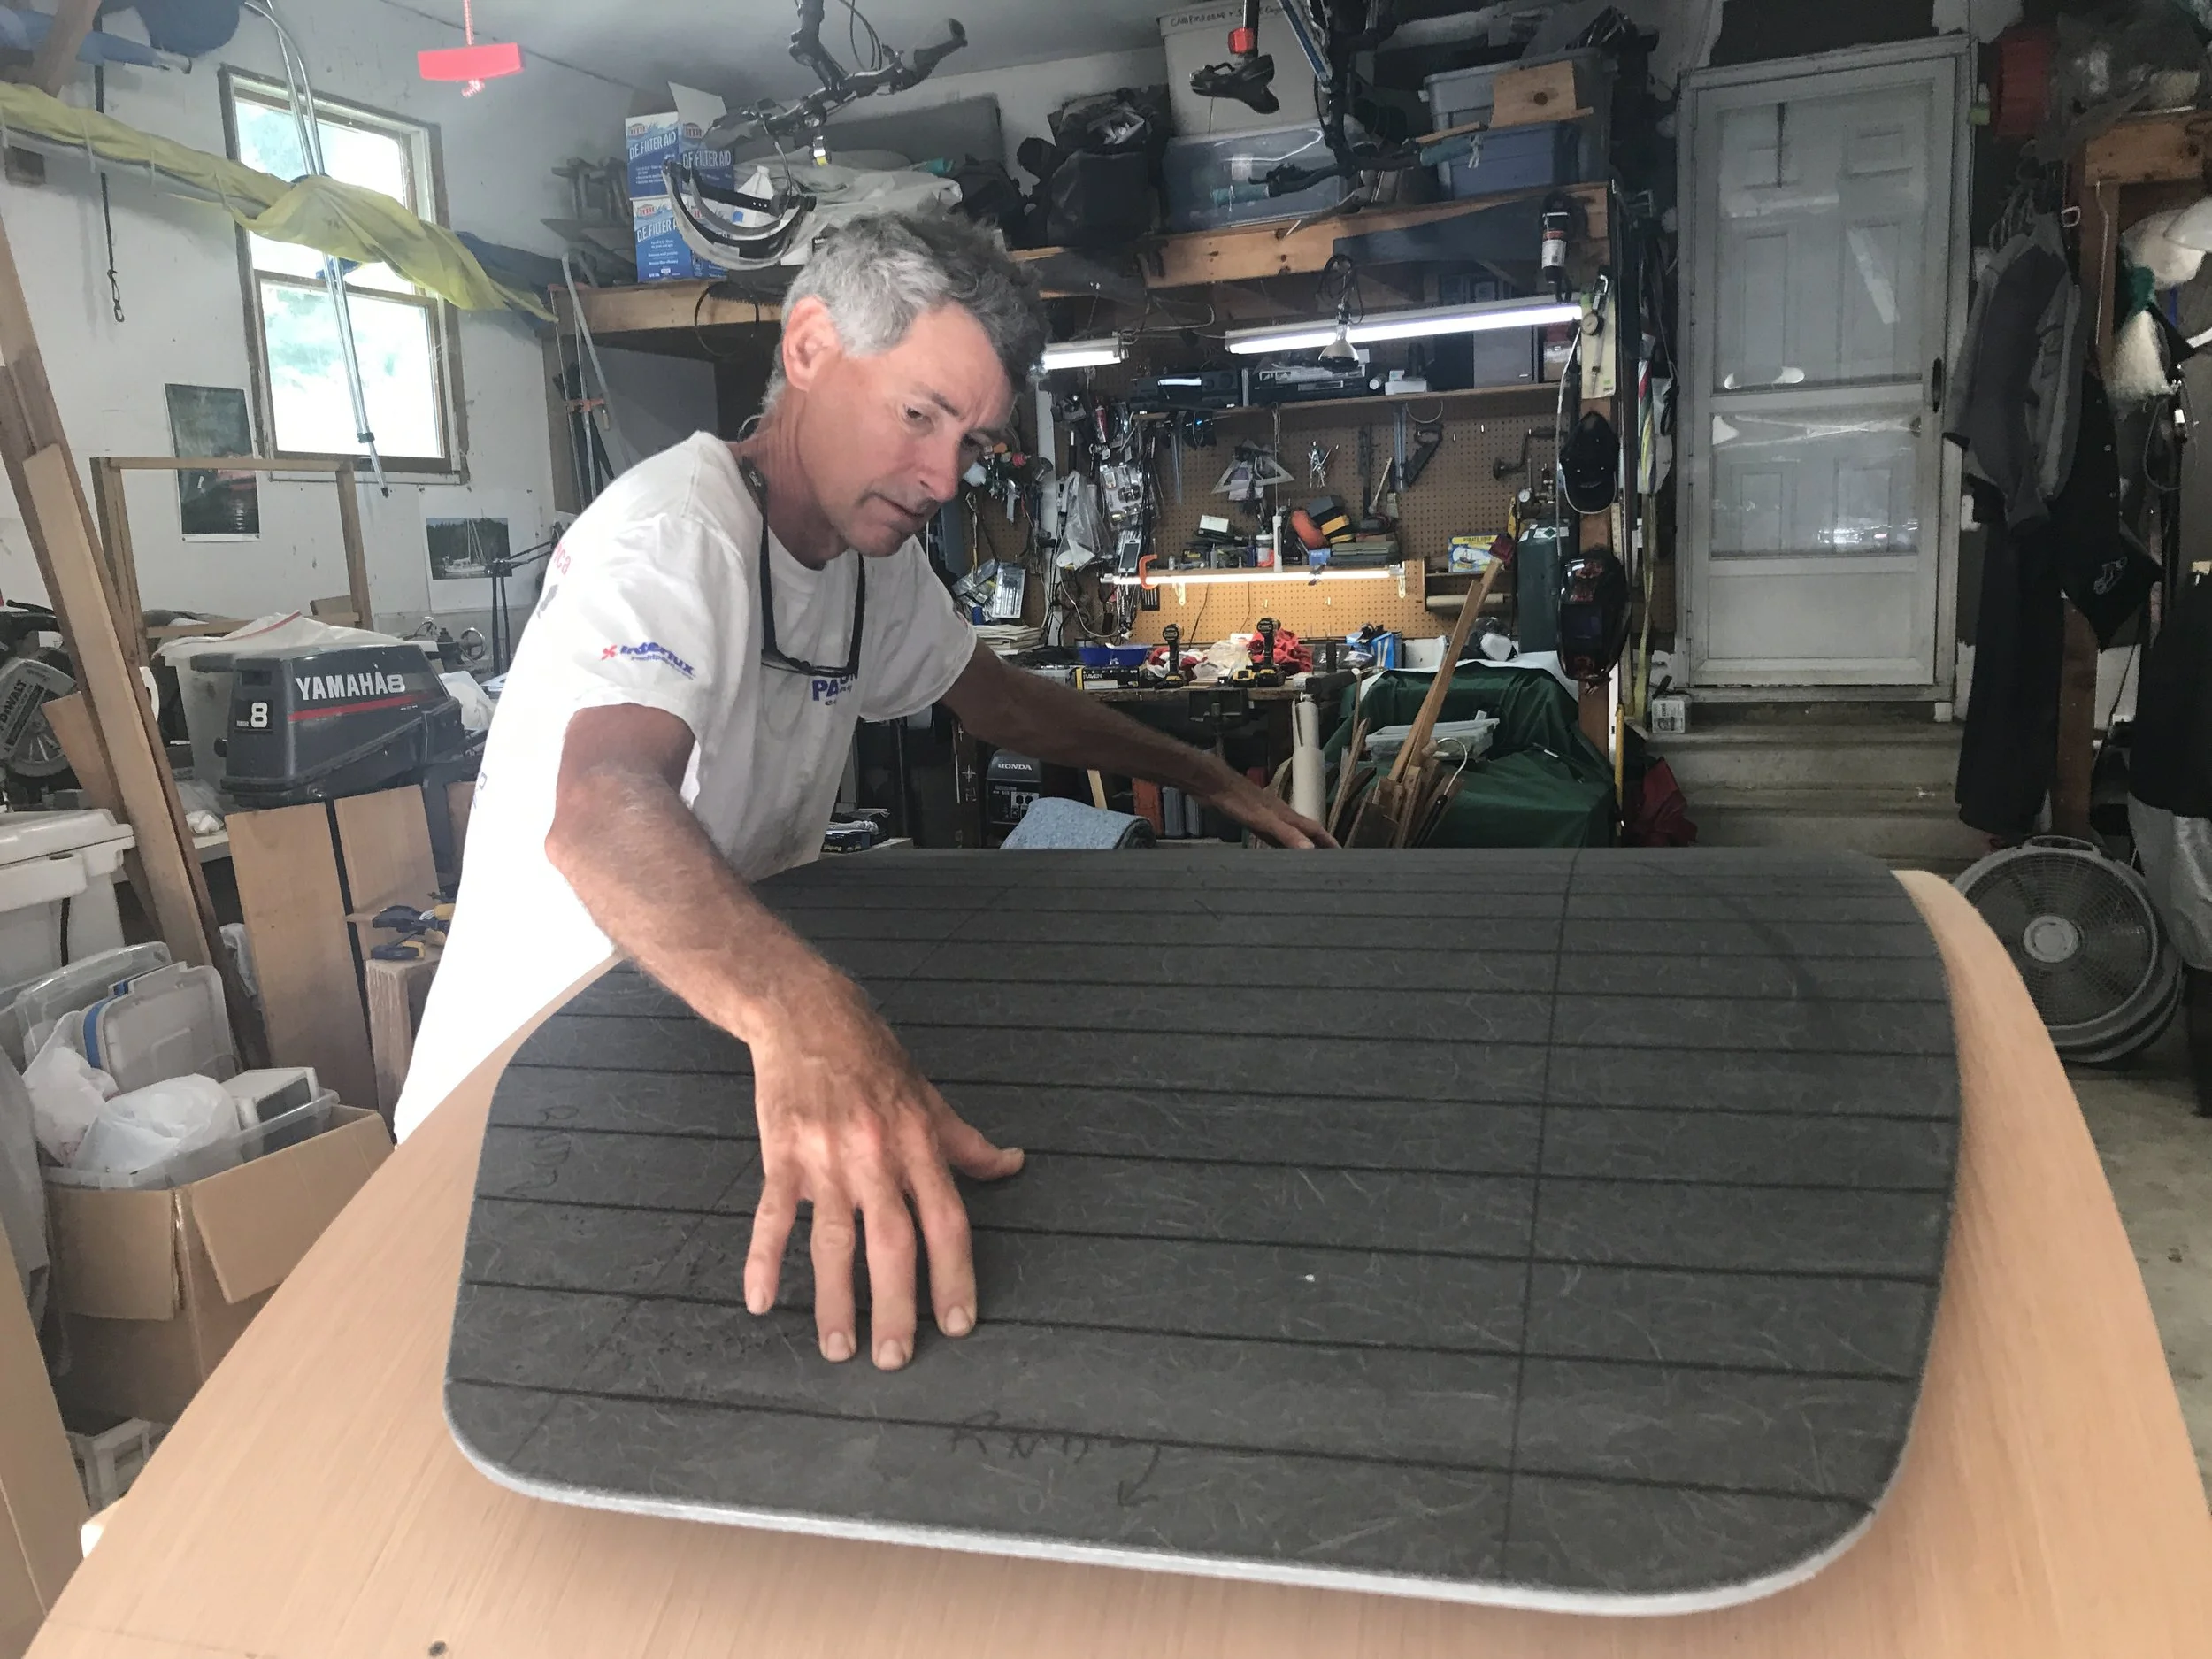
He’d built a whole wooden template based on the cardboard mock up; this was then used as a platform to fiberglass the Coosa into the right gentle arc.

Coosa board, kerfed and bent and fiberglassed into shape. Note the wooden battens and clamps holding it into position over the template as the fiberglass cures.
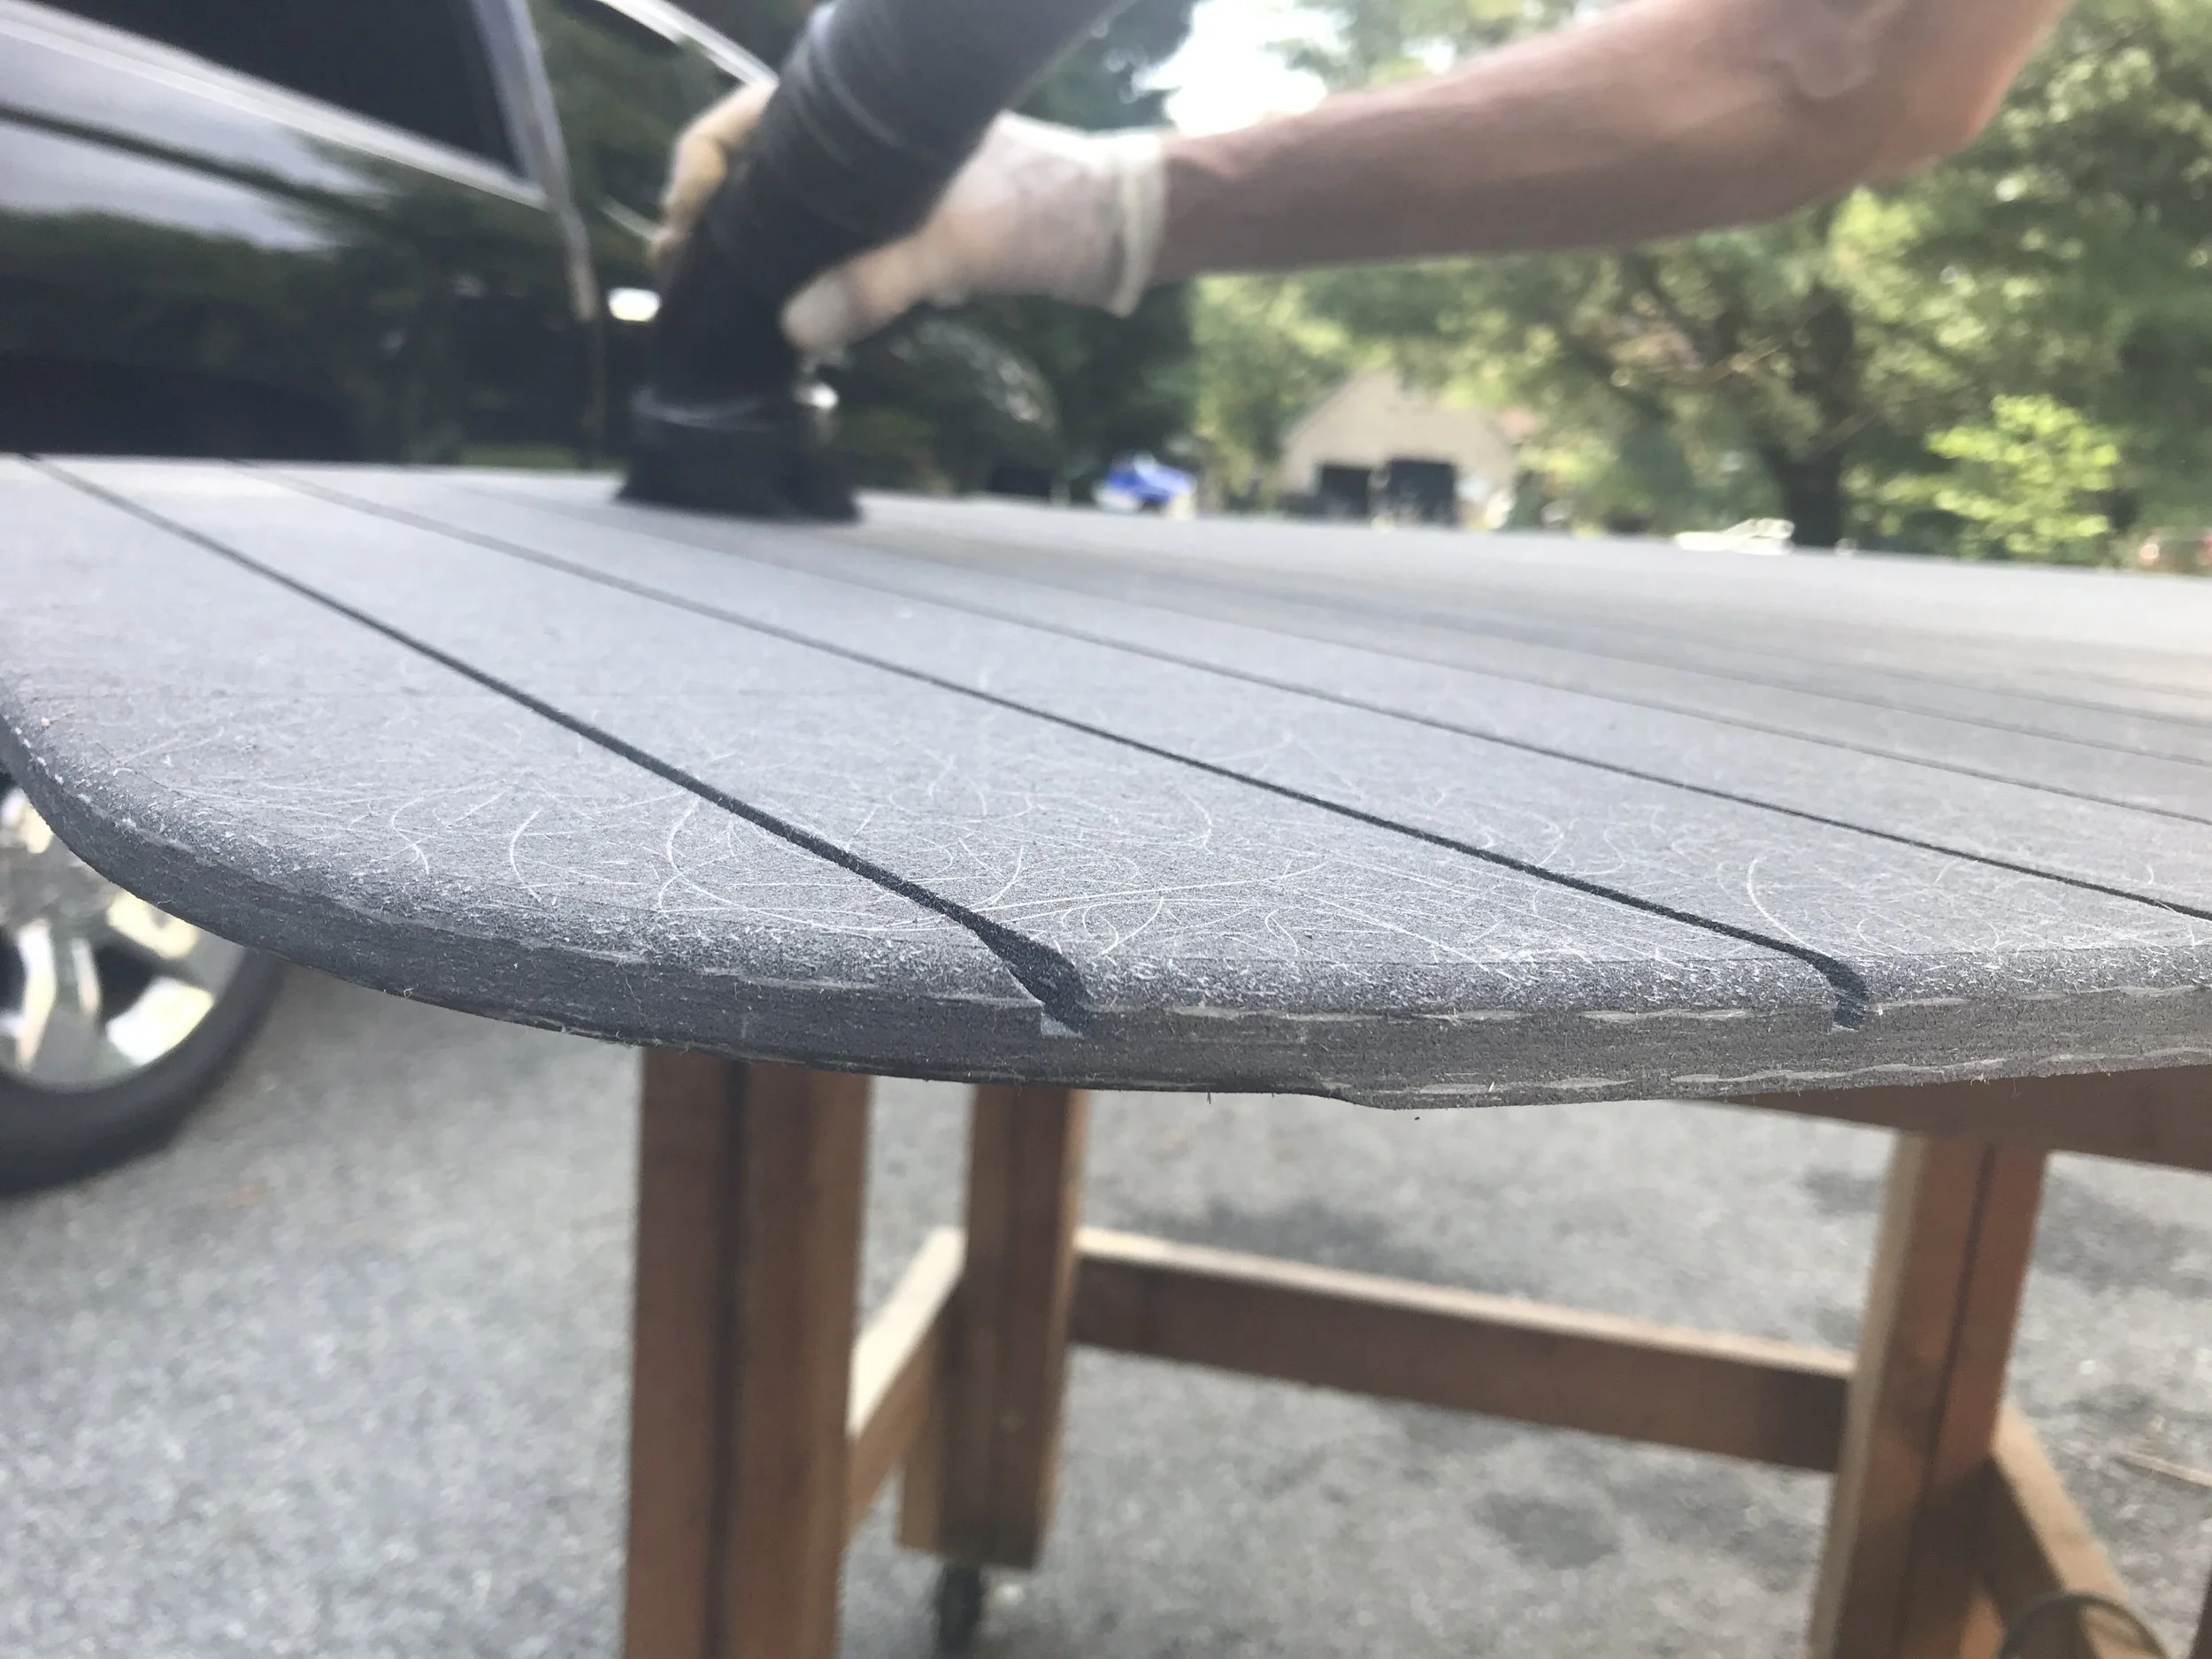
Then came the finish work, the fairing and painting, the installing of handles. (These handles have G-10 backing blocks that were fiberglassed into place when the underside was glassed.)
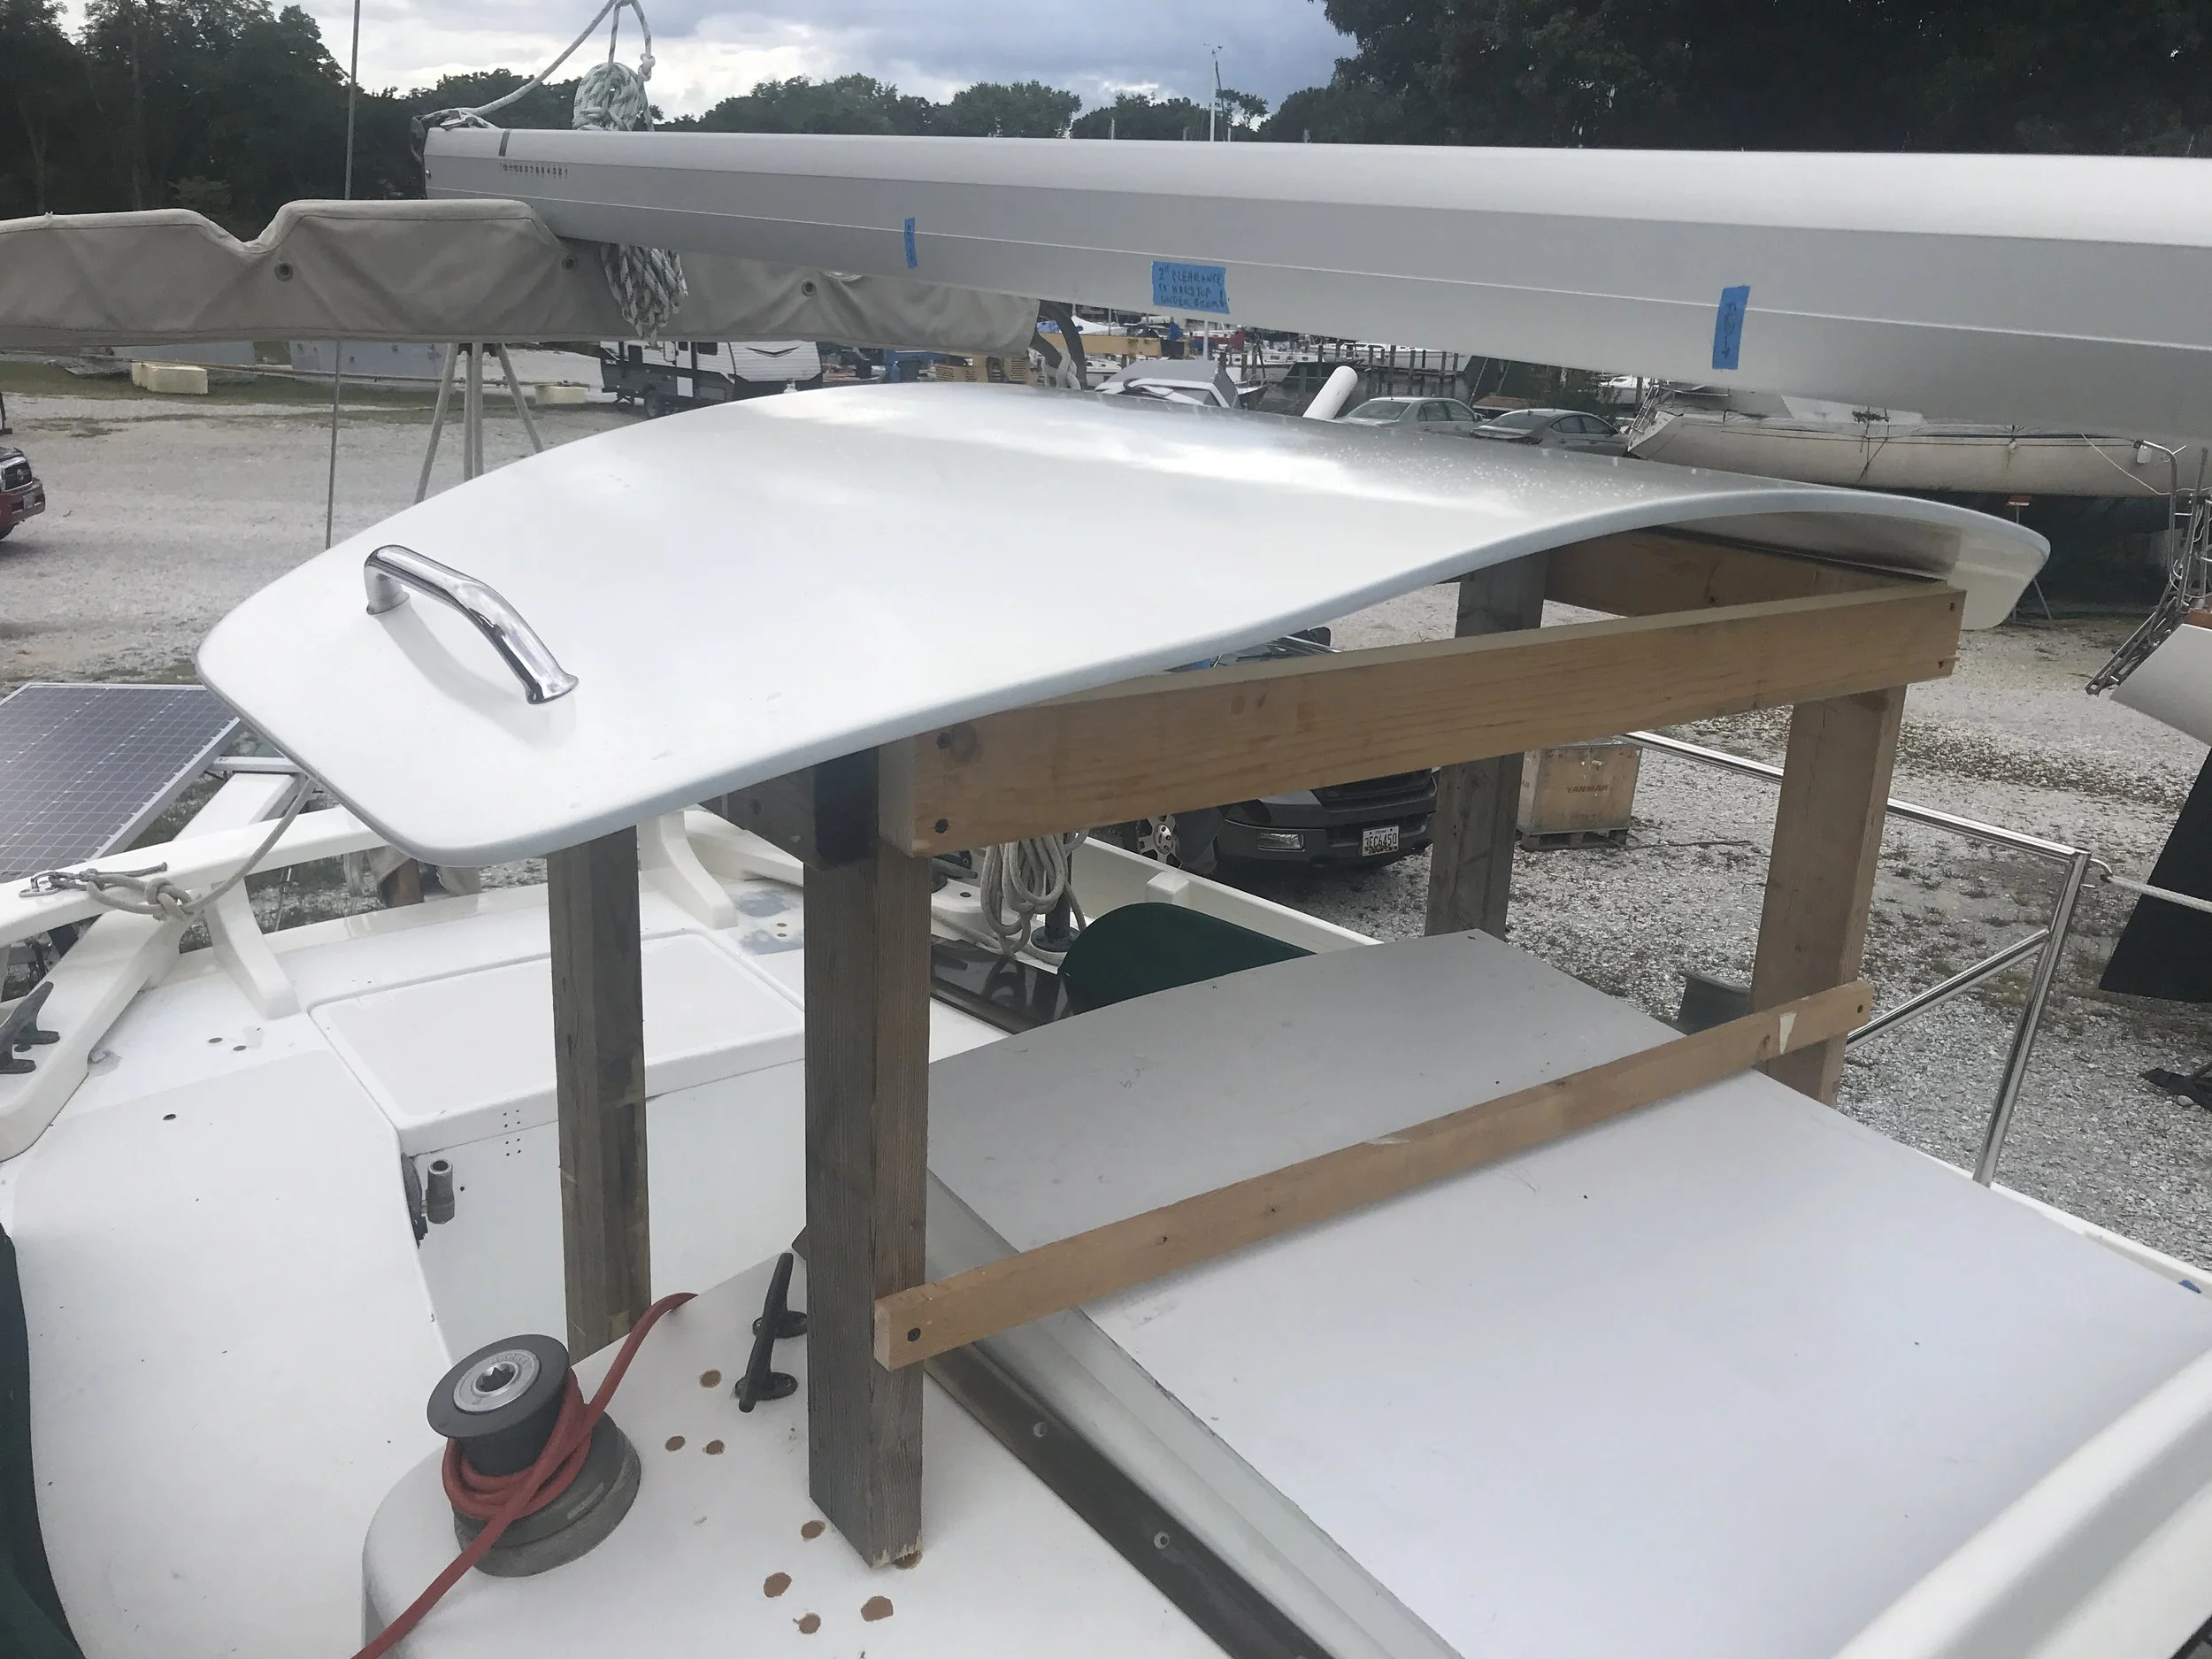
Finished hard top sitting on wood frame for fabrication of metal supports.
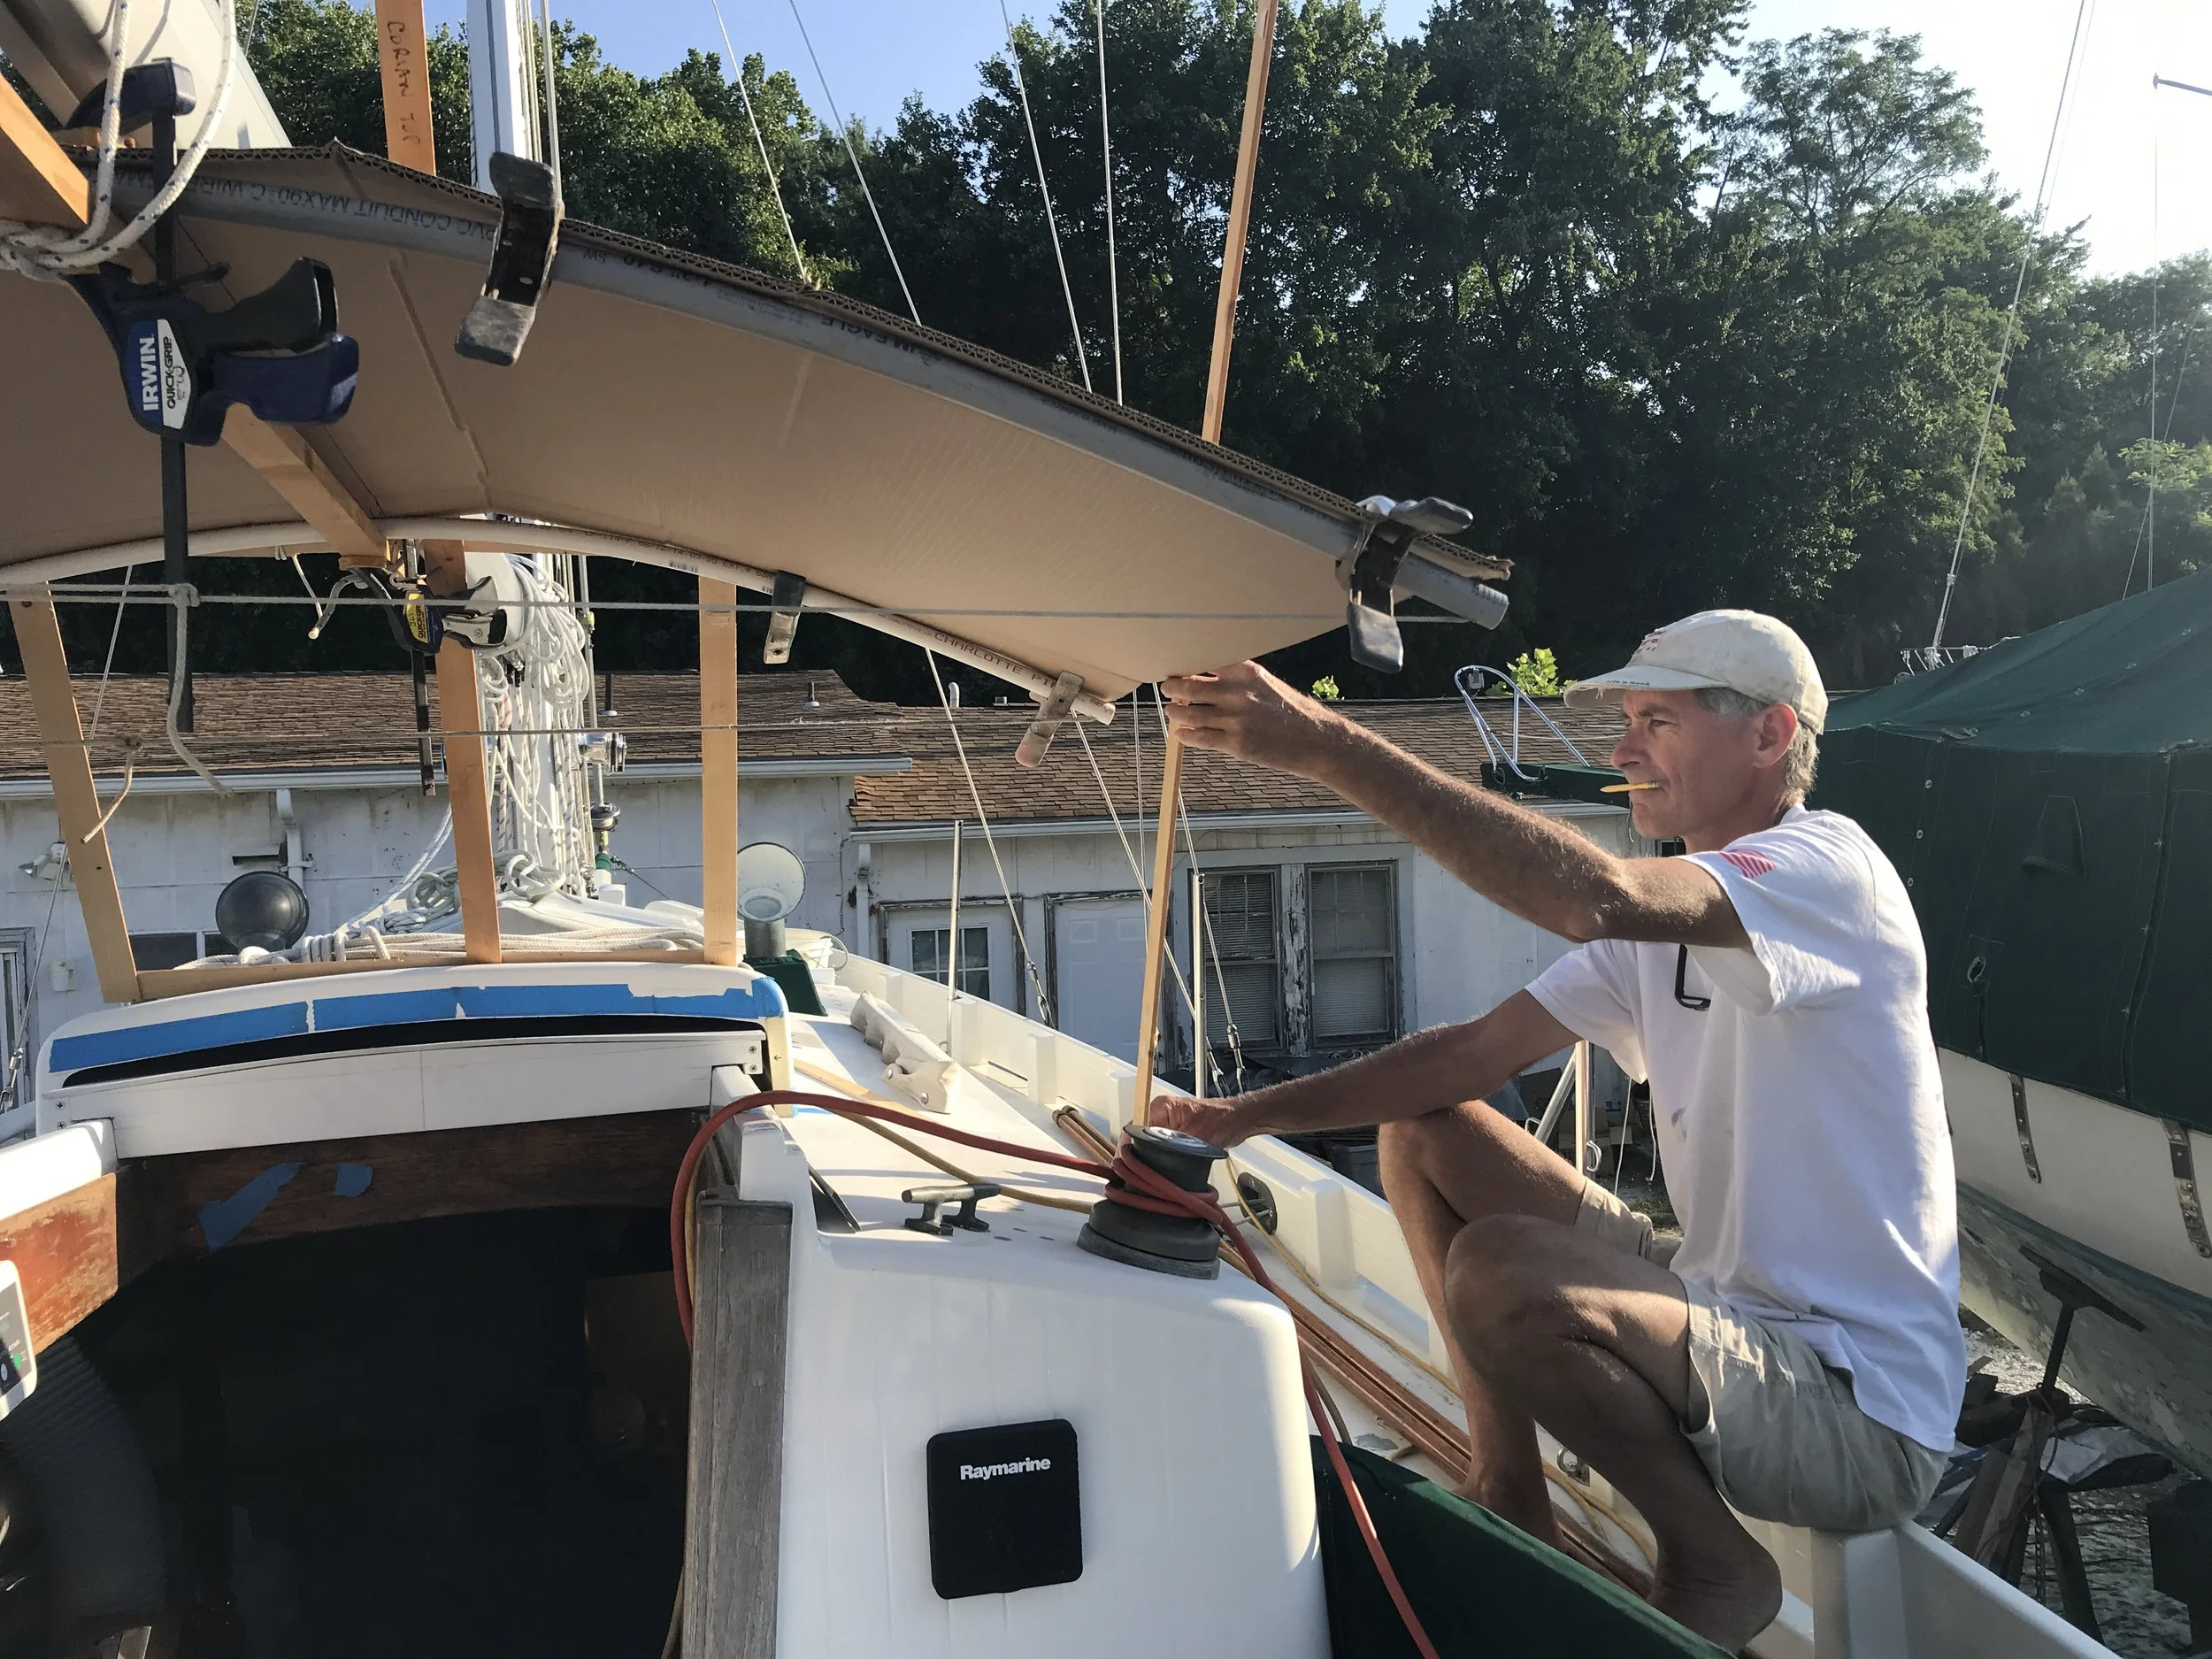
The next part of the hard top fabrication involved getting the metal supports made. We spent a long time mapping out where the supports would go on deck, thinking about things like angles needed for the canvas dodger bits and using the winches for jib sheeting. Even details like moving around from the side deck into the cockpit were taken into account. We built a 2x4 structure to support the hard top to hold it pretty securely in place while we sorted out these details - this also came in handy when Jason, the fabricator from Carter Fabrications Inc, was doing some welding work on board.
After some discussion with Jason and Jeff, the owner of the company, we decided to go with aluminum for the support legs. This would be lighter, easier to fabricate, strong, and less expensive.
Jason came out to the boat and spent almost the full day on board, firing up his mobile welder and creating a beautiful set of supports. He tack-welded them in place to check the angles and support, then removed them to take back to the shop for final detail work. Watching him work was a fascinating part of the process - we highly recommend Carter Fabrications for any metal work you need in the area. Not cheap, of course (metal work isn’t cheap) but WOW are we happy with what we have!

Jason and Jeremy confer on the angle of support for the aft leg.

Jeremy tightens a nut holding the port handle in place. The backing plate is visible. Note the blue tape on the cabin top that indicates the line for the eventual canvas dodger panels.
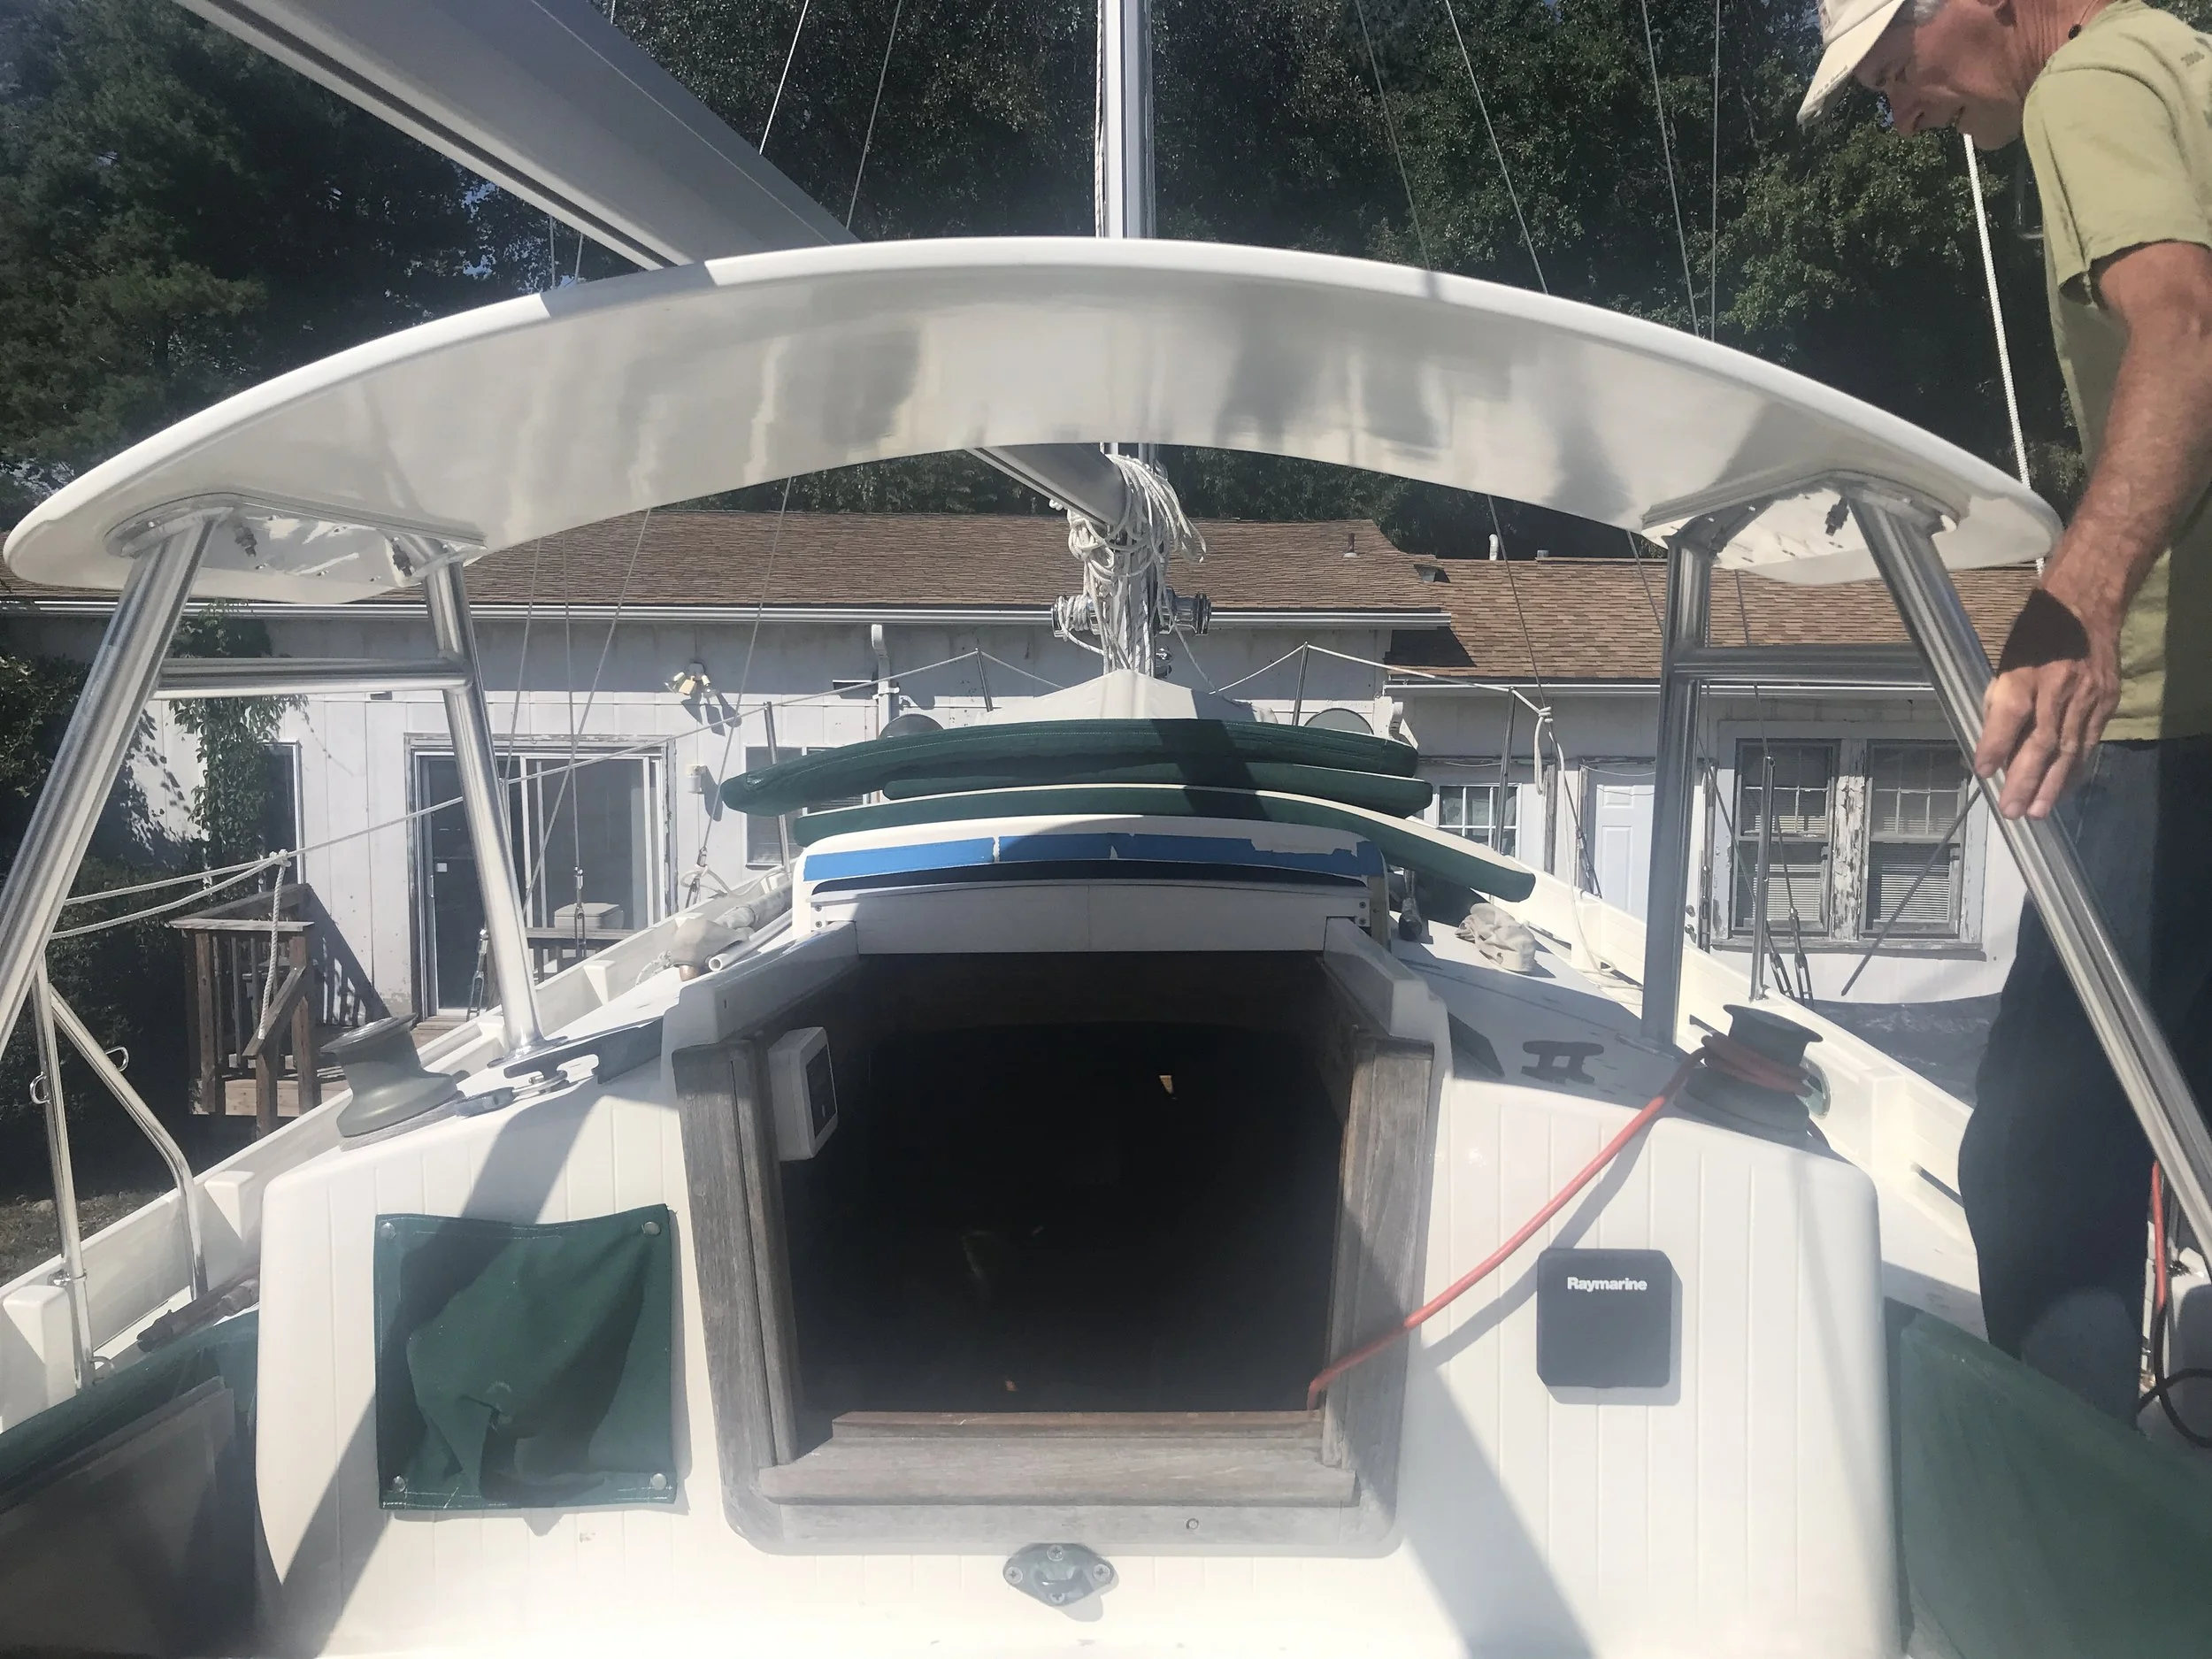
Looking forward under the hard top.
Of course, the dodger panels need to be sewn and a few other details seen to. For now, though, we are loving the stability of the hard top. It provides welcome shade in the sun, provides some rain protection for the companionway, and provides a solid handhold when walking into the cockpit from the side deck. We’re psyched!