
Non-Marine Boat Ingredients
As soon as you call something “marine”, the price doubles. At least.
That said, there are good reasons to use marine grade products. The below-the-waterline thing is one. The out-in-all-weather-in-a-moving-flexing-vessel is another. We buy proven products that will help keep our home safe and dry without blinking.
BUT. There are non-marine products we’ve been using a lot recently. We’re using them because they’re not affecting the safety of the boat. They work perfectly well. And yes, they’re a lot cheaper.
Bondo. Yes, Bondo. We’re using this, basically spackle on steroids (this might not be fair, but it’s how I think of it), in a few extremely specific places, on the INSIDE of the boat. Our floor is made of solid teak boards that bump up directly against the hull, forming a kind of v-gulley where water can sit and pool. Not that we have a lot of leaks (we don’t) or spills (those are rare too), but if there is any liquid, it finds its way to this gulley and sits. There’s some really nasty-looking wood in the galley, actually, as a result of this water gathering. Time to remedy this: with Bondo. Mix it up, slap it on, come back the next day to sand down the ridges, and apply another batch. Presto Bondo (hah see what I did there?), a smooth floor-to-hull joint that has no hidey-holes for water. Bondo cost: $23 a gallon. Marine equivalent? West System Epoxy resin ($82 OR MORE a gallon) plus hardener ($42) PLUS filler. Is this Bondo thing a permanent fix forever and ever? No. When it cracks and starts to fail (it’s where the hull meets the floor, possibly subject to some flexing although the thickness of our hull makes me doubt it) , though, we’ll just repair it.
Caution: do not use Bondo outside on the hull. It’s not structural, not a sealant, not meant to effect waterproof repairs. It’s automotive repair putty, for heck’s sake.
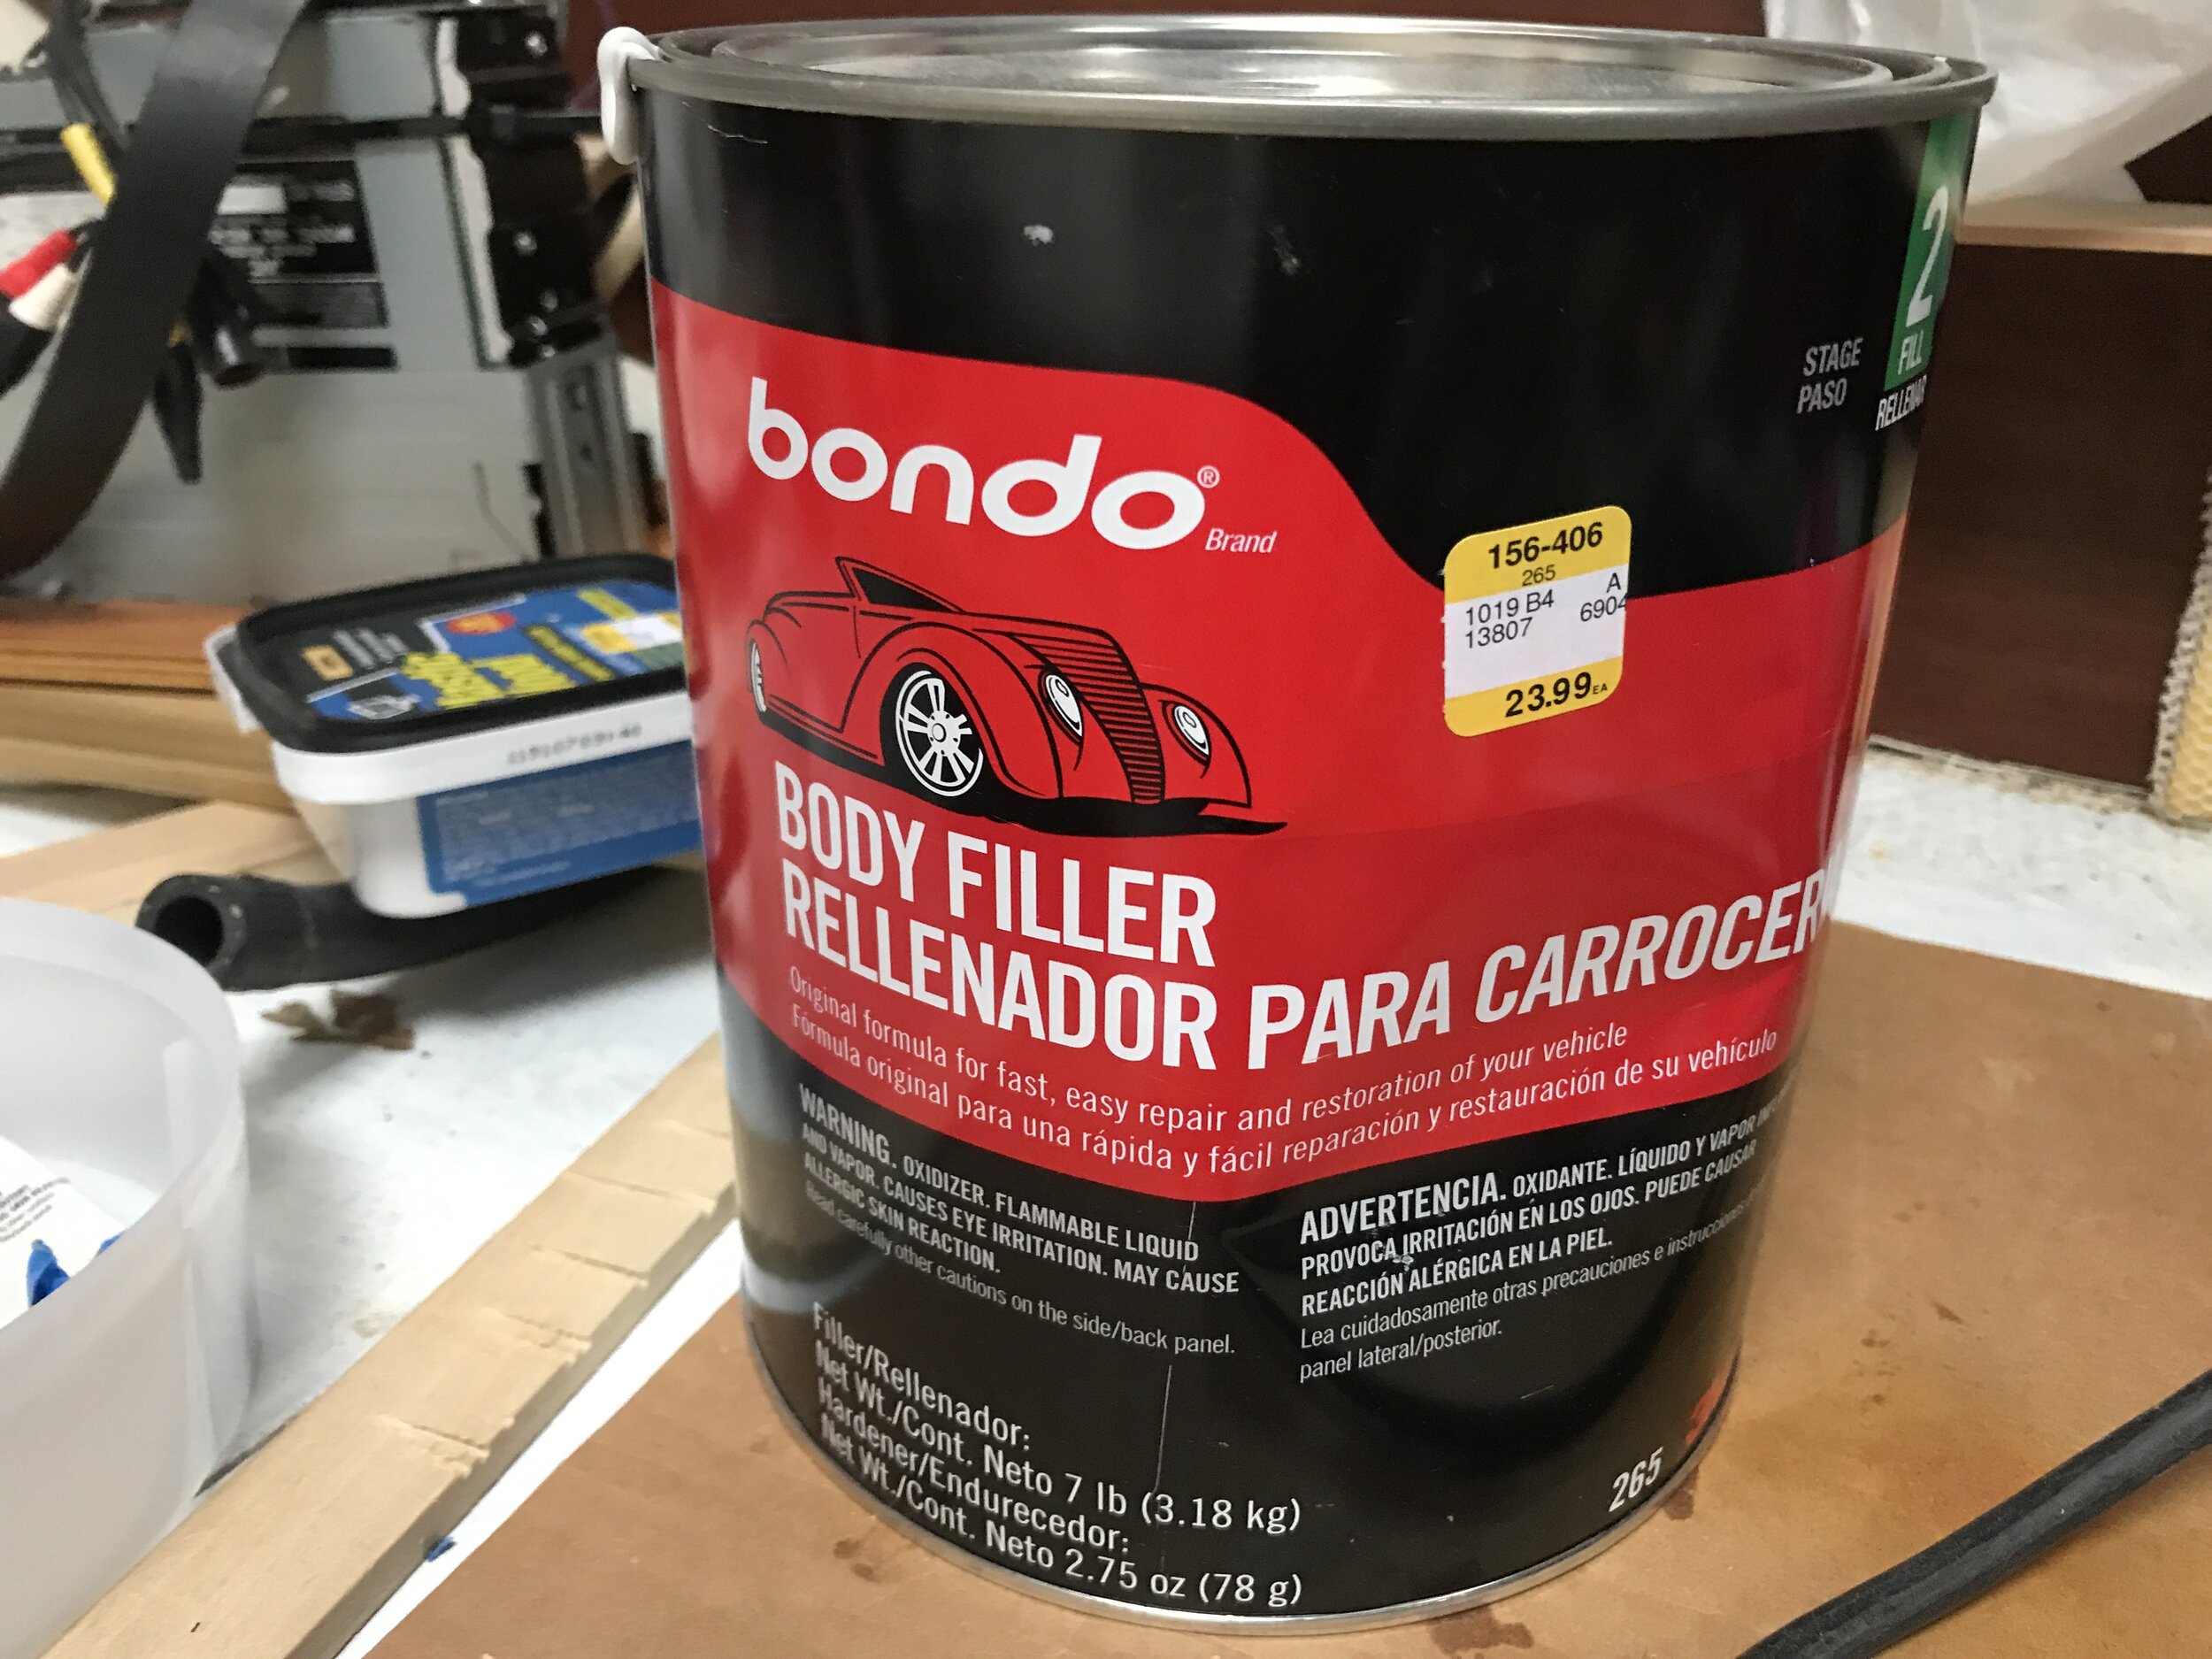
BONDO!
Behr (Home Depot brand) oil-based enamel paint. Yes, regular household paint. We first learned this trick in Don Casey’s This Old Boat and have continued using it with much success and happiness to our wallet. Bare fiberglass is not particularly appealing, being brown and kind of meh. (This is inside the boat, not outside. I hope the outside of your boat is not bare fiberglass but gelcoat. That’s a different conversation.) There is a lot of bare fiberglass hull in places where you just don’t look frequently. Places like the bilge. Inside cabinets. Under settees. You know, the boat equivalent of the forgotten backyard shed. Painting those places white does a ton of good, both for your emotions (opening a cabinet to see a white background is far more pleasing than opening it to a brown meh background) but even more practically, to allow you to see any unwanted visitors (mold or water or -shudder- critters) with ease. Given that we’ve just ripped out a whole lot of cabinetry, we now have a LOT of bare hull exposed. It just looks better painted. Ahhh. Yeah, it’s oil based, which can’t be cleaned up with water. Since we did the bilge in 1992 and it looks as good as new 28 years later, I’m willing to take the hit on cleanup. Note: oil-based paint is hard to find. Rustoleum is the “modern” equivalent, and the only brand available in a lot of places. Rustoleum does not have the coverage nor the good looks of the Behr. We’ve tried. Cost: $30/gallon. Marine equivalent? Interlux 1-part polyurethane. $165/gallon. (Note: we will use the 1-part Interlux on the interior finish that we can see. It levels out better. The stuff we put on 25 years ago still looks decent but is in need of a touch up coat. And since the prep is the really hard part of the work, we’ll spend a bit more on product that looks awesome AND we know holds up when it’s in a place we see all the time.) I suppose you could, actually, use regular household paint for the interior of the boat too. Our boat is small and places get dinged all the time. A very hard durable paint is worth it to us.

Ahh paint.
Hot glue. And you thought this was only for kids’ crafts. It’s been a total lifesaver for us as we template the new bulkheads and flat surfaces. Rather than some complicated paper templating (difficult if not impossible for vertical surfaces) or playing endless guessing games on shape and size, making a best guess and cutting a temporary bulkhead that gets put in and taken out umpteen million times, using small pieces of wood glued together with that awesome hot glue makes making a very accurate template simple and fast. Hot glue has the advantage of being very quick (as in just a few seconds) to “cure”, so if you’re holding wood together while simultaneously contorted in some weird position, it’s great to know you don’t have to stay in that weird position for a long time. This is not done for anything that’s permanent, nor actually for anything that’s staying on the boat; I’m not sure items stuck together with hot glue will stay stuck for very long in the humid, moving marine environment. When we’re installing pieces for the long haul, we’re using things like West System or even wood glue or another bonding agent. For this particular purpose, hot glue is exactly what’s needed. Cost: $24 (and up) for a full-size glue gun; you’ll also need glue sticks to fit ($12). Marine equivalent? Nothing really comes close to the glue gun for this application.

All those pieces of wood? Joined by hot glue.
PS. Links may contain affiliate links. As an Amazon Affiliate, I earn through qualifying purchases.