
Three Butyl Tape Tips
We reinstalled the compass this weekend. This bronze-bezeled, bulkhead-mounted piece of navigation equipment is one of the first pieces we bought for Calypso back in 1992, and I remember how excited we were to install it in the cockpit. Over time, we got lax about keeping it covered and the dome got crazed. Some of the fluid leaked out. Repair time!
Repairing it meant removing it and sending it off, so we’ve had a hole in the boat covered by a green plastic lid to a Rubbermaid container for quite some time. (Don’t worry - we caulked and screwed the lid in place, so no water made it into the boat.) It’s been bugging me every afternoon we step onto the boat, especially since the top has been fixed with blue tape a couple of times in the last 3 weeks. This weekend was finally the perfect combination of no rain and warm enough, plus no “all hands below” projects going on.
We’ve decided to try butyl tape* with our rebidding projects this time around, impressed with what we’ve heard about in terms of a lasting seal. Butyl tape is a sticky putty-like tape, sometimes called putty tape although my research has shown that they’re NOT the same thing, which matters because the real deal works where the other one will dry out and crumble. Real butyl tape will stretch into infinity (exaggeration), or at least into an endless thin filament, which is the way to tell. It’s made of butyl rubber and sticks with a tenacity that Velcro only dreams of. It also stays flexible and doesn’t dry out.
Compass installation, take 1. I carefully cut the strip of butyl tape in half lengthwise (because we didn’t need the full width) and pressed it into place along the inner ring of the compass. Small strips ringed each screw hole. I made sure the bulkhead was clean (acetone wipe after scraping off any caulk residue) and had the screws handy. Holding my breath and being careful not to ding the dome, I pressed the compass into place and tightened the screws. Hmm. The top one is spinning merrily, not biting into anything at all.

Butyl tape, round 1.
Whoops.
I’m used to dealing with caulk, which oozes out under pressure. In fact, a good practice when using caulk as a sealant is to press lightly and then let the thing cure overnight, to form a kind of gasket, before tightening it up all the way. Not so much with butyl tape.
Butyl tape doesn’t ever harden or cure. It remains flexible and remarkably tenacious in its grip, making it a pretty amazing bedding and sealing compound on the boat. It acts as a gasket from the get-go. This means, however, that it doesn’t compress or ooze. Want an almost-flush mount? You better get that butyl tape as THIN as possible.
Tip 1. Get that butyl tape the thickness you want it to be, mostly, BEFORE you install.
Jeremy pressed the compass out from inside the boat (much easier and cleaner than trying to pry it off the bulkhead, since the butyl tape was already gripping), and I went to work.
Compass installation, take 2.
Clean off all the butyl tape, rolling it around itself to get it off. Get the dregs off with acetone and a lot of scrubbing. Clean again with acetone.
Clean the bulkhead of any butyl tape by using the ball of butyl tape you already took off the compass ring, then cleaning the last bits with acetone.
Cut a thin strip of butyl tape and apply to the exterior edge of the compass ring. Spend the next 20 minutes (or more) painstakingly pressing it as thin as possible. This requires thumb action, thumb strength, and a lot of patience. Think of trying to rub almost-dried Elmer’s glue off of your fingertip and the amount of work and pressure that takes; multiply it by about 50. If you’ve got a thumbprint recognition pad on your phone, it won’t work for a while after you’ve done this.

Pressing the butyl tape thin. Notice the difference?
Acetone the bulkhead to make extra double triple sure it’s clean.
Make extra sure you’re happy with how thin the butyl tape layer is.
Hold your breath and install the compass for a second time.
Tighten the screws a bit at a time, moving around the compass as you go (we have 3 screws) so you’re not screwing one in all the way before moving on to the next one.
Breathe as you look at the compass, all pretty and installed and yes, there is a tiny bead of butyl tape around the top edge which means it’s really good.
Snap on the canvas cover and go home.

Tip 2. Having a helper inside the boat to help position the piece is helpful. Also they can press it out if you need to redo. I hope you don’t have to redo.
Tip 3. Removing butyl tape is made far easier by using . . . butyl tape. It sticks to itself slightly better than it sticks to any other surface.
PS. I never realized, not this vividly, that we’re pointing south. An omen?
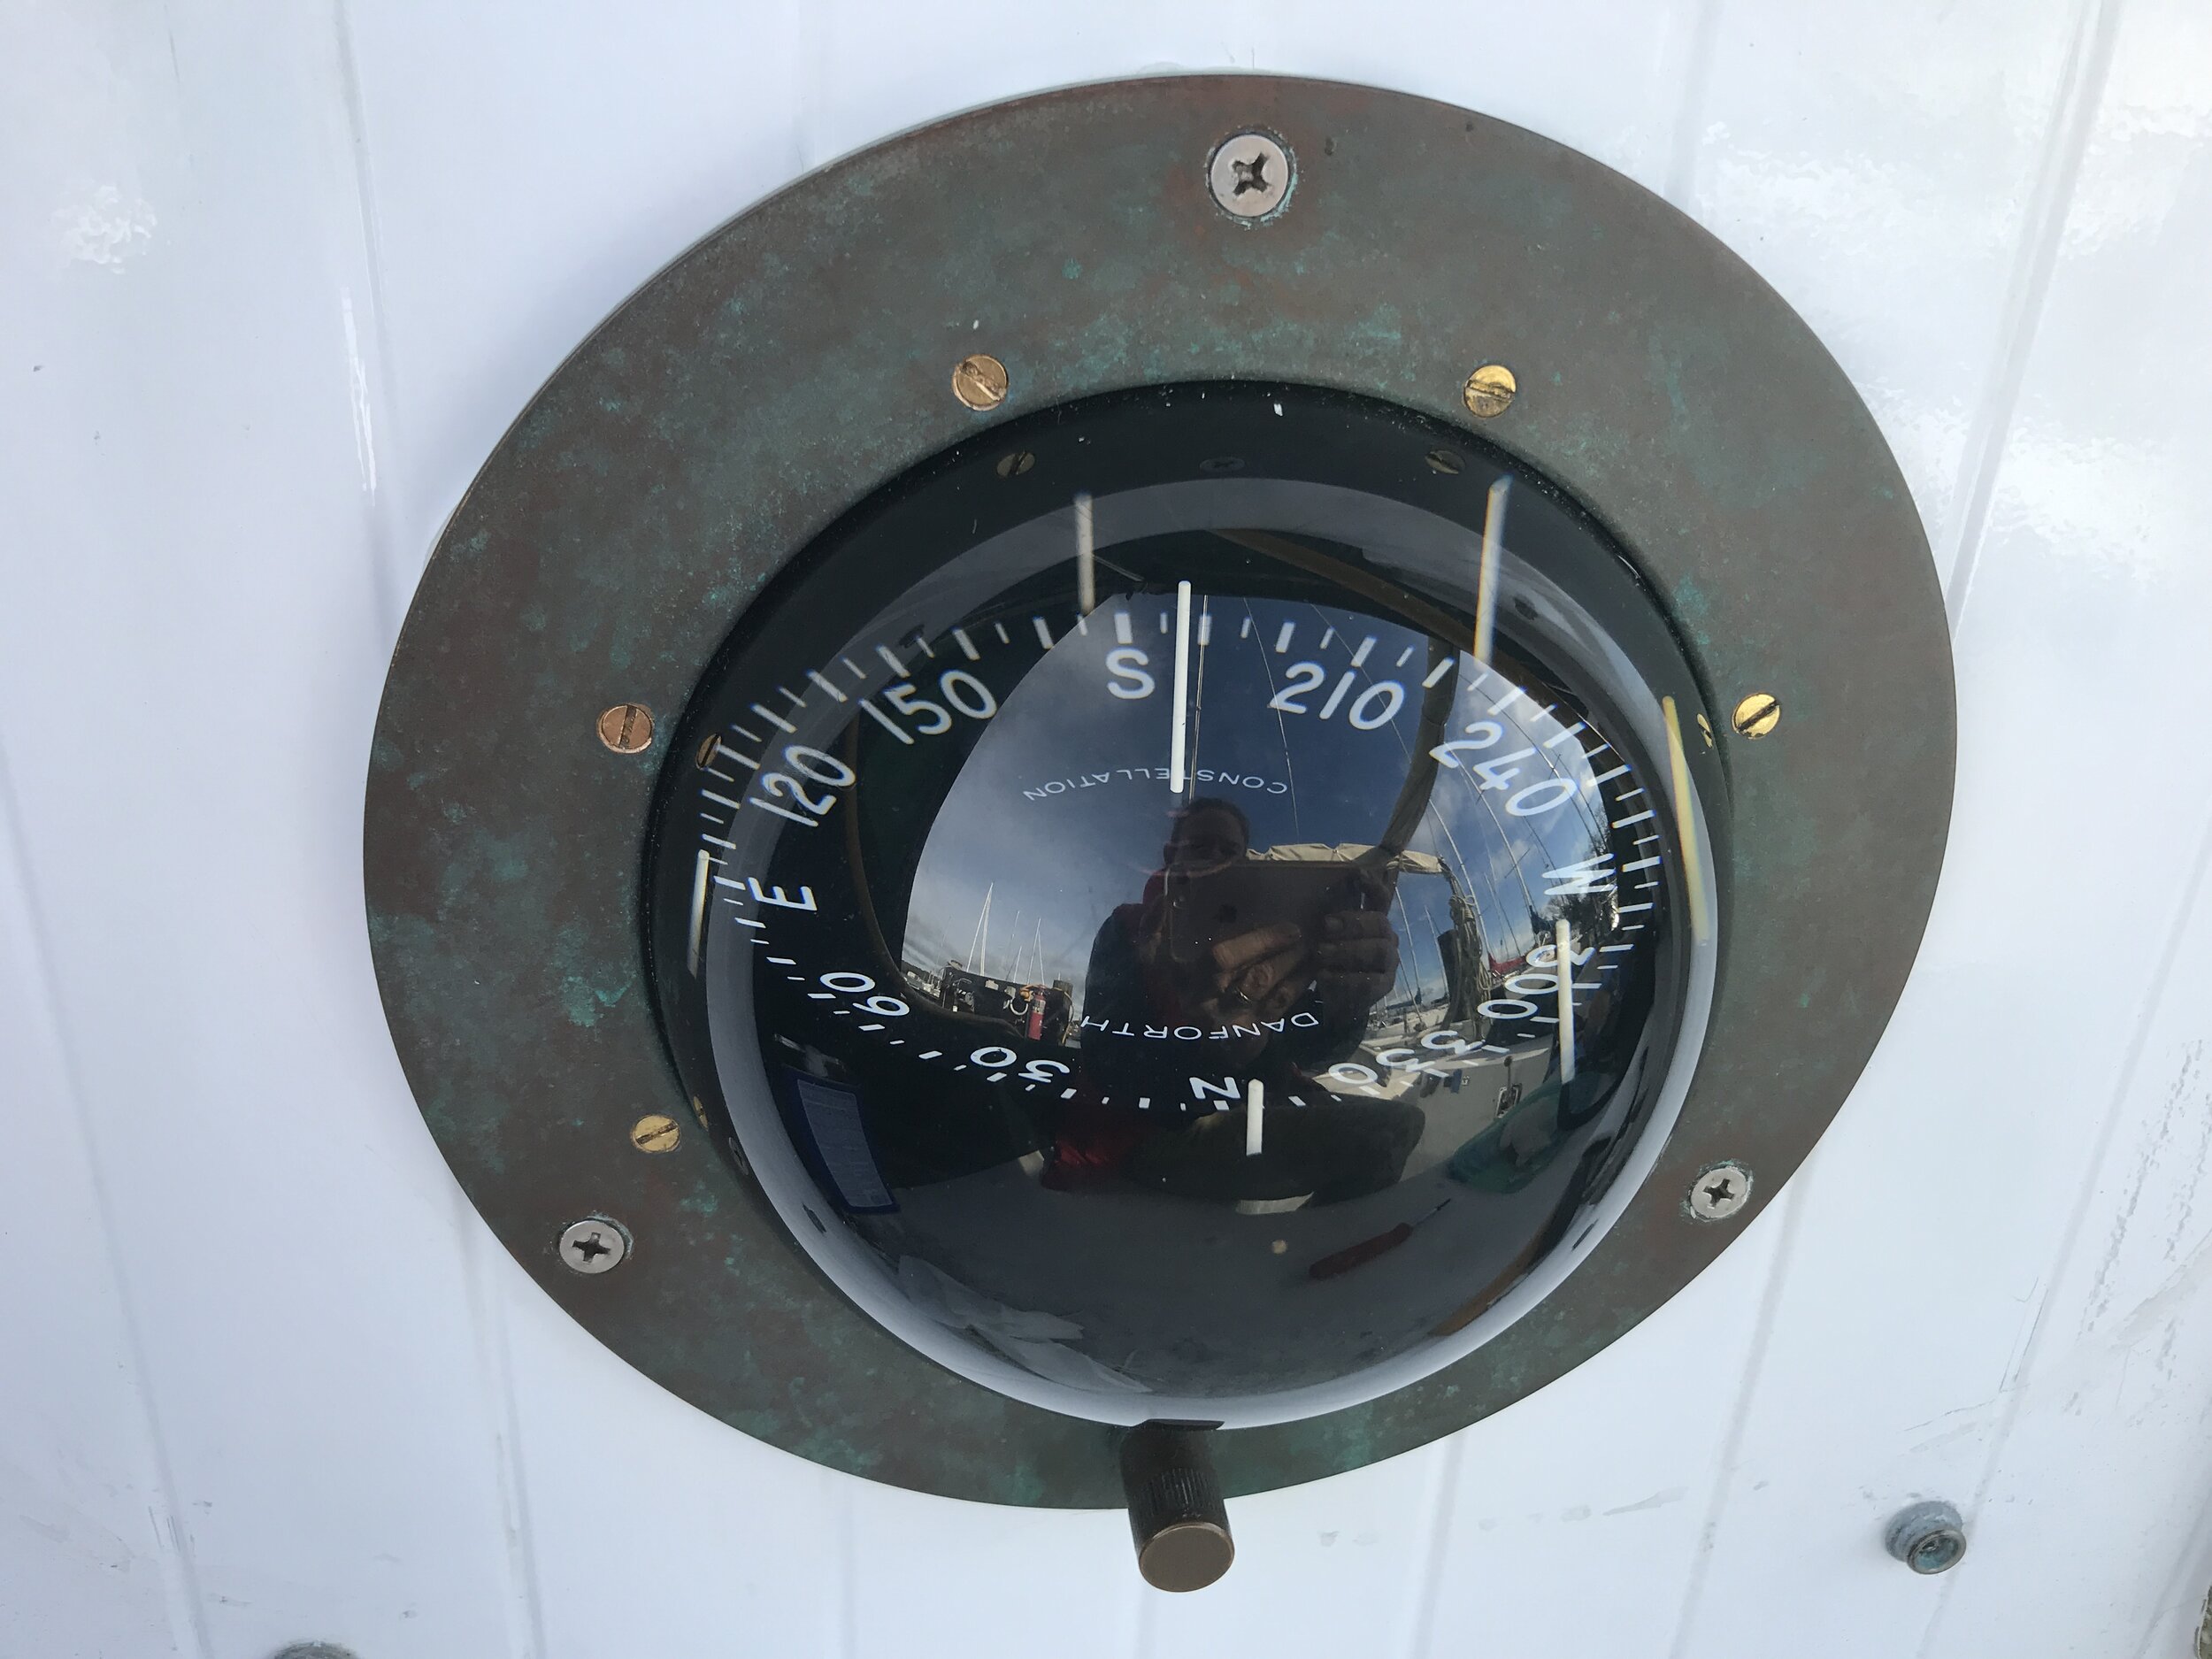
South in the slip.
PS. Links may contain affiliate links. As an Amazon affiliate, I earn through qualifying purchases.